How to Perform System Administration?
How to Add an AAD Account?
- Log in to the SERVICEME platform;
- Switch to the "Administration" platform;
- Navigate to "User Organization > User Management";

- Click the "Add" button at the top right of the page to open the Add User Information window;
- Enter the AAD account in "Username", for example
qa-test04@servicemecloud.com; - Enter the AAD account name in "Name", for example
QA Test04; - Enable "AAD Account";
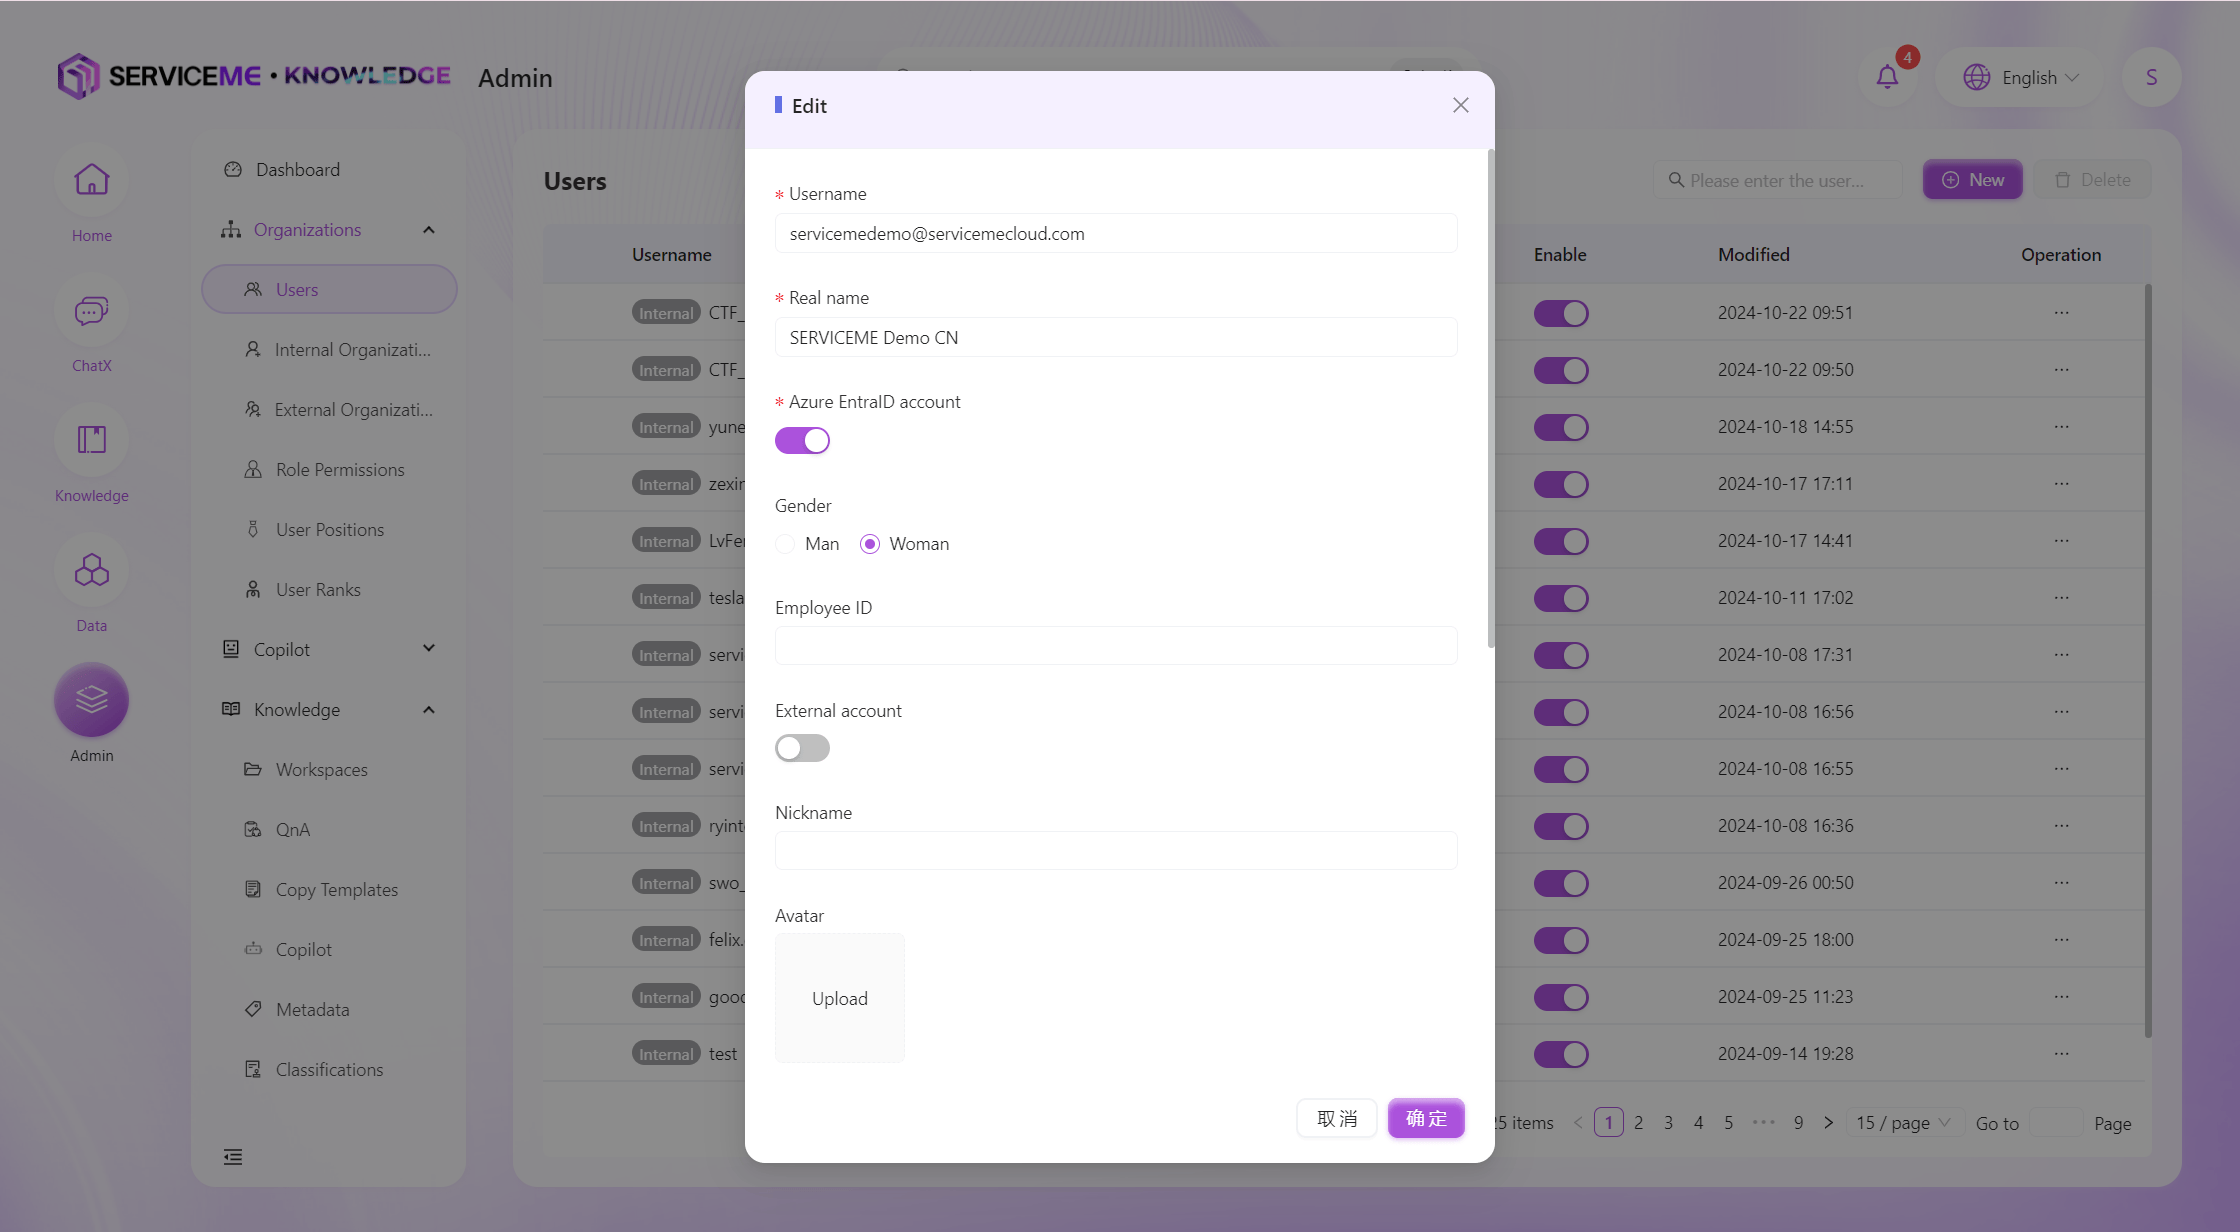
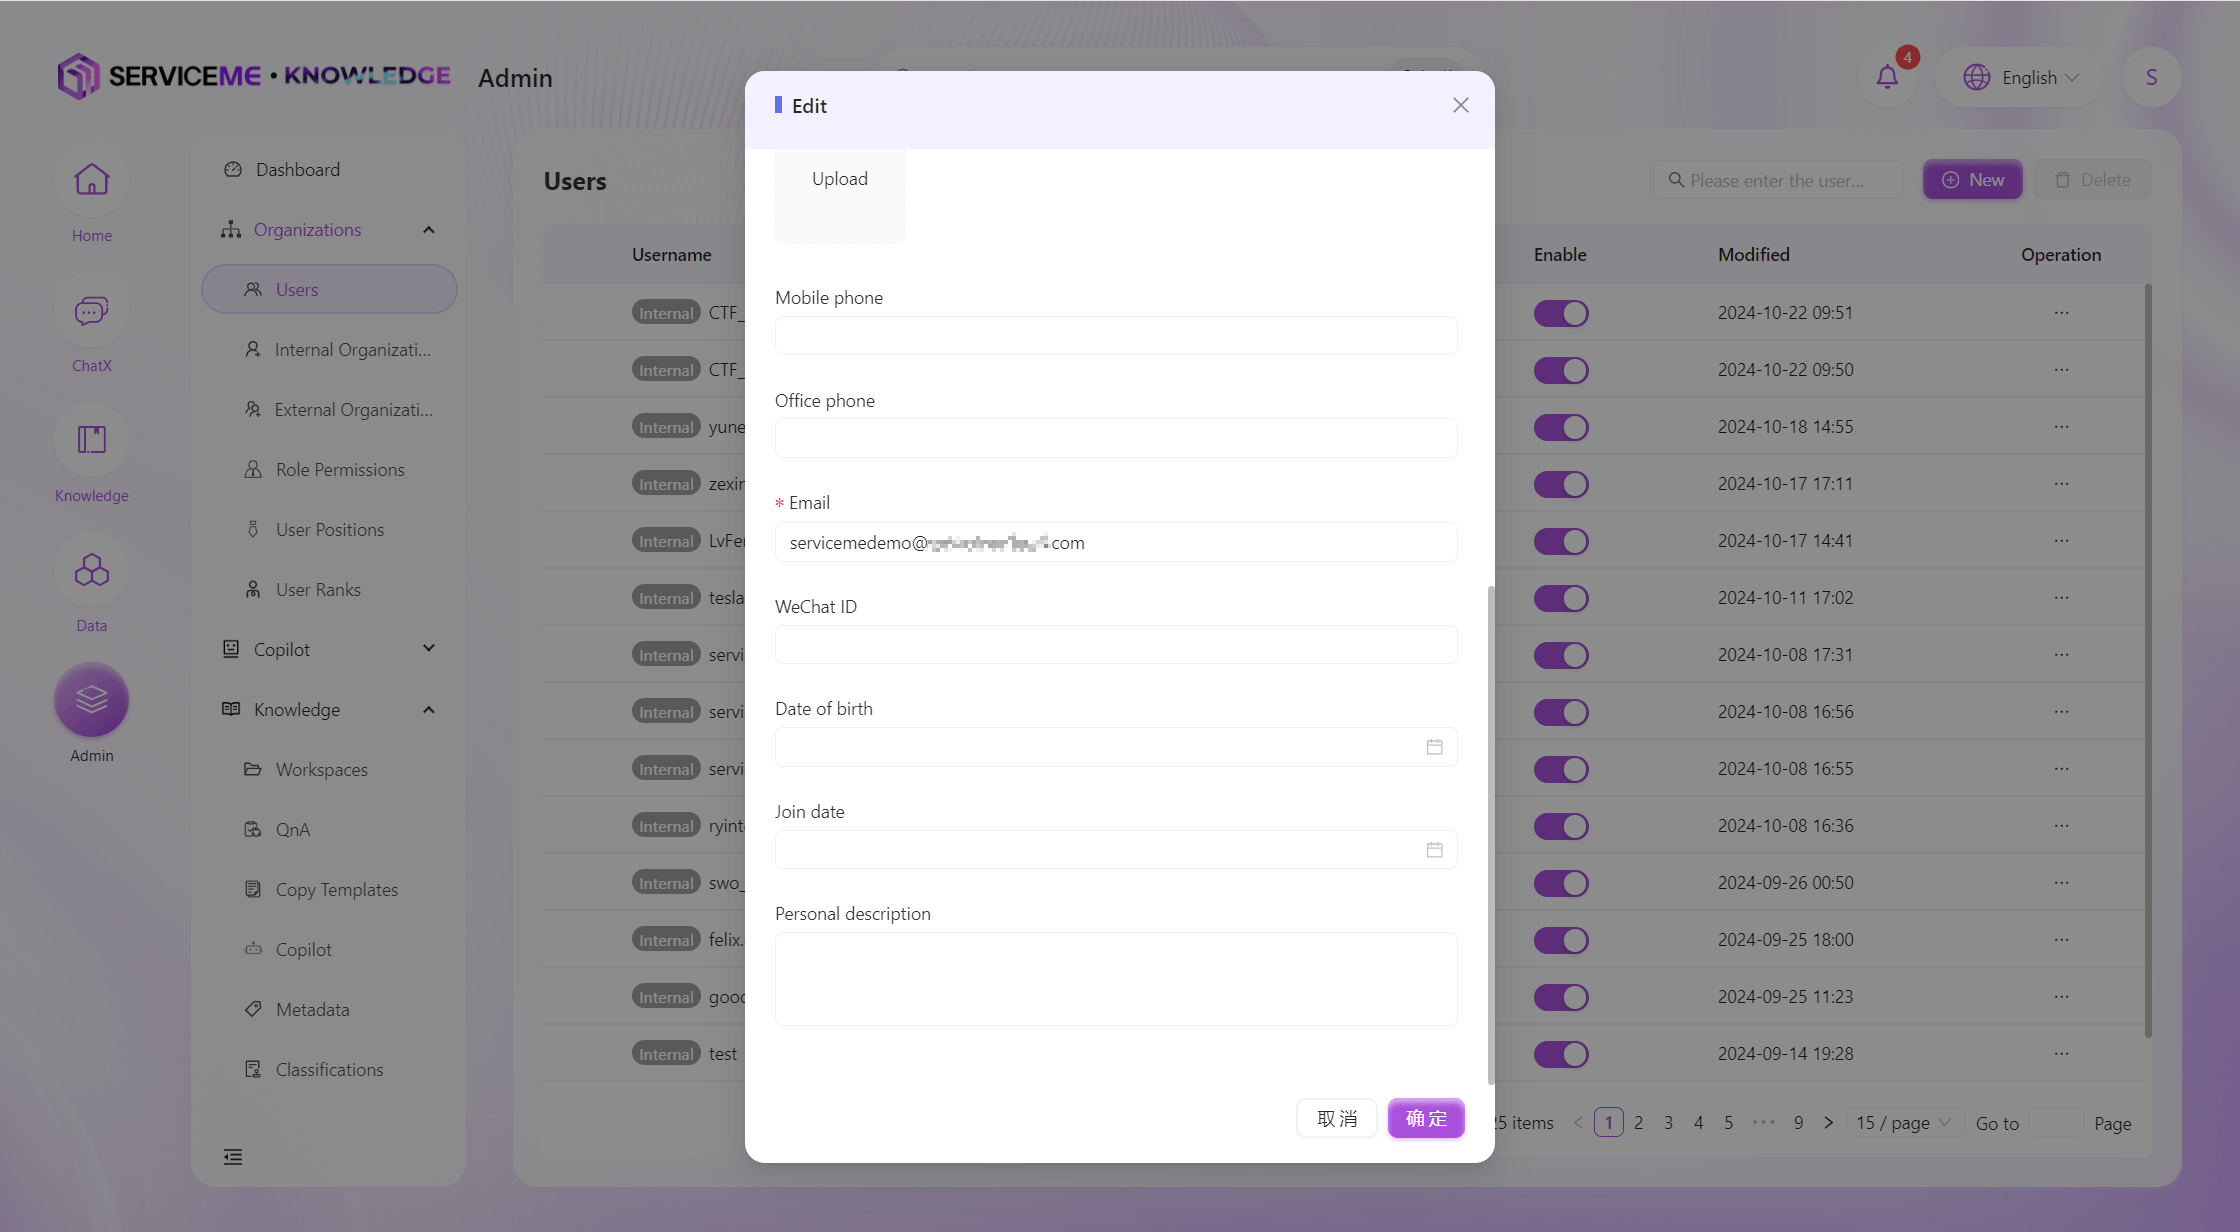
- Scroll down in the window, enter the AAD email account in "Email", for example
qa-test04@servicemecloud.com; - Click "OK", and the AAD account will be added successfully.
- The newly added user is disabled by default and needs to be manually enabled by toggling "Enable Status".
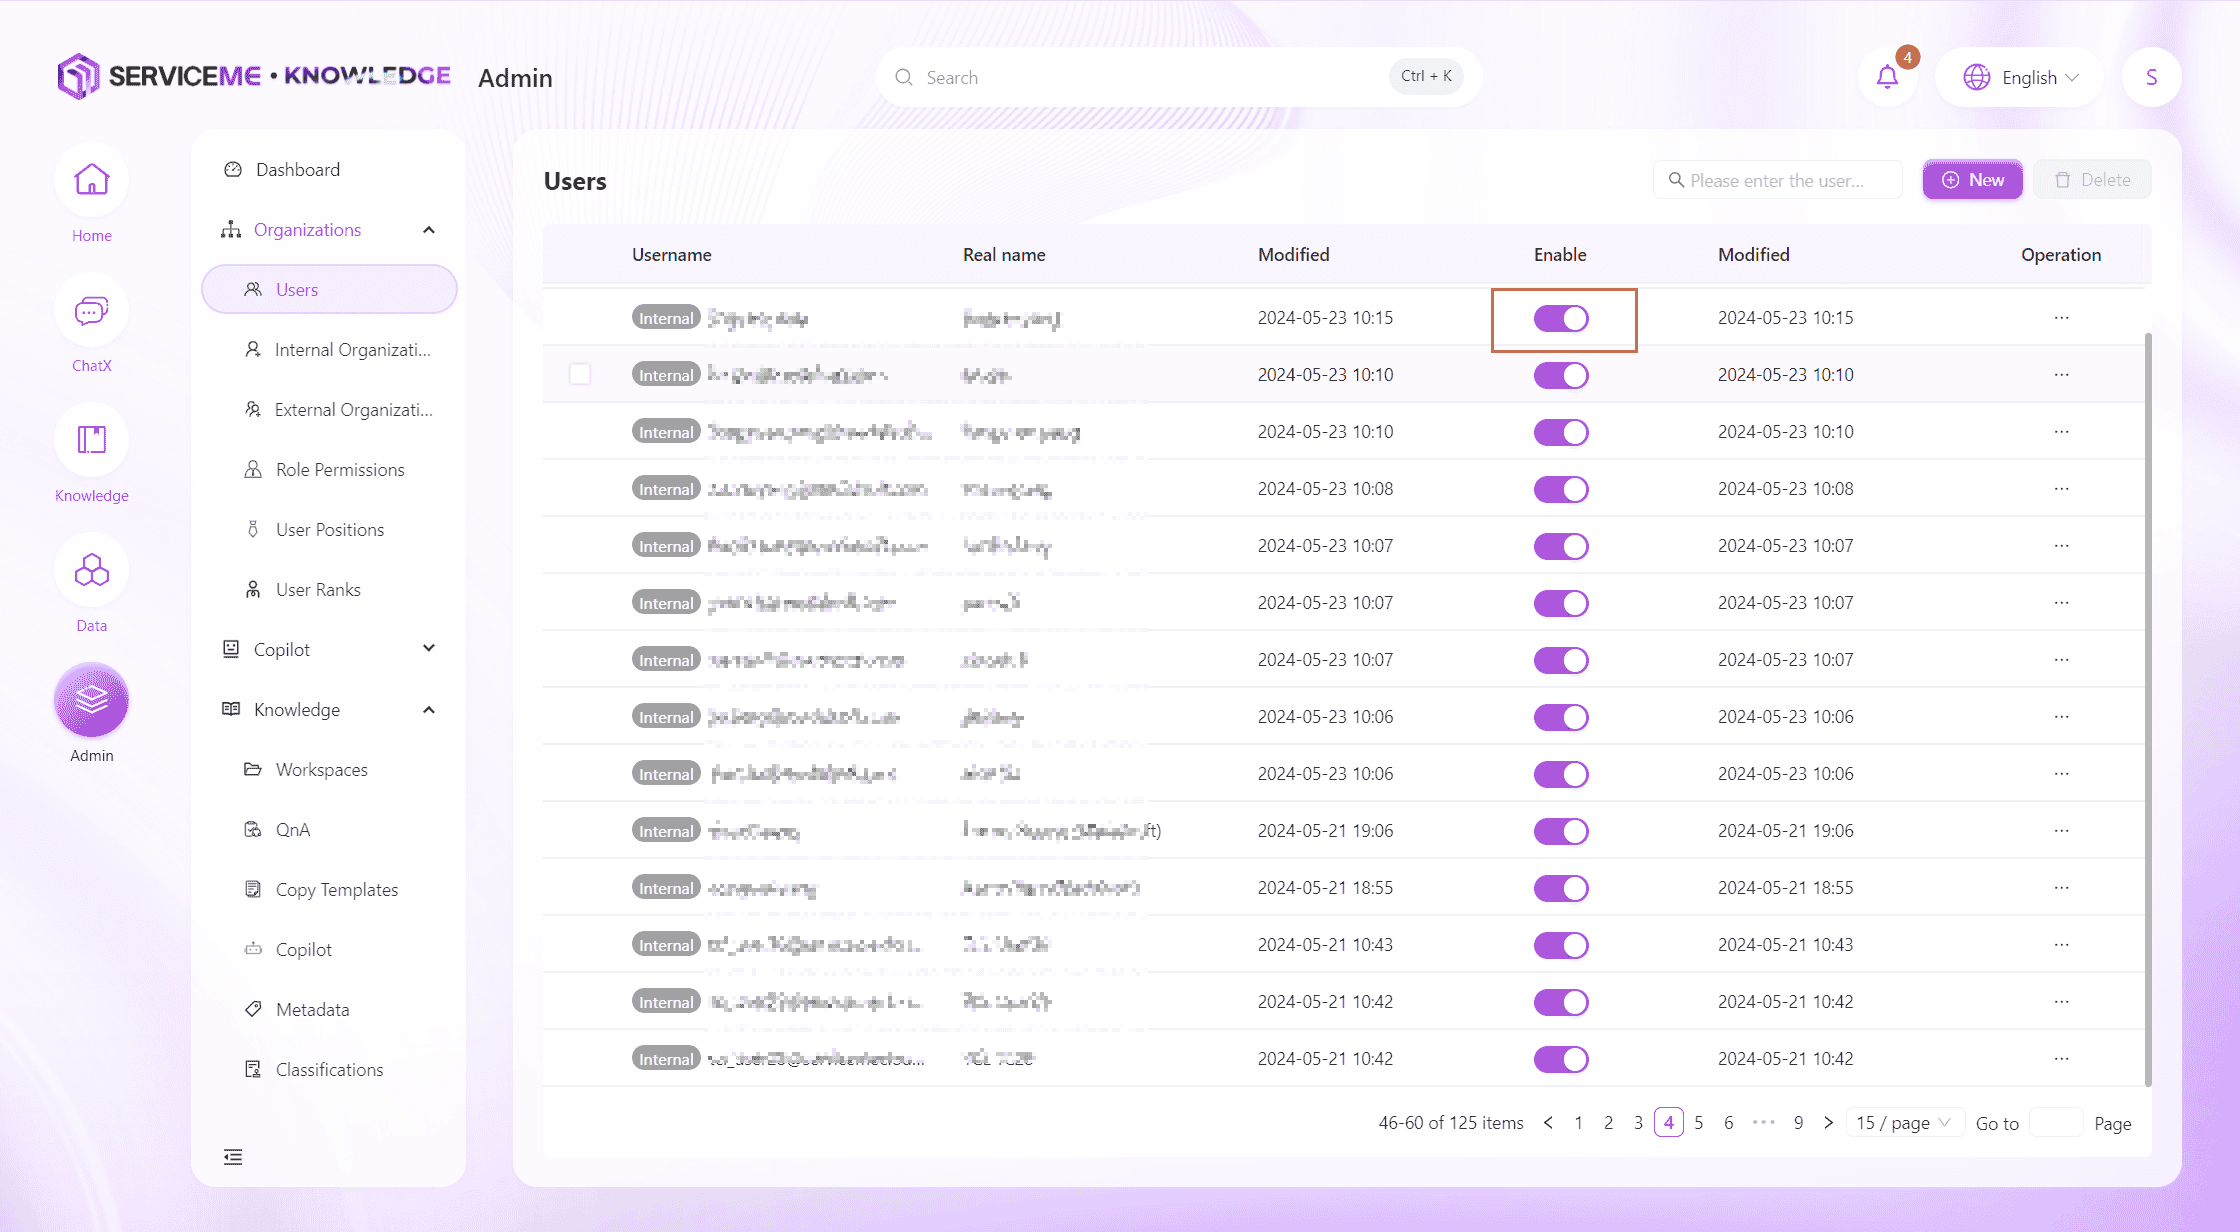
- The newly added AAD account can log in to the SERVICEME platform normally.
- After synchronizing the AAD account with the above steps, there will be no functional menus. You need to further maintain the user's organization affiliation and role authorization.
How to Maintain the Enterprise Organizational Structure?
- Log in to the SERVICEME platform;
- Switch to the "Administration" platform;
- Navigate to "User Organization > Internal Organization";
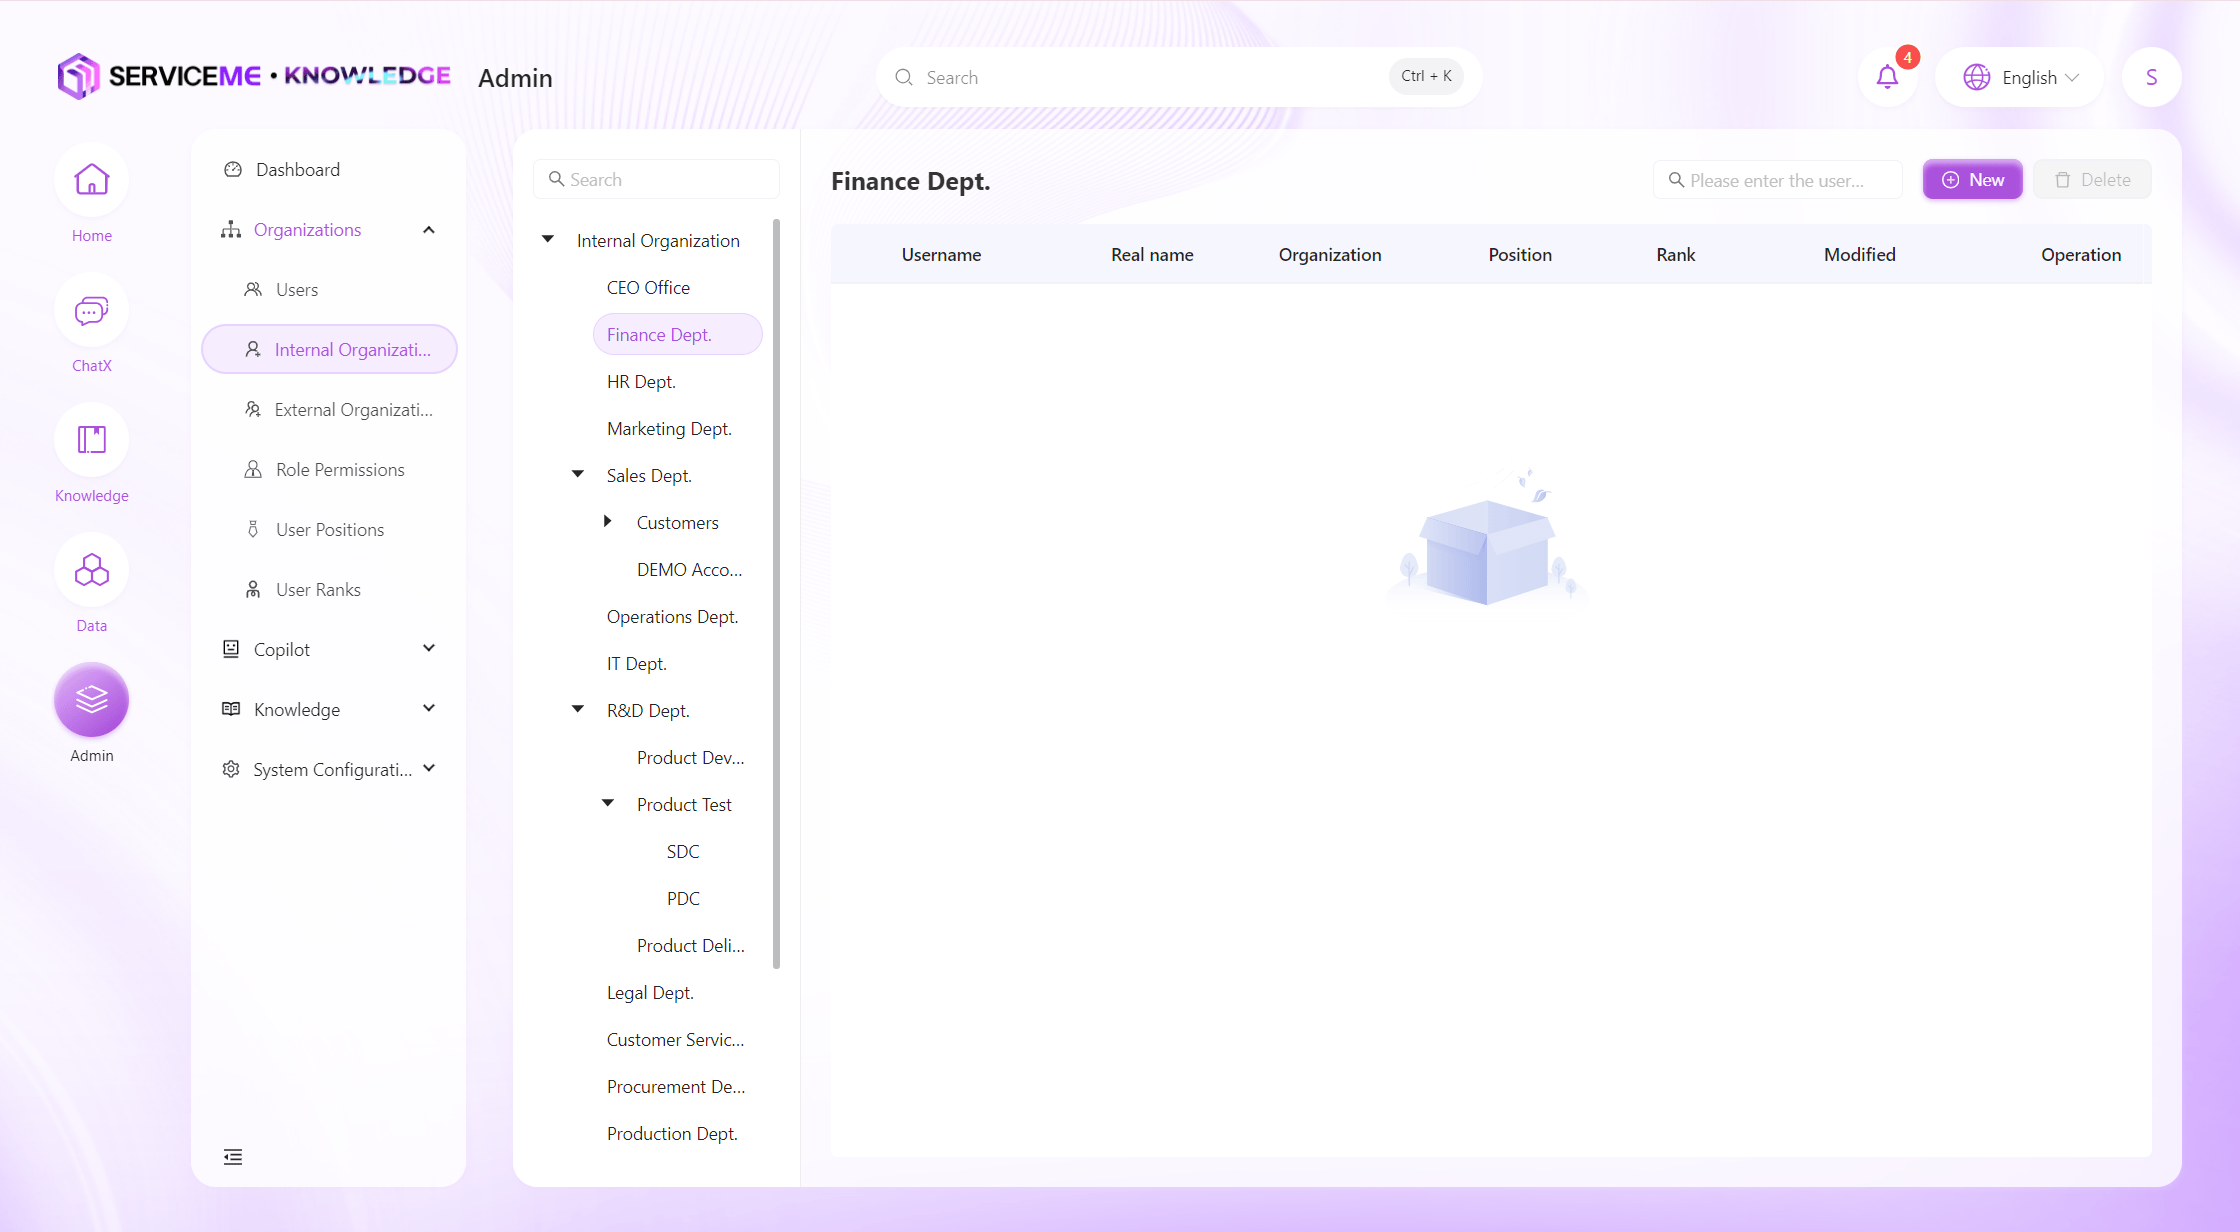
Add a Custom Organization
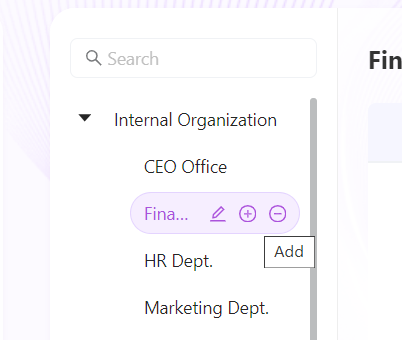
- Hover the mouse over any organization name and click the Add button to open the Add Organization Name window;
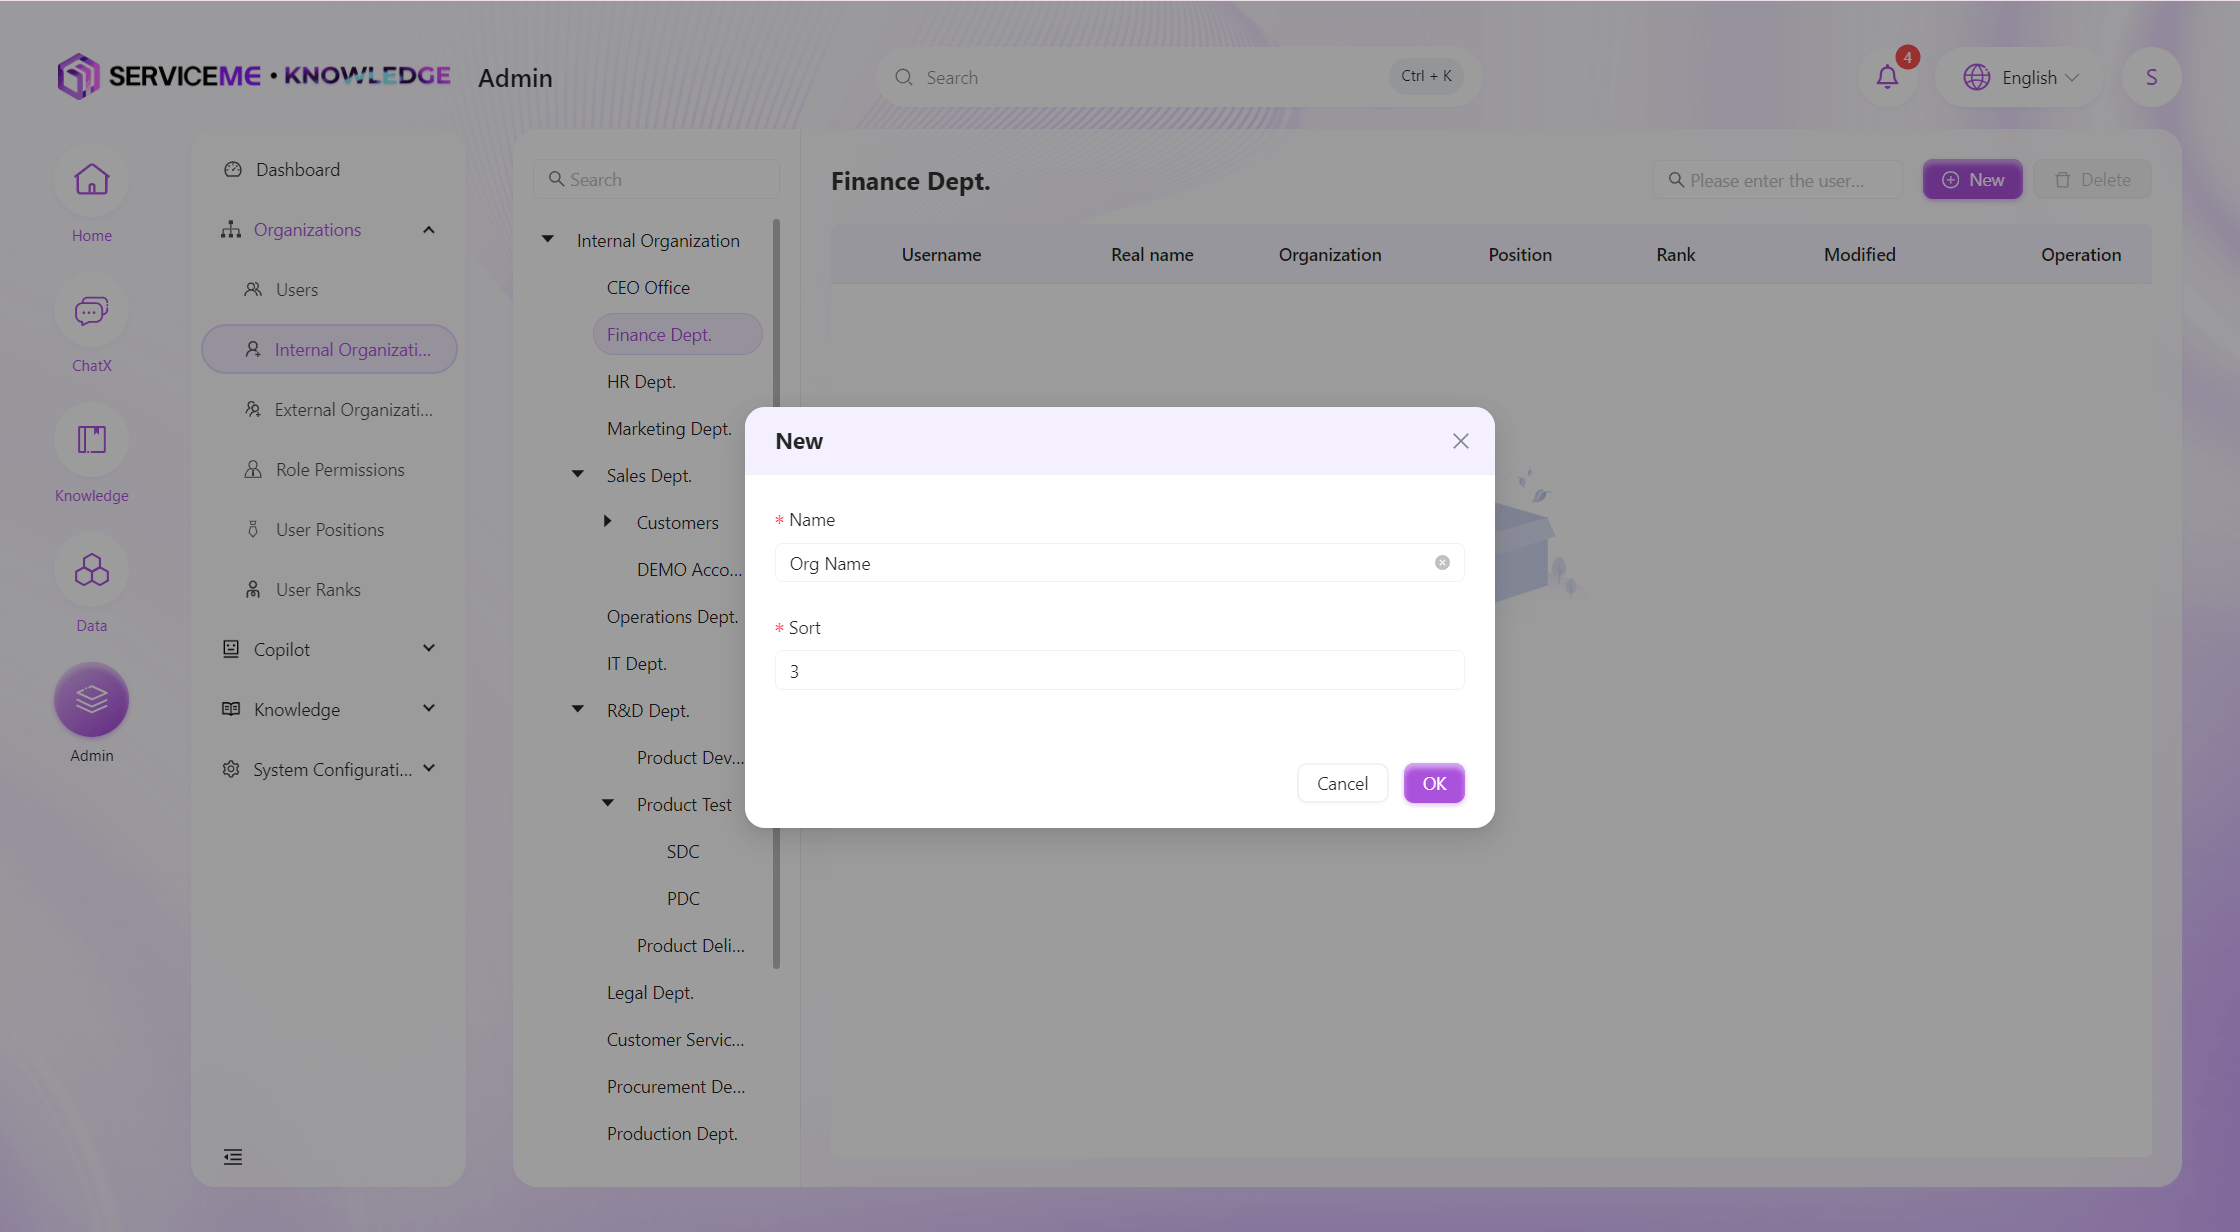
 5. Enter the custom organization name in "Name", for example
 Operations Center;
Enter a custom number in "Sort" to control the order of the organization in the organization tree, for example 1;
6. Click "OK", and the custom organization will be added successfully.
Add Users
- Click to select the organization to which you want to add users, for example
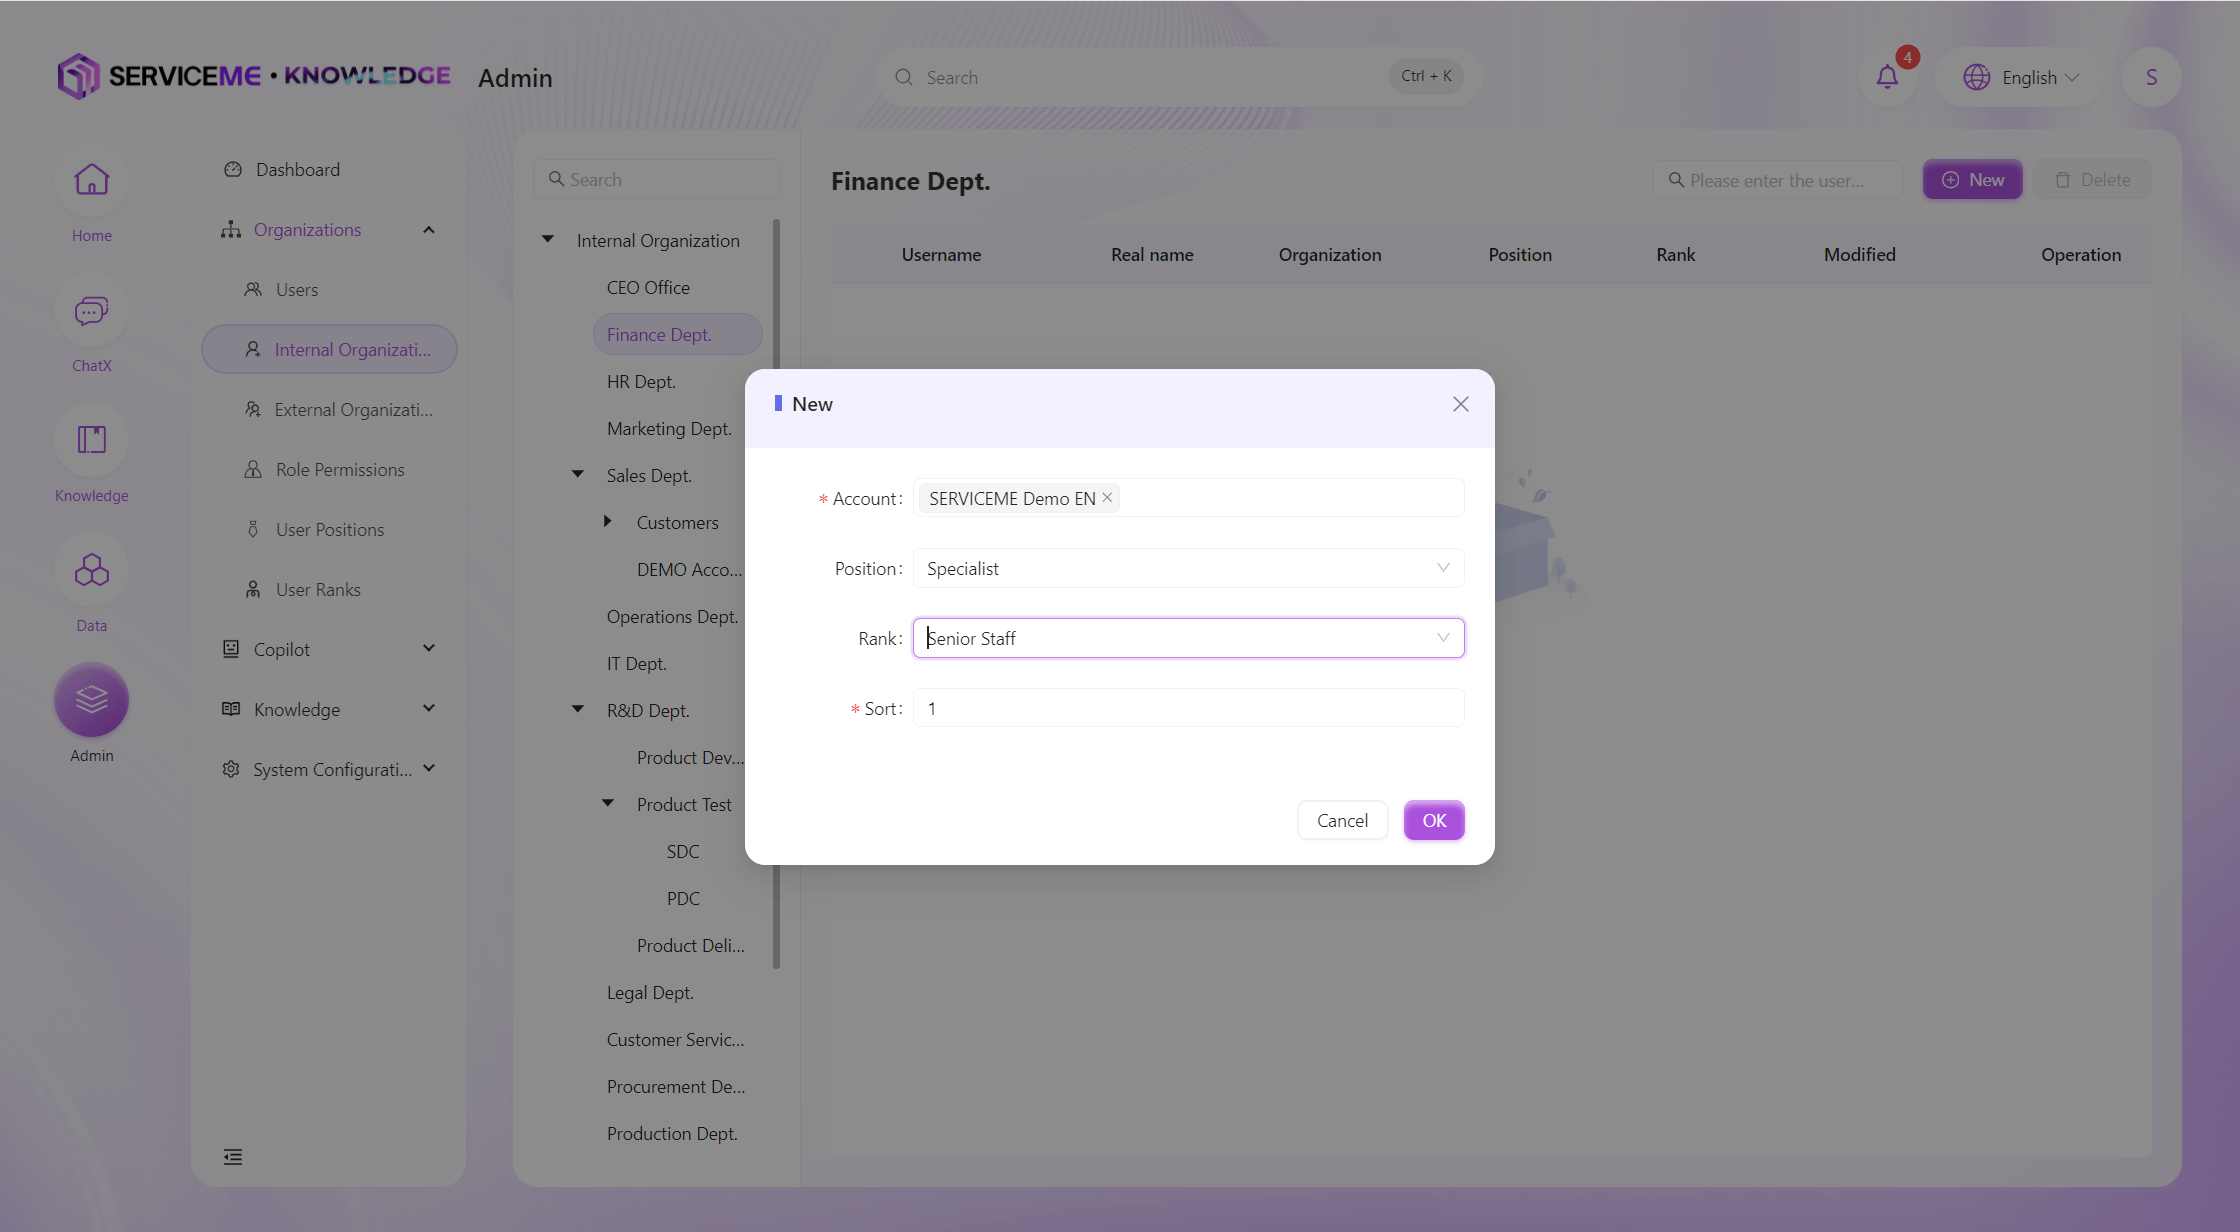
Operations Center; - Click the "Add" button to open the Add User window;
- Select the user from the "Account" dropdown, for example
QA Test01;
Select the position from the "Position" dropdown, for exampleProject Manager;
Select the job level from the "Job Level" dropdown, for exampleEntry Level;
Enter a custom number in "Sort" to control the order of the user in the list, for example1; - Click "OK", and the user will be added successfully.
- The data for "Account" comes from "User Organization > User Management".
- The data for "Position" comes from "User Organization > Position Management".
- The data for "Job Level" comes from "User Organization > Job Level Management".
How to Control Role Permissions?
The SERVICEME platform supports RBAC-based permission control.
- Log in to the SERVICEME platform;
- Switch to the "Administration" platform;
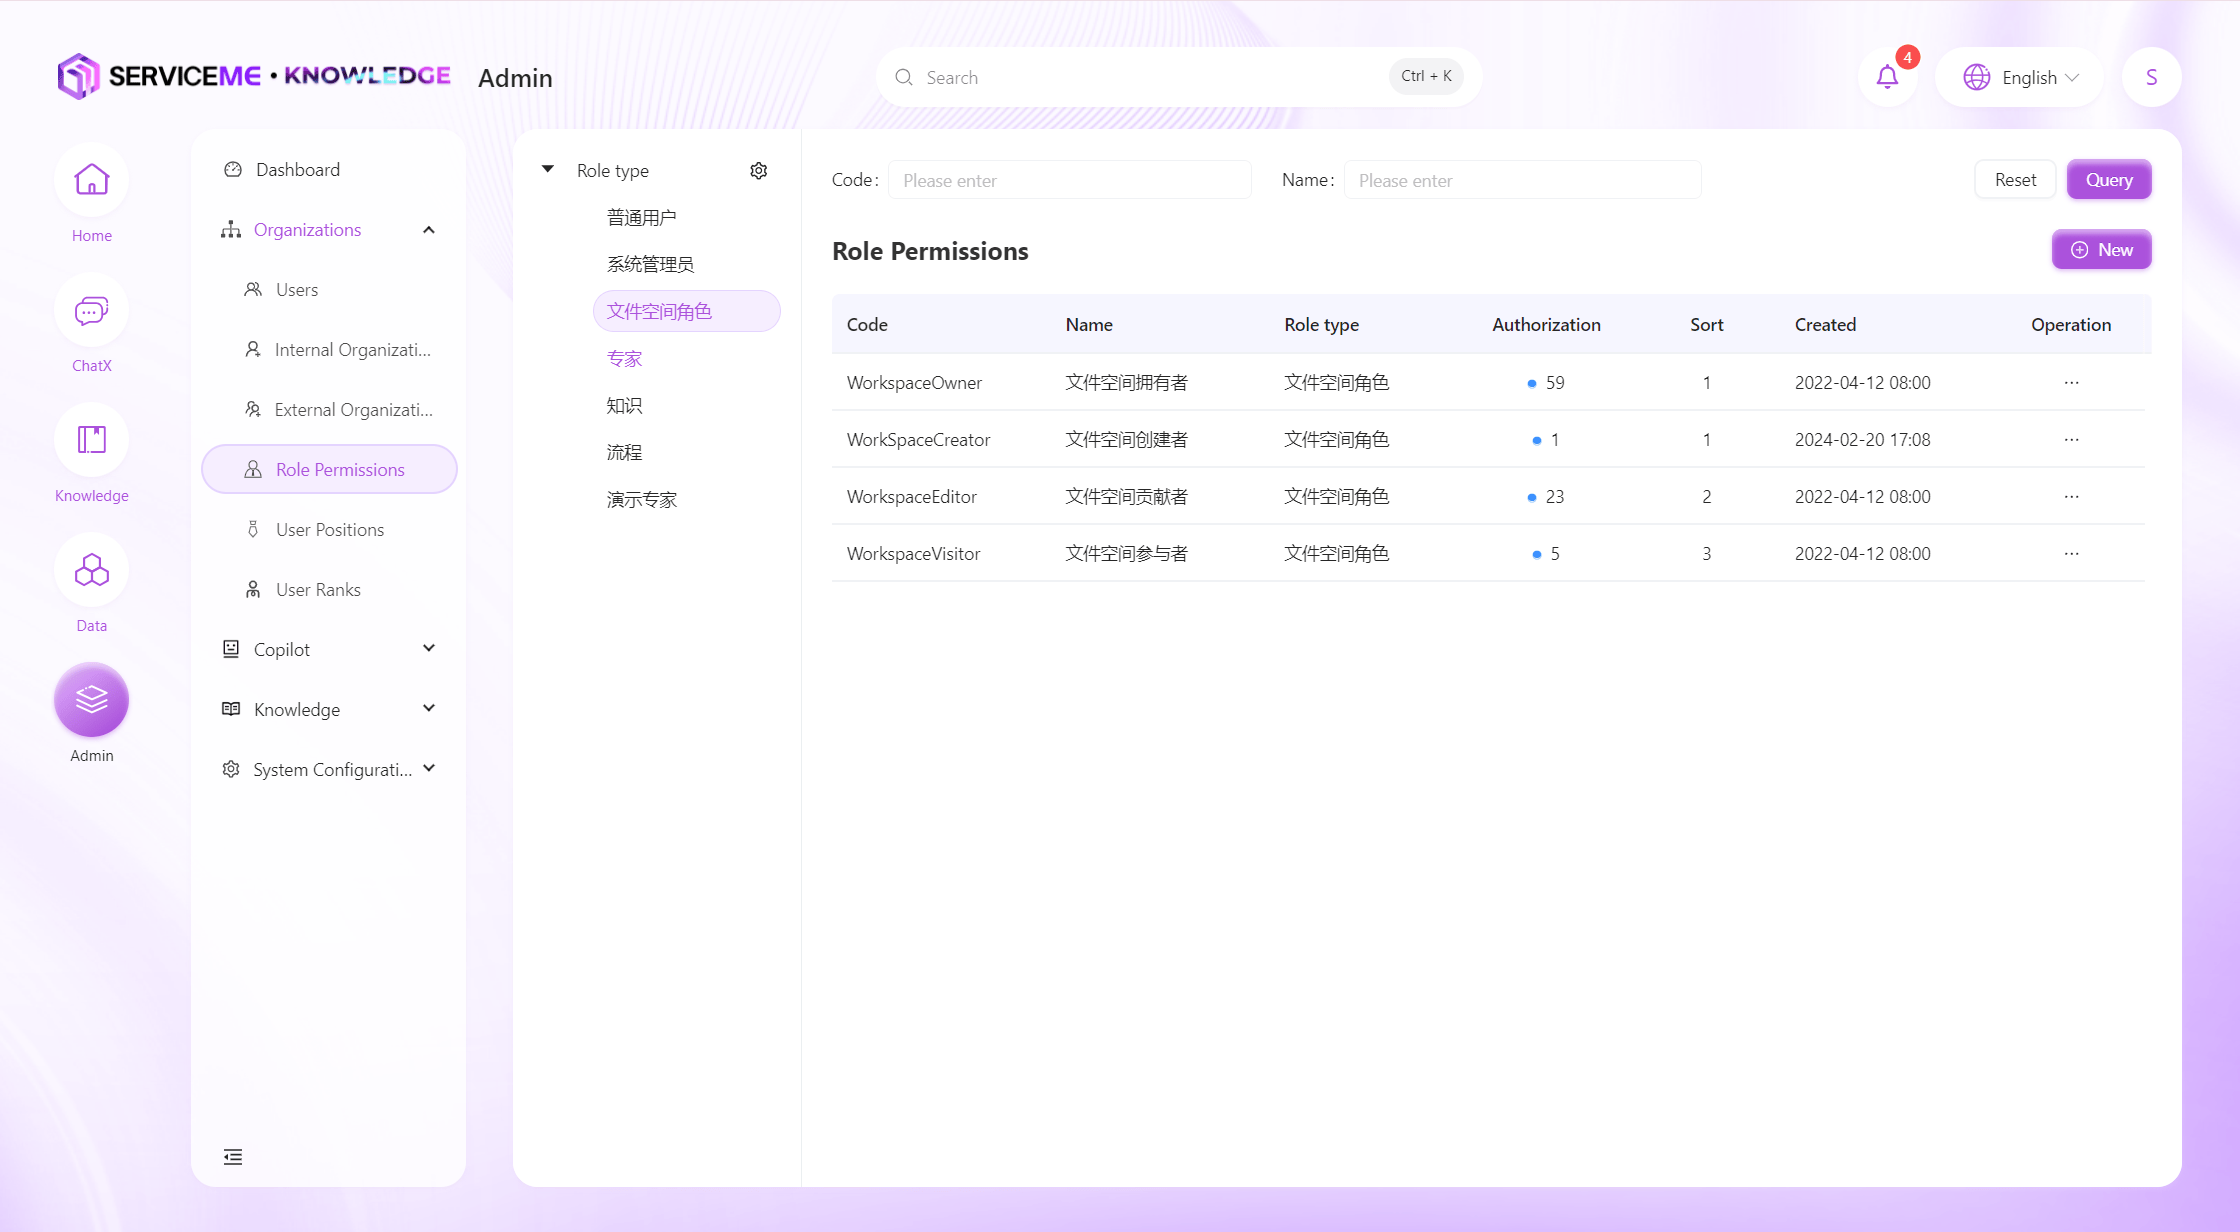
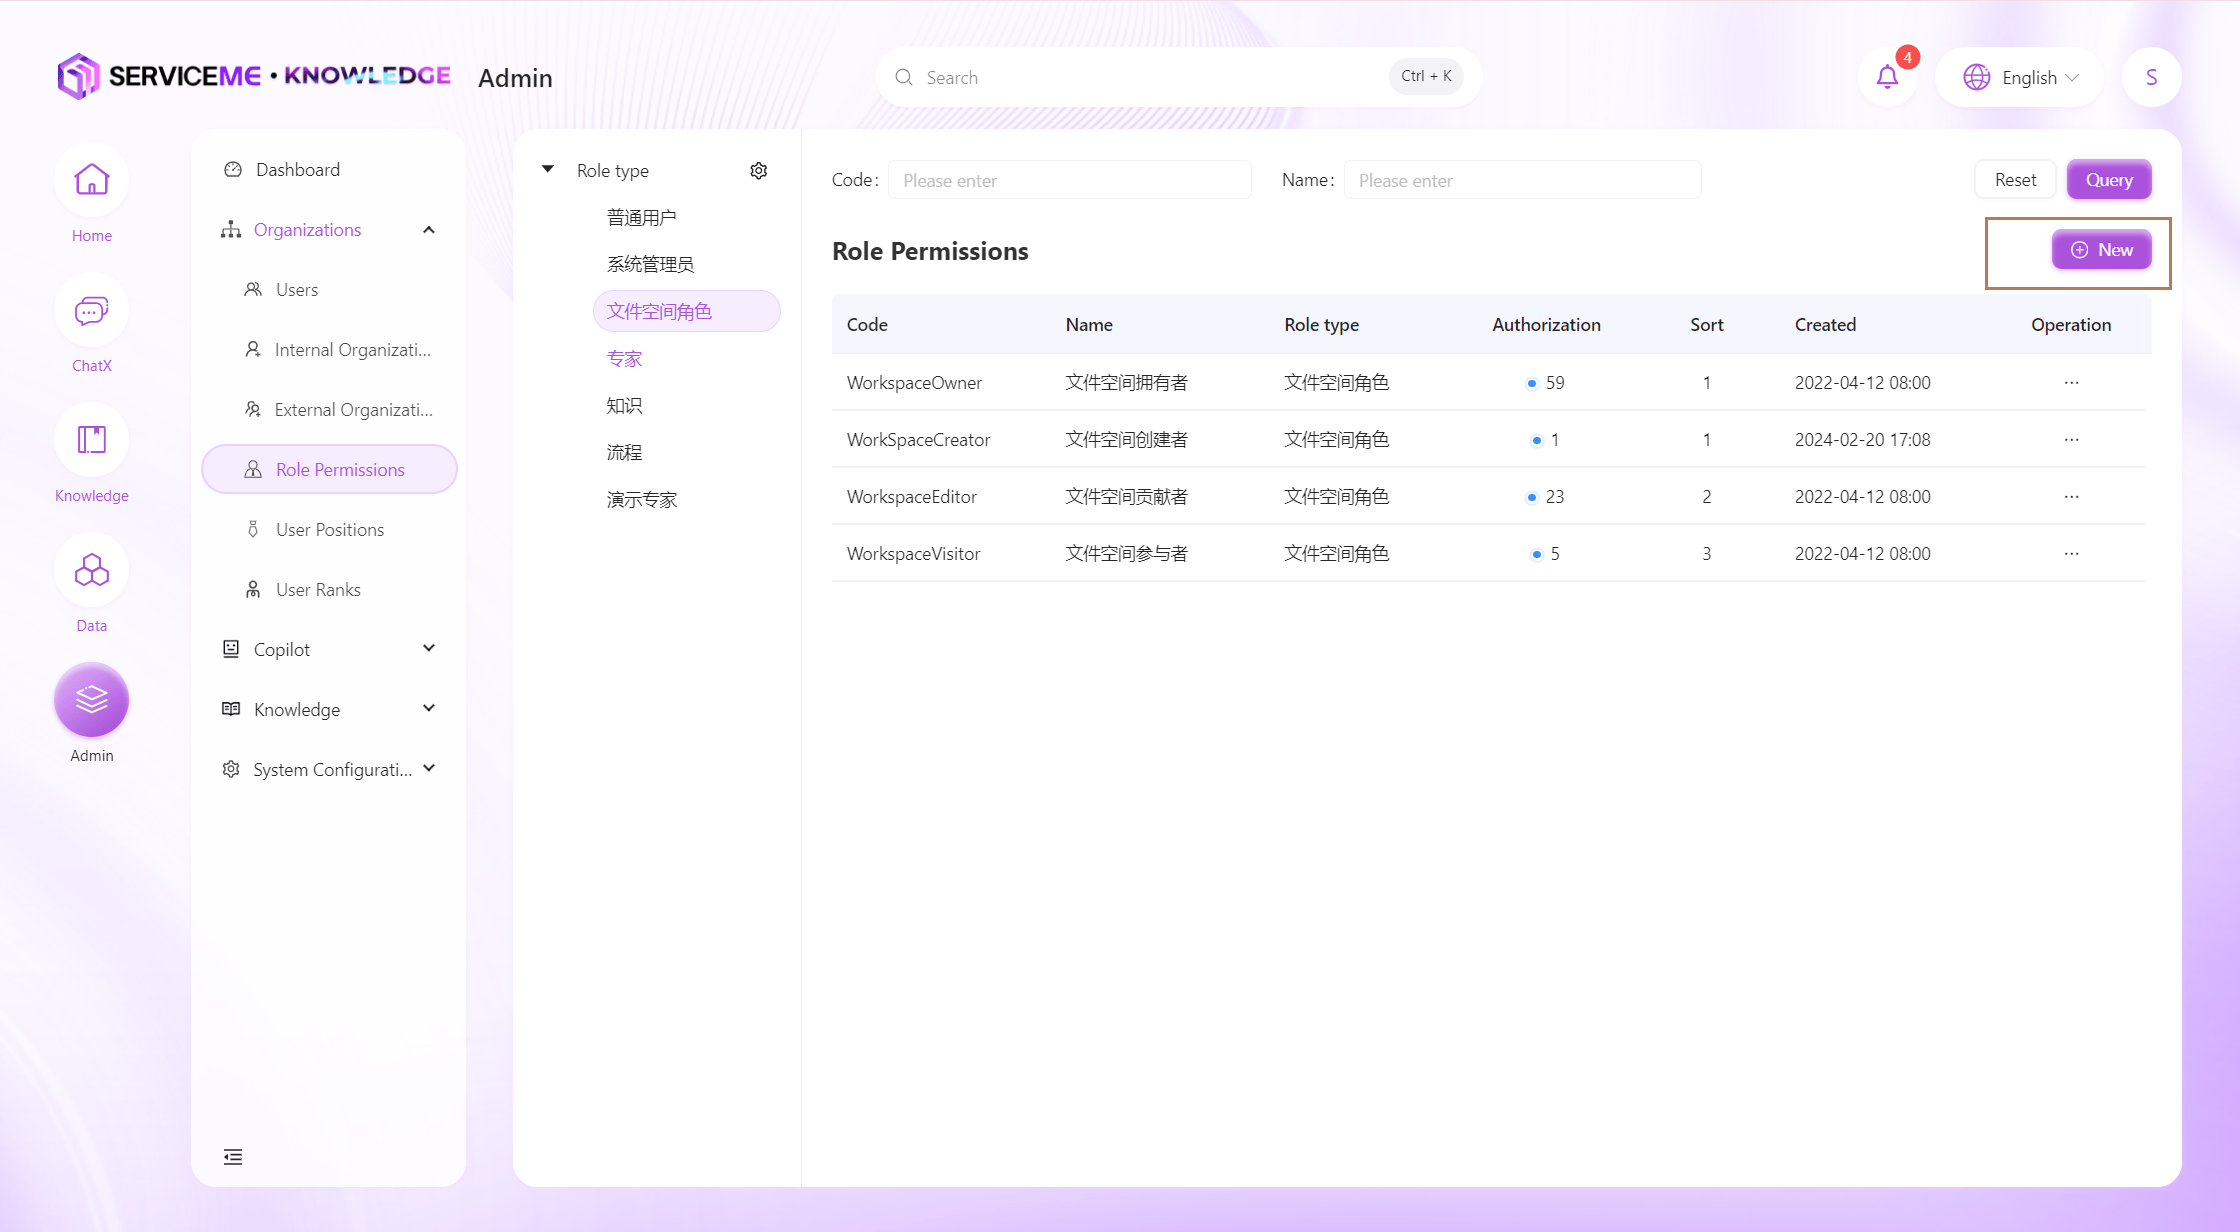
- Navigate to "User Organization > Role Permissions";
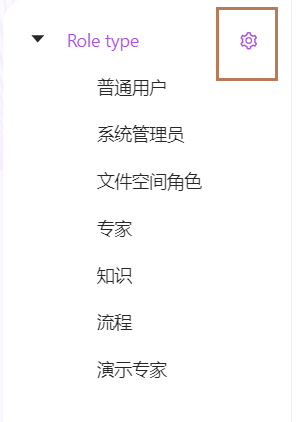
Add a Custom Role Type
- The system has pre-configured role types: Administrator, Expert, Knowledge.
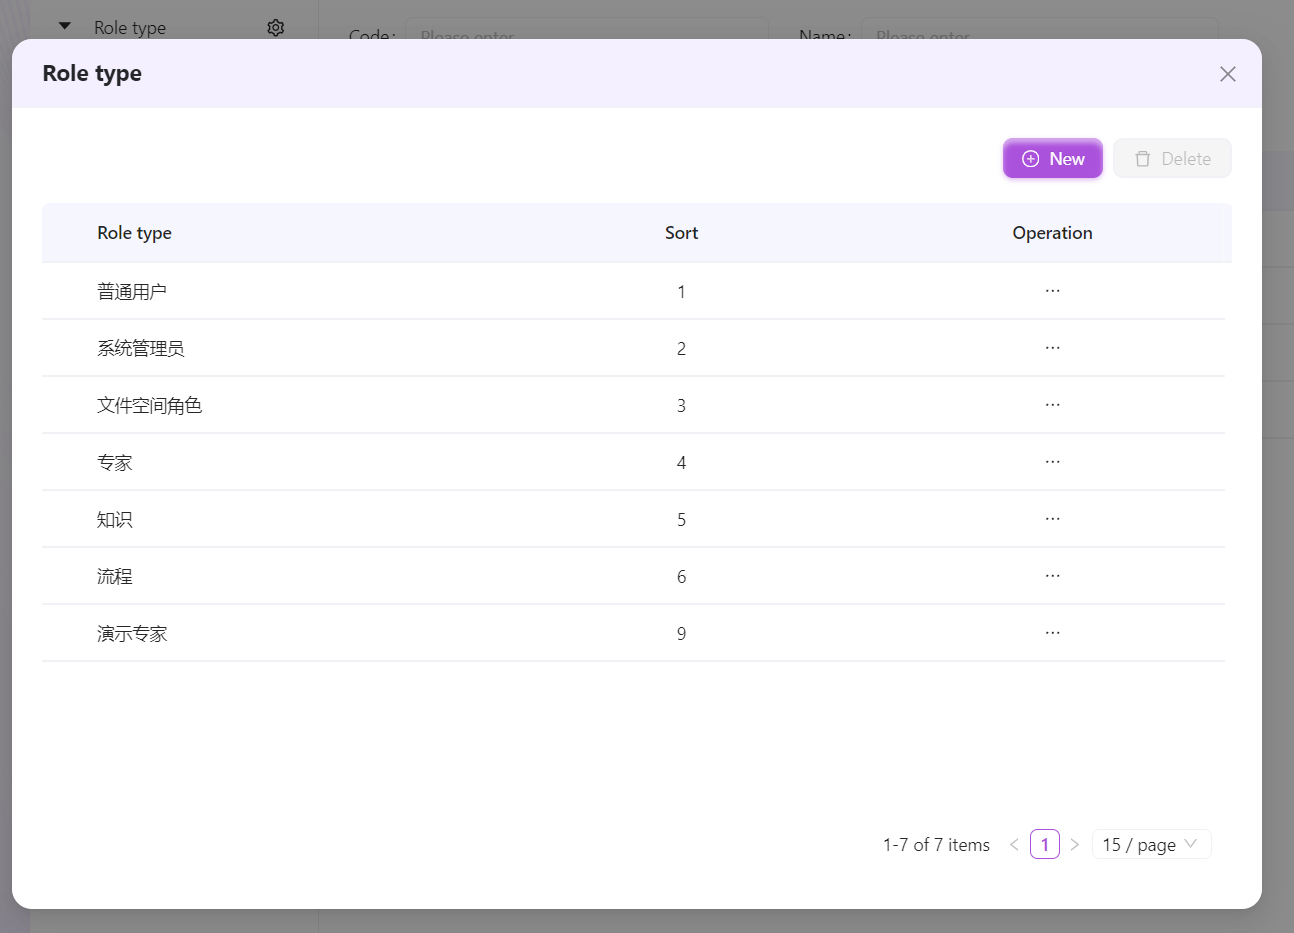
- Click the gear button to open the "Role Type" window;
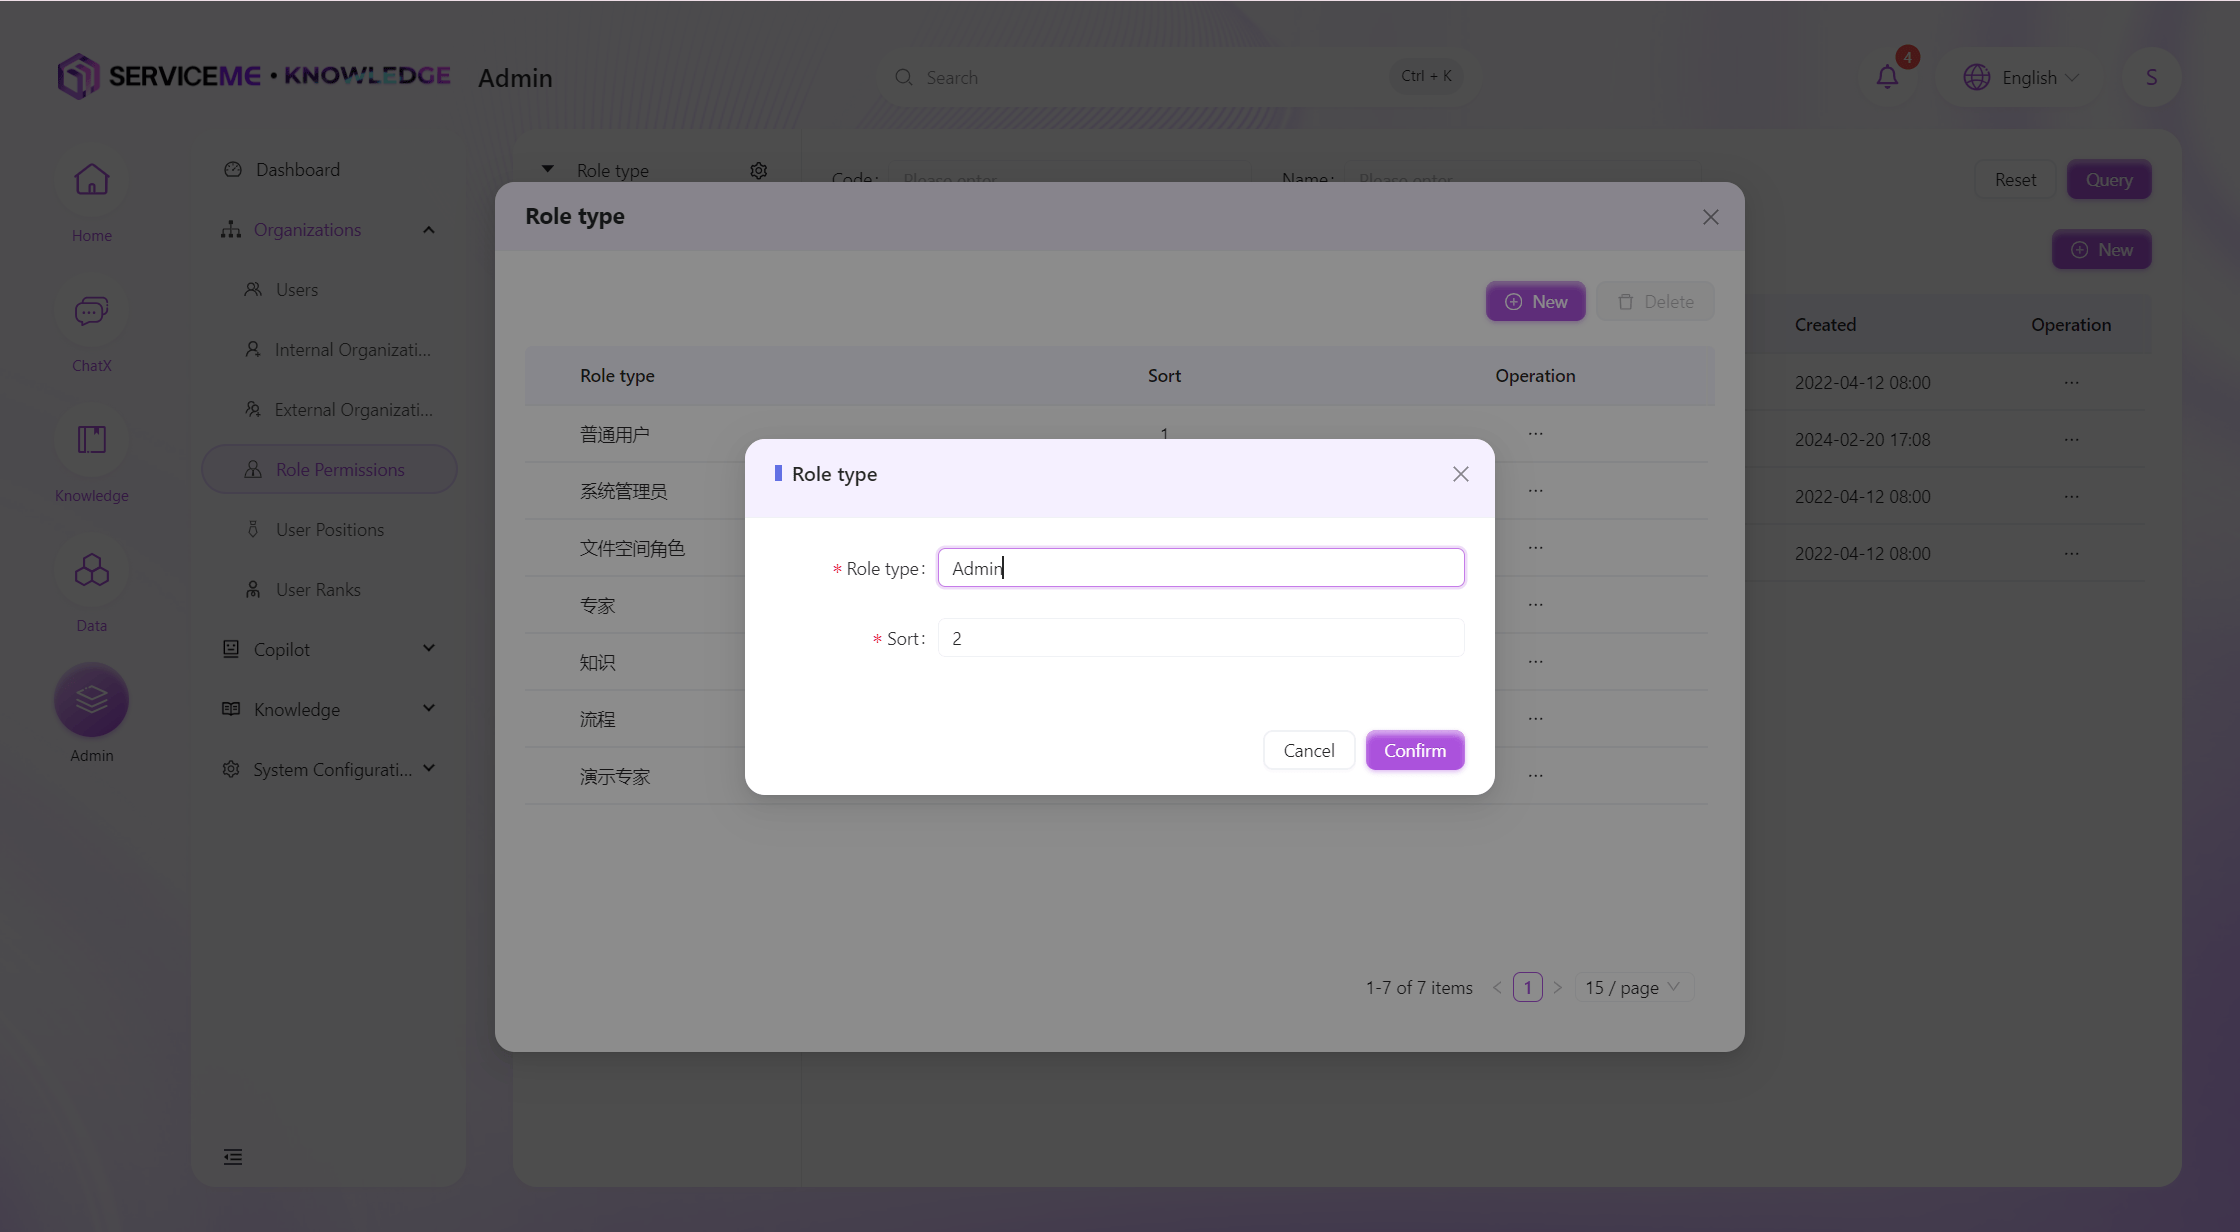
- Click the "Add" button to open the Add Role Type window;
- Enter the custom role type in "Role Type", for example
Custom Role;
Enter a custom number in "Sort" to control the order of the role type in the list, for example1; - Click "OK", and the custom role type will be added successfully.
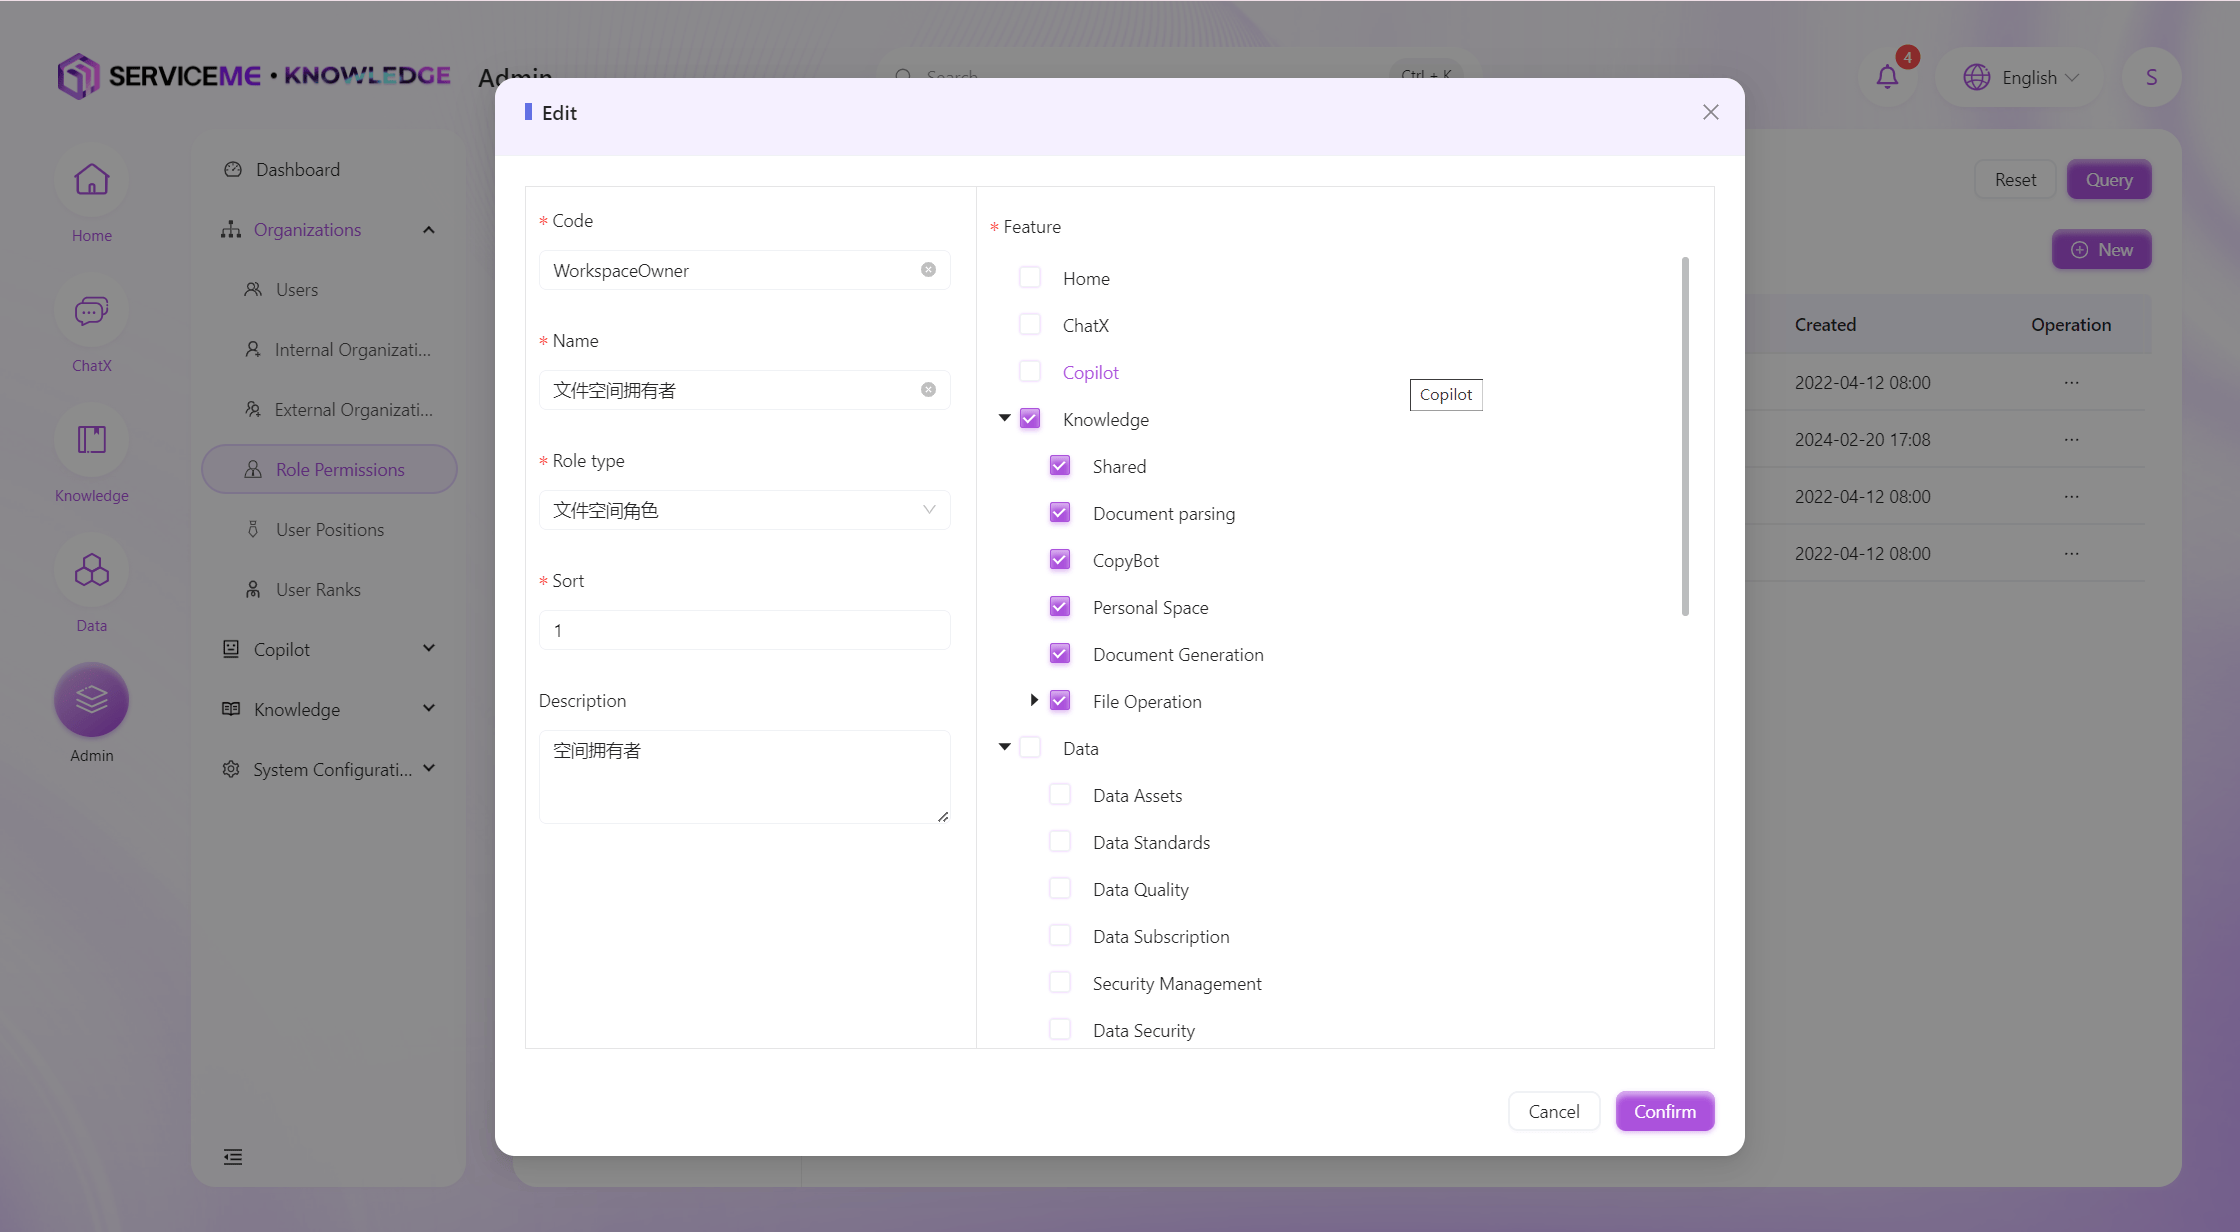
Add a Custom Role
- The system has pre-configured roles: Super Administrator, Expert Administrator, Expert User, Knowledge Administrator, Knowledge User.
- Administrators can click the "Edit" button to view the authorized functions of default roles.
- It is not recommended to delete system default roles.
- Click to select a role type, for example
Custom Role; - Click the "Add" button to open the Add Role window;
- Enter a custom code in "Role Code", for example
CustomRole;
Enter a custom role name in "Name", for exampleCustom Role;
Enter a custom number in "Sort" to control the order of the role in the list, for example1;
Enter a custom description in "Description", for exampleCustom role with module and expert module.;
Check the custom functions in "Authorized Functions", for exampleExpert,Knowledge; - Click the "OK" button, and the custom role will be added successfully.
Authorize Roles to Users and Organizations
- Select a role, for example
Expert Administrator; - Click the "Authorize" button to open the authorization window;
 14. Check the organizations and users to be authorized, for example
 Operations Center, qa_test01;
15. Click the "OK" button, and the role will be authorized successfully.
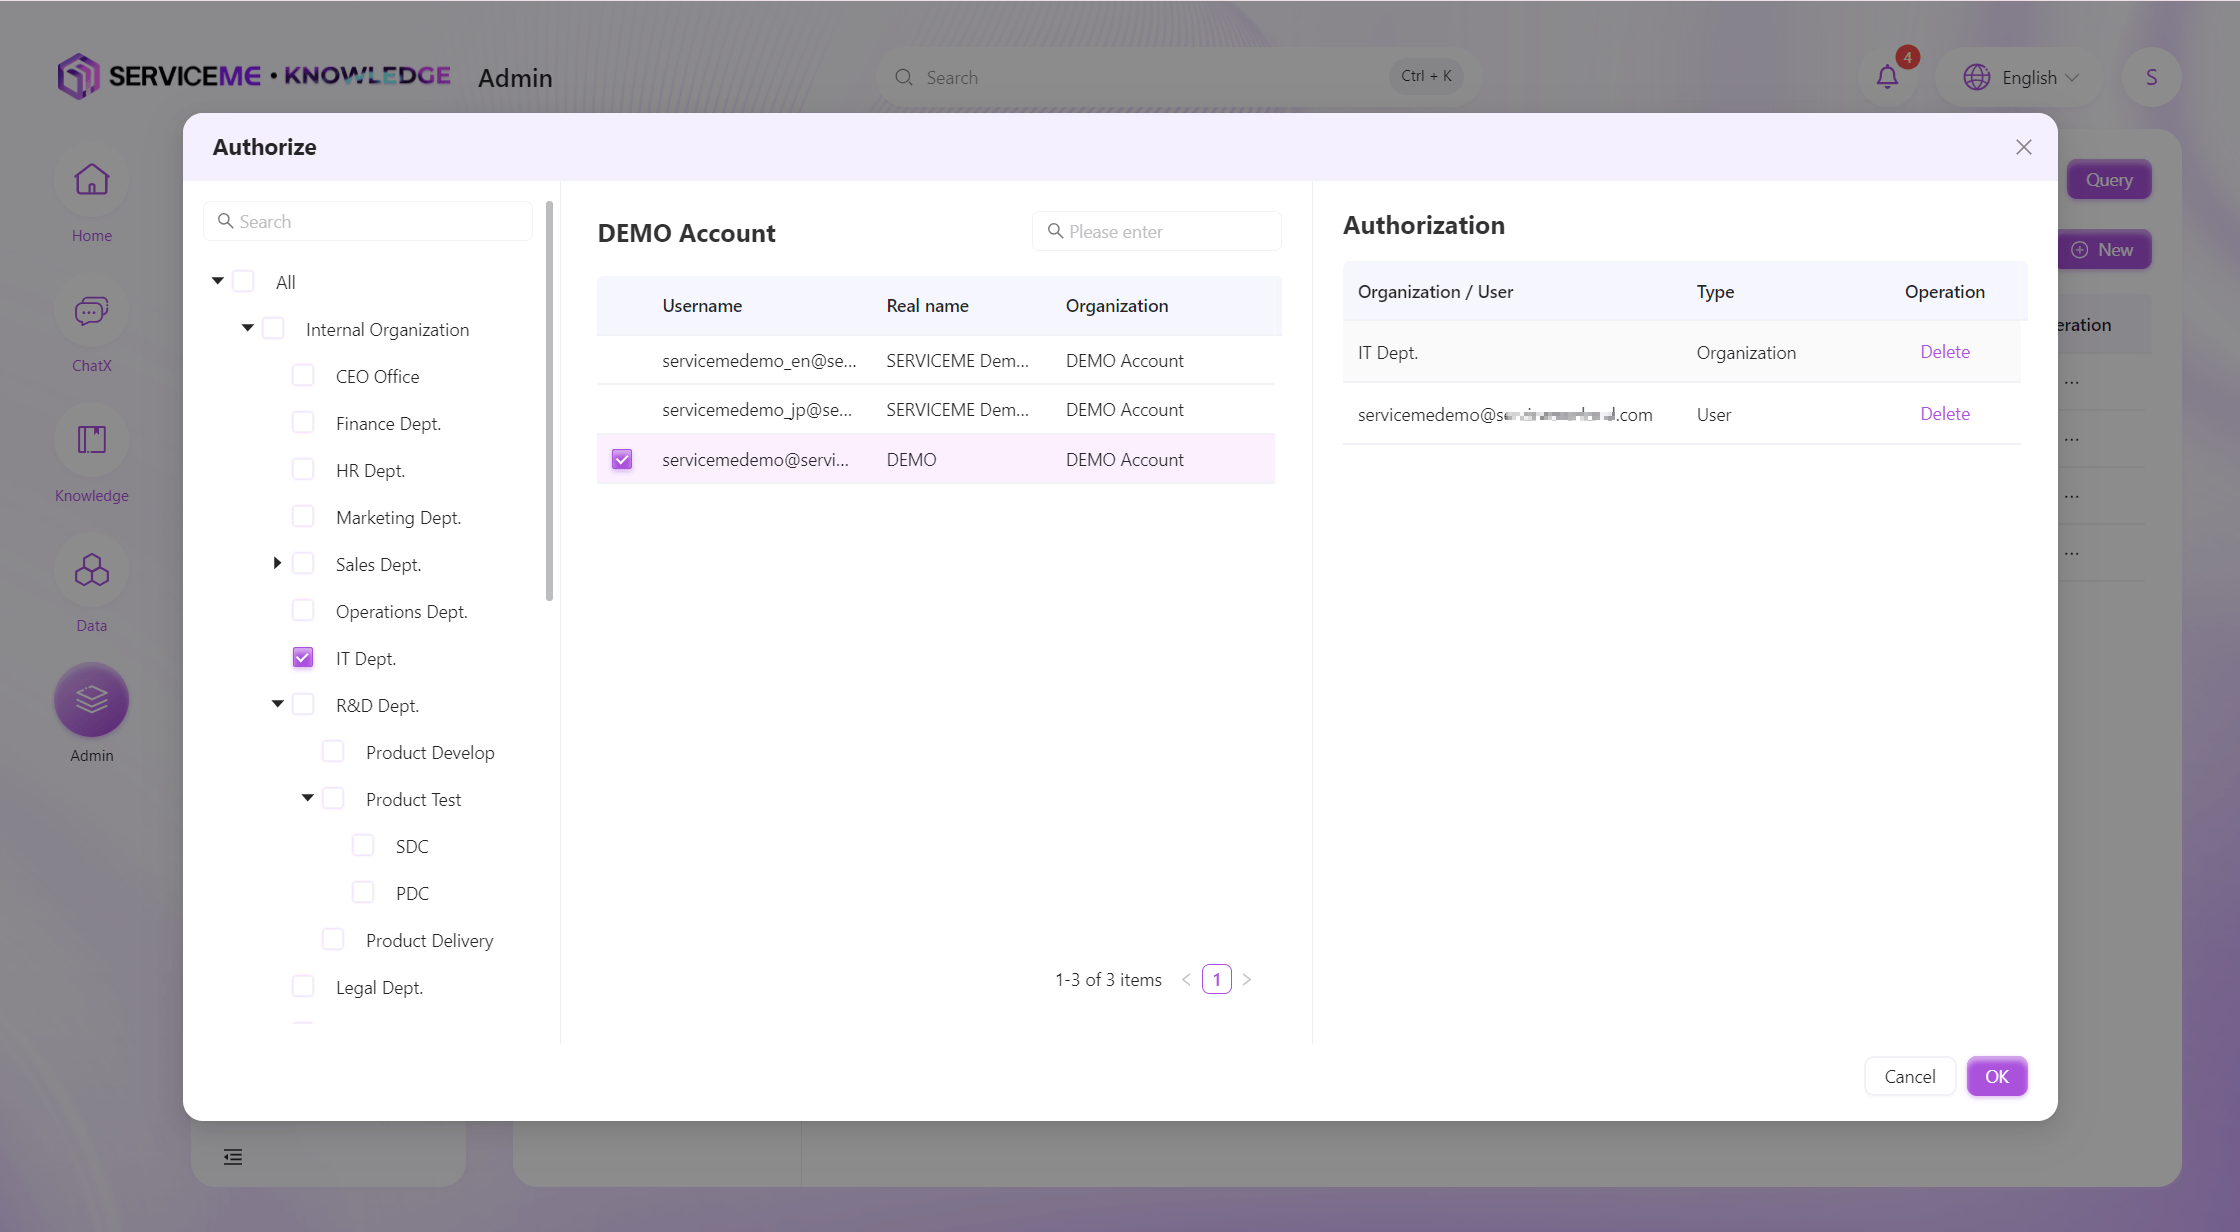
- Authorized users can view the functional menus owned by the role.
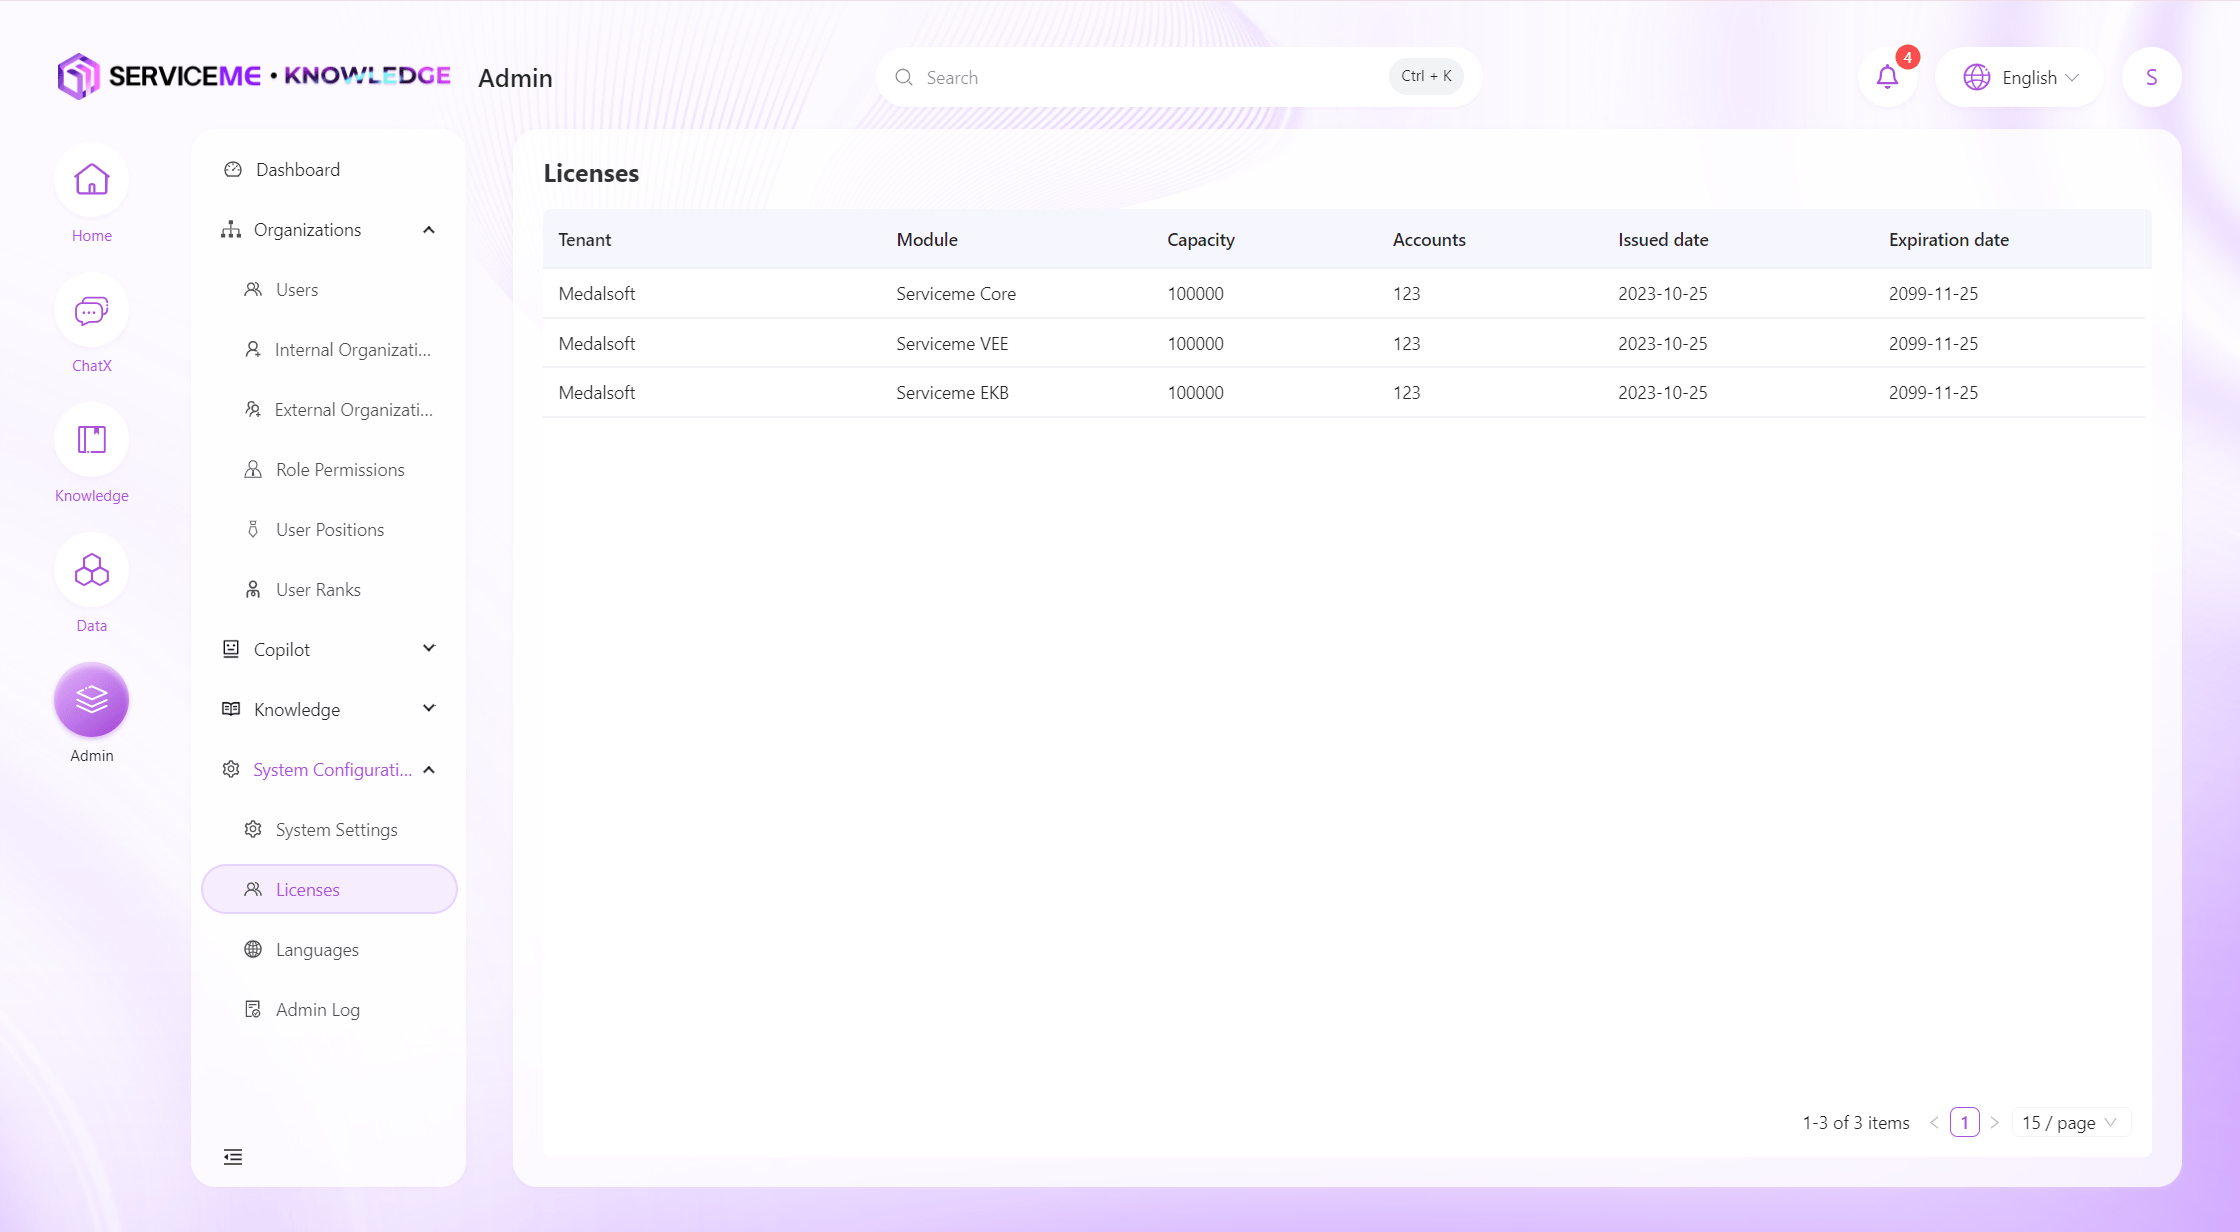
How to View Application License Information?
- Log in to the SERVICEME platform;
- Switch to the "Administration" platform;
- Navigate to "System Configuration > License Information".
- The page displays test data only.
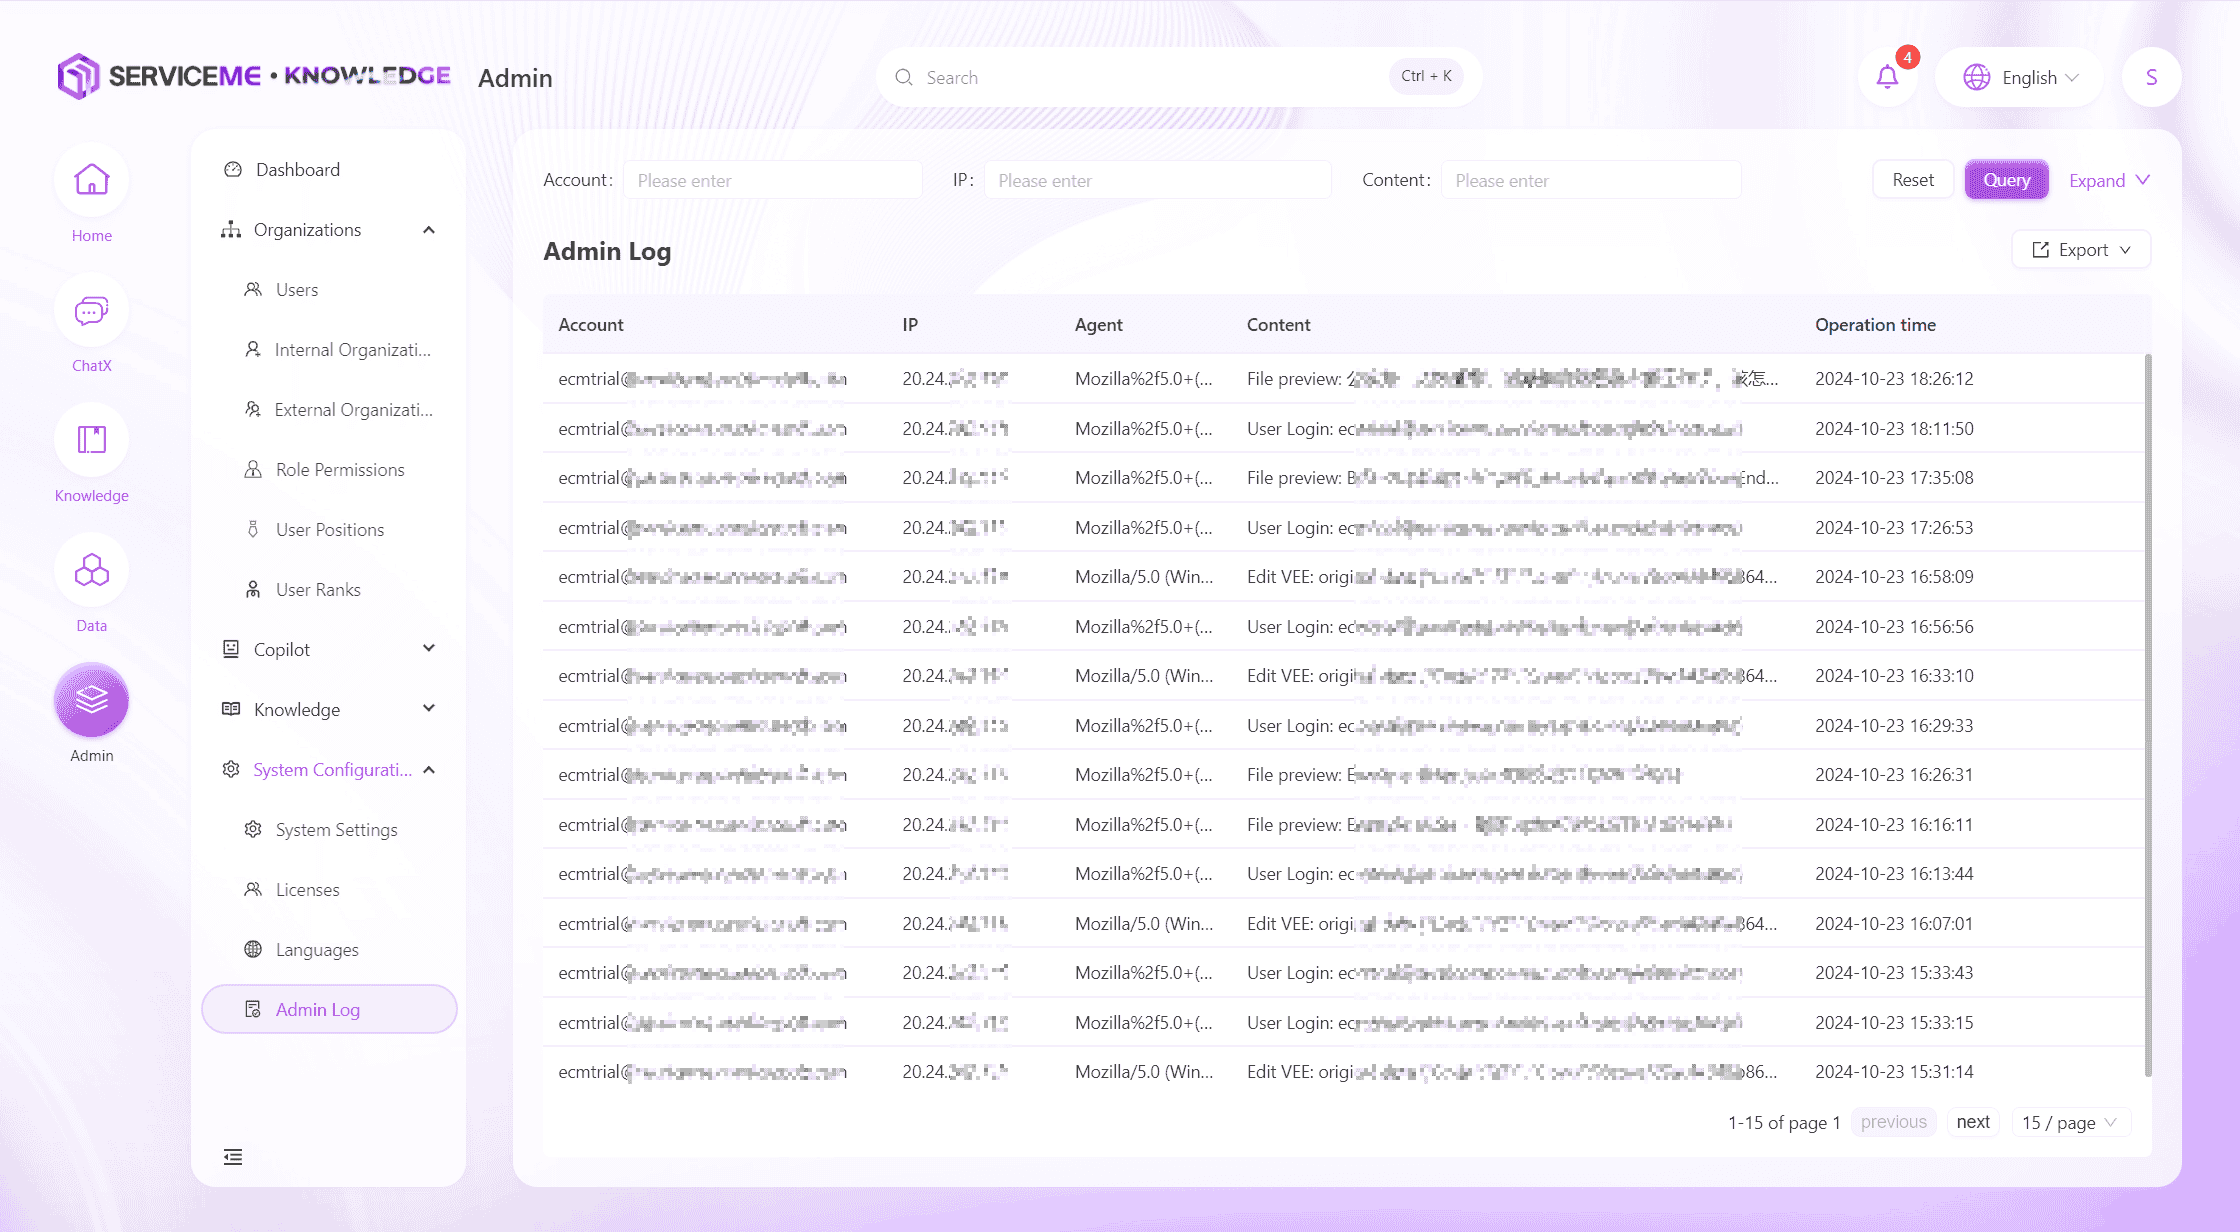
How to View All Administrator Operation Logs?
- Log in to the SERVICEME platform;
- Switch to the "Administration" platform;
- Navigate to "System Configuration > Administrator Logs".
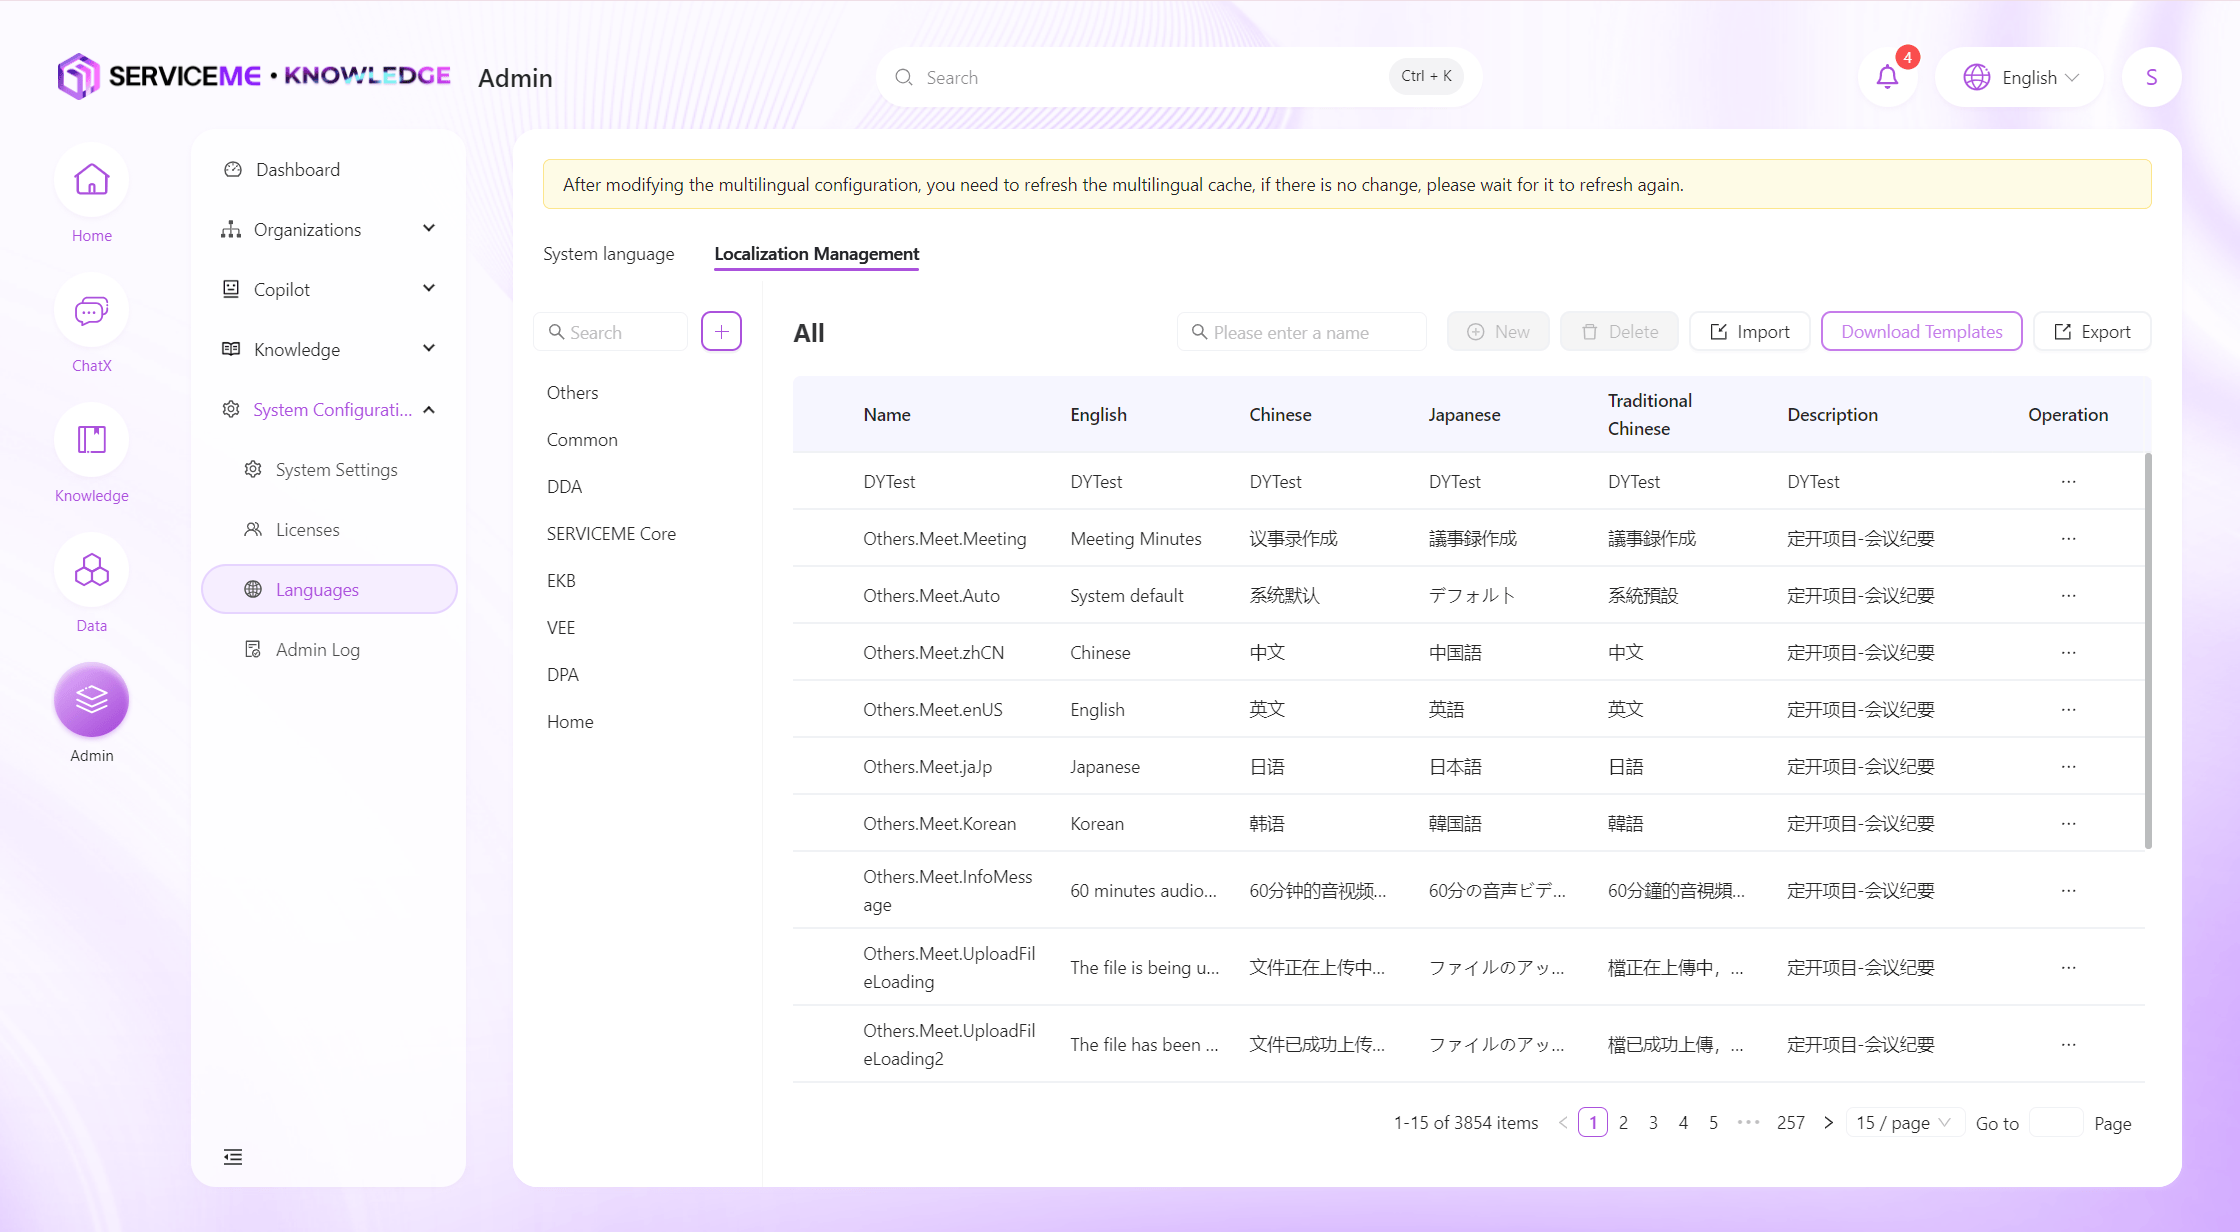
How to Maintain Multilingual Display Texts on the Page?
- Log in to the SERVICEME platform;
- Switch to the "Administration" platform;
- Navigate to "System Configuration > Multilingual Management";
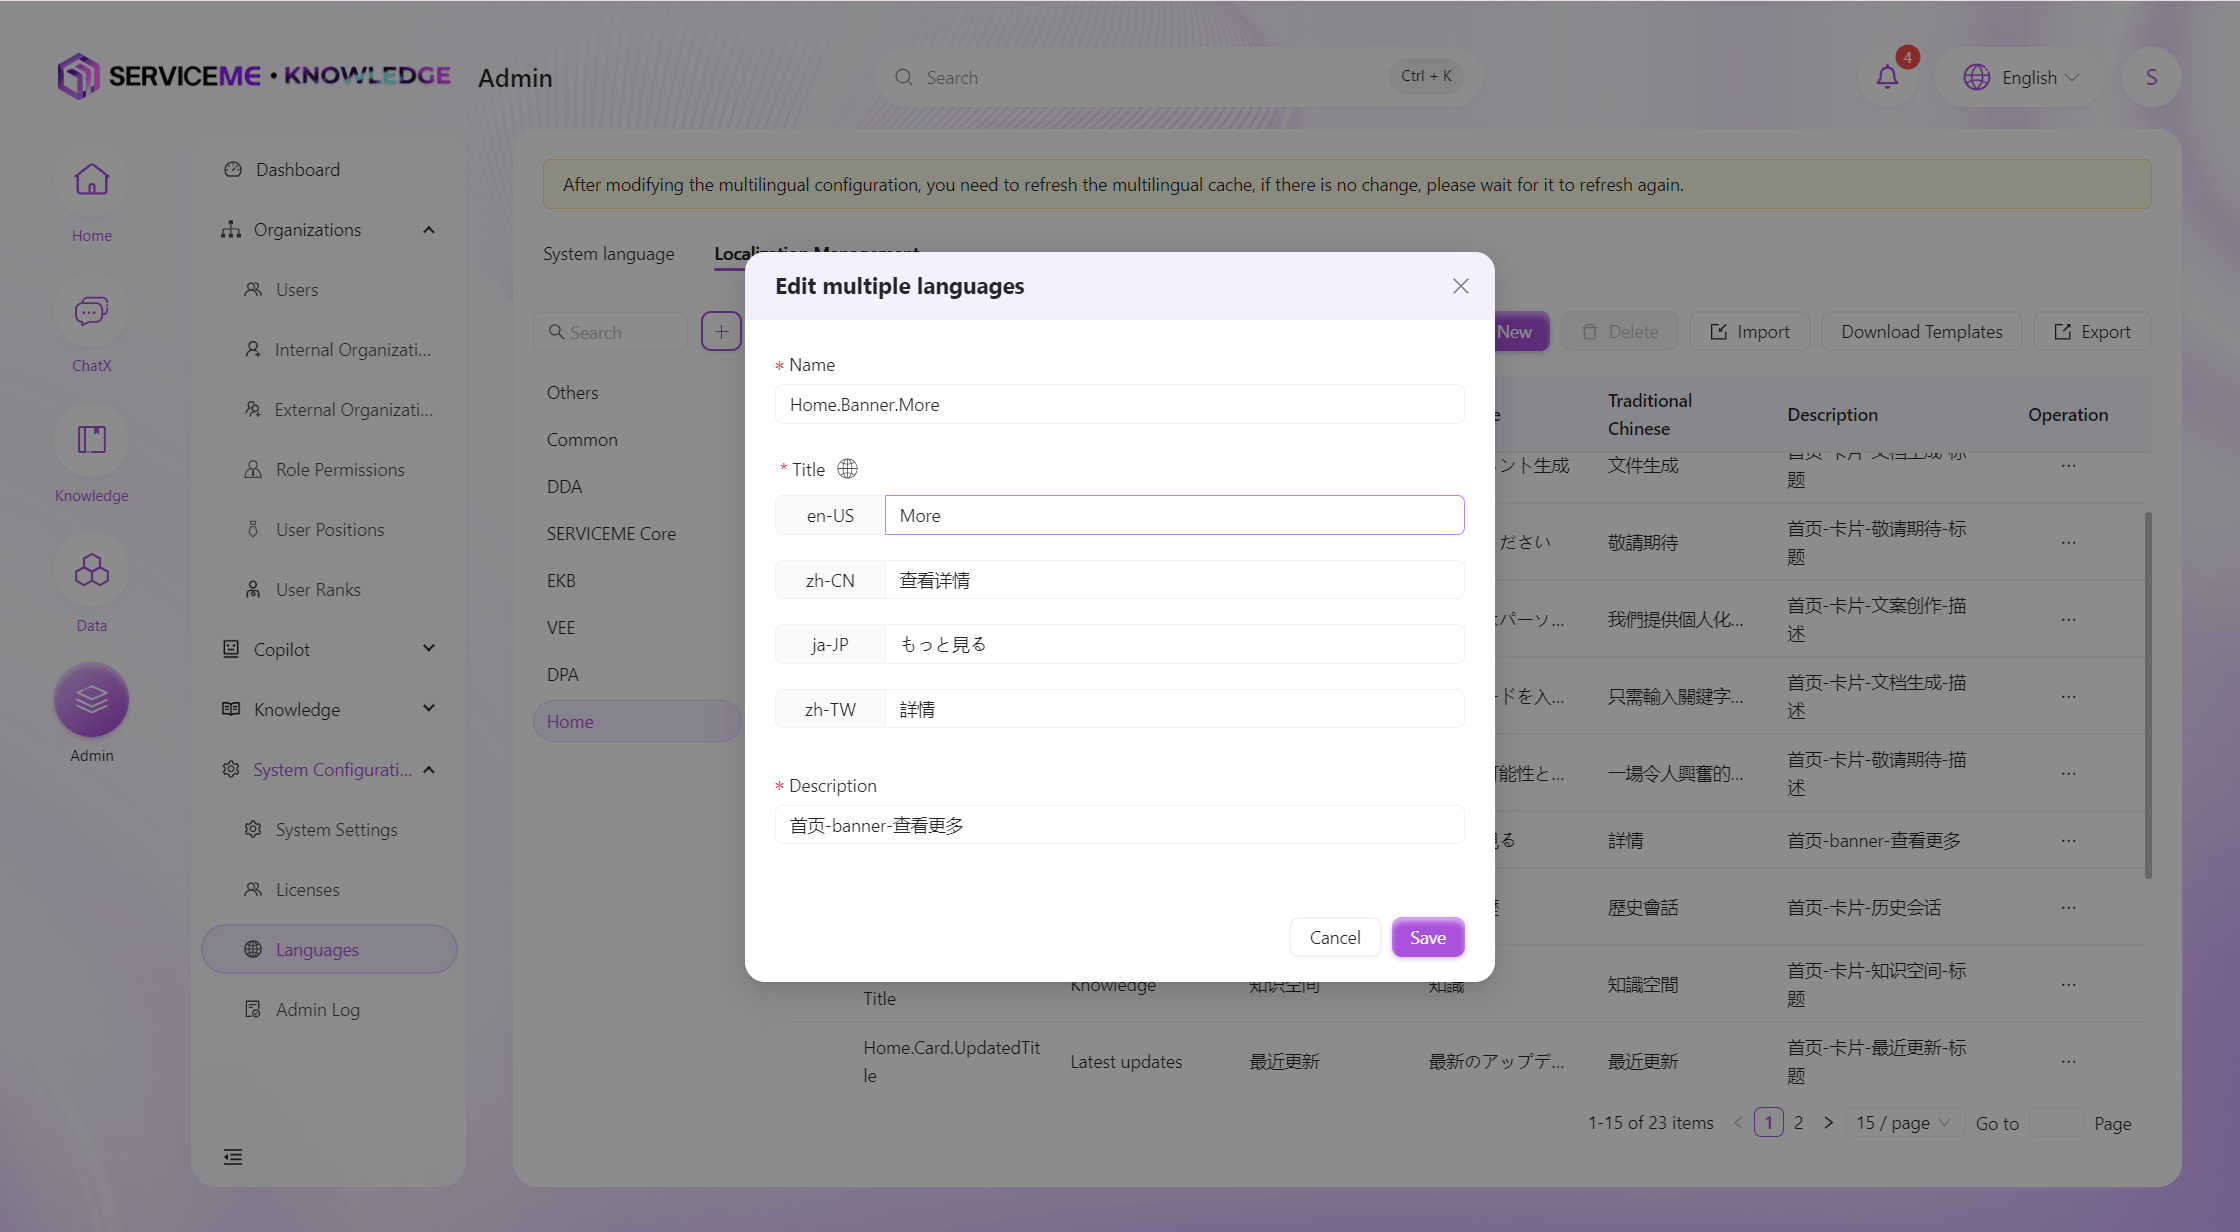
Maintain a Single Multilingual Display Text
- In the "Multilingual Management" tab, select the multilingual record to be maintained and click the "Edit" button to open the multilingual maintenance window;

- Modify the multilingual display text and click the "Save" button to successfully maintain the multilingual display text.
Batch Maintain Multilingual Display Texts
- In the "Multilingual Management" tab, click the "Download Template" button to get the Excel template;
- Enter batch information according to the import template and save;
- In the "Multilingual Management" tab, click the "Import" button, select the import file, and confirm;
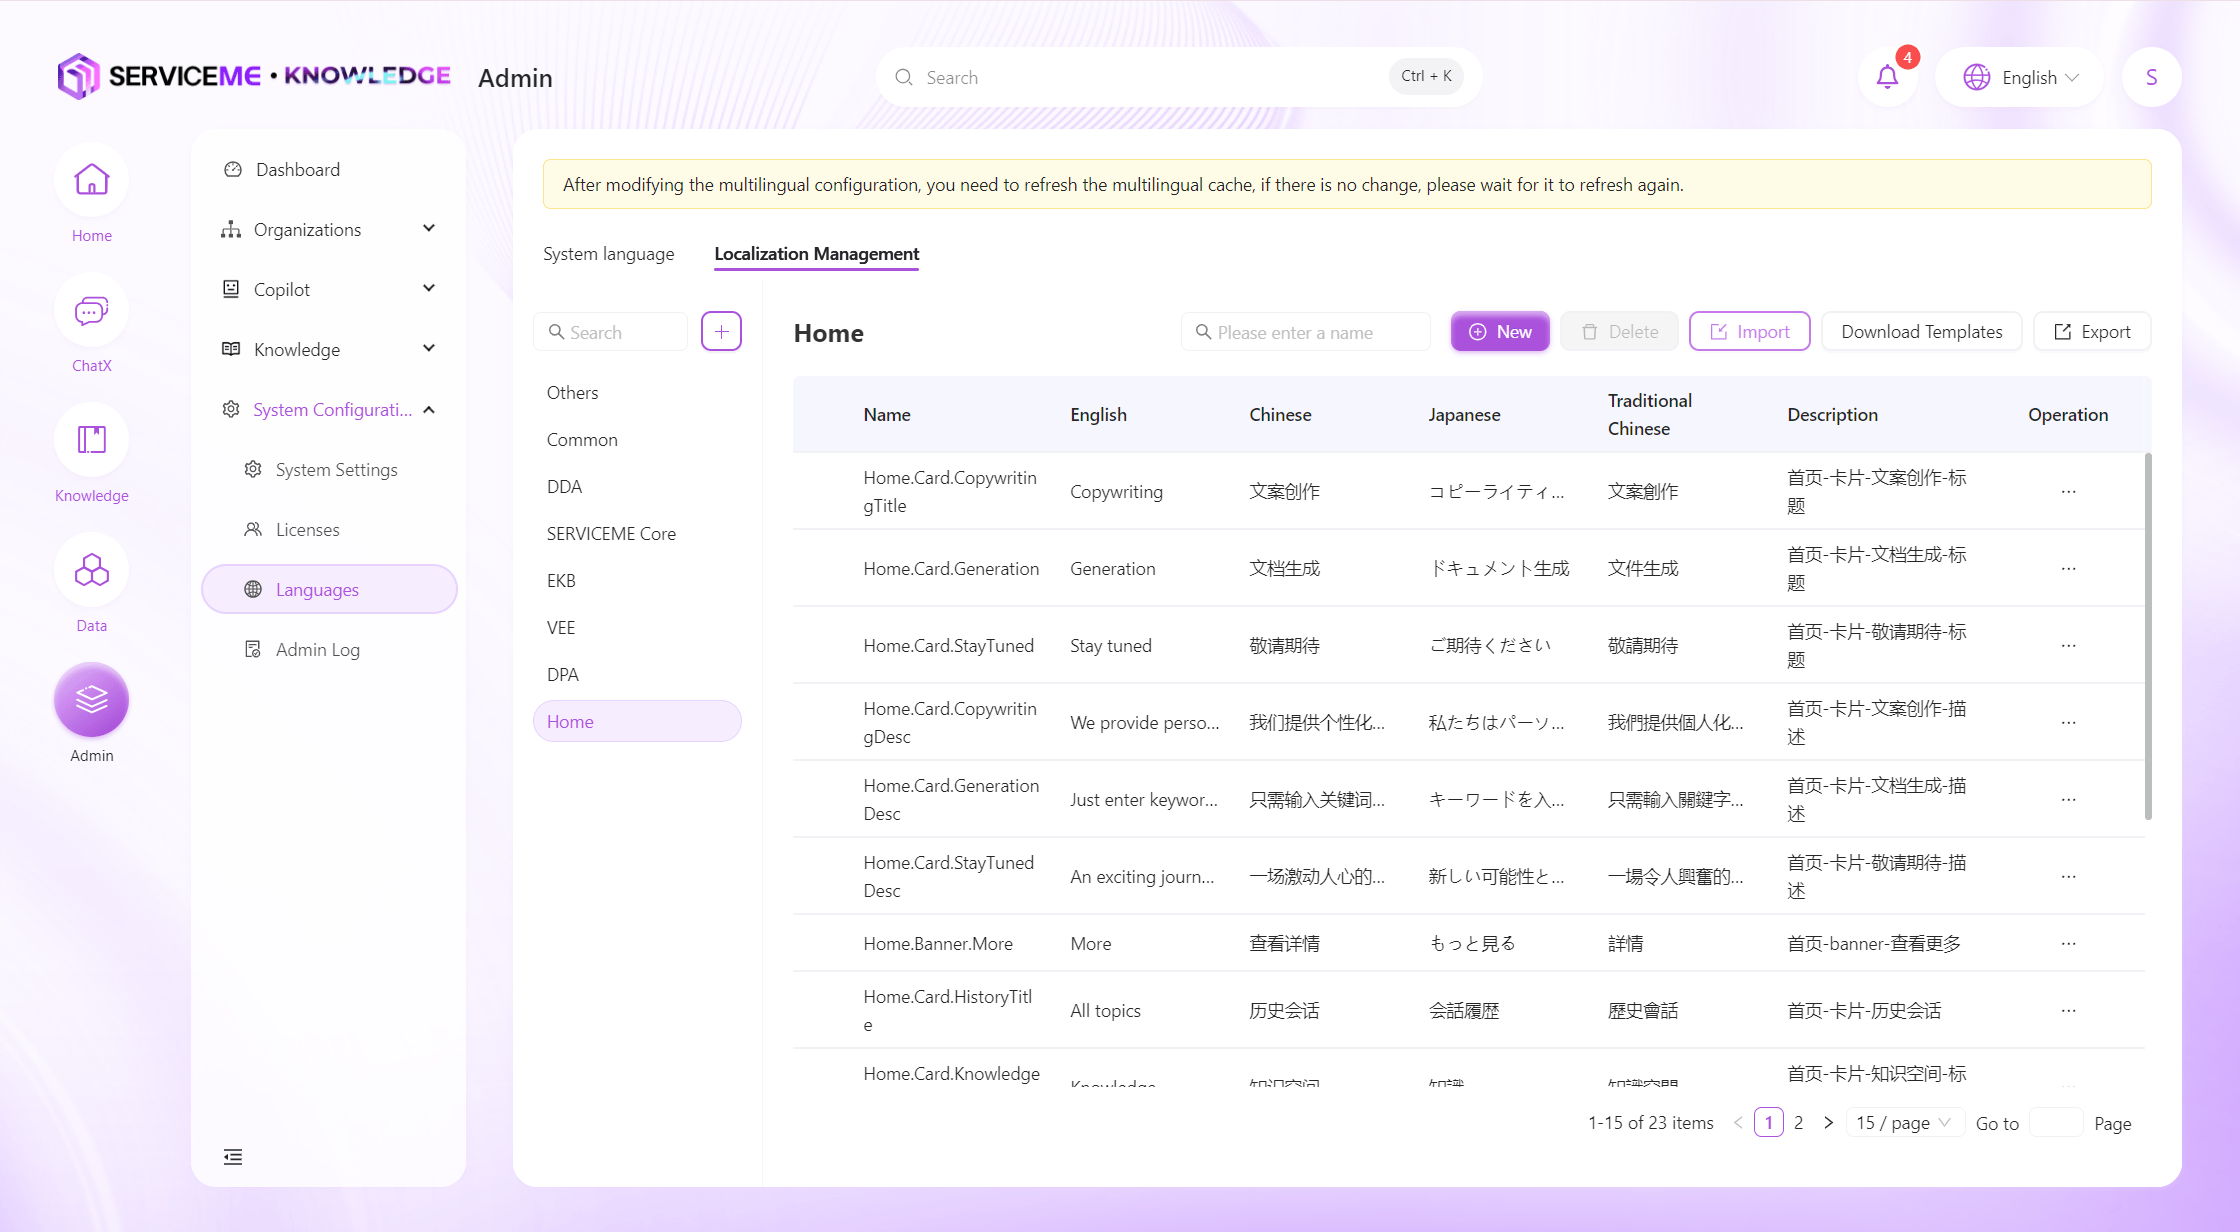
- Batch import of multilingual display texts is successful.
- Batch import of multilingual texts is very suitable for batch updating multilingual texts.
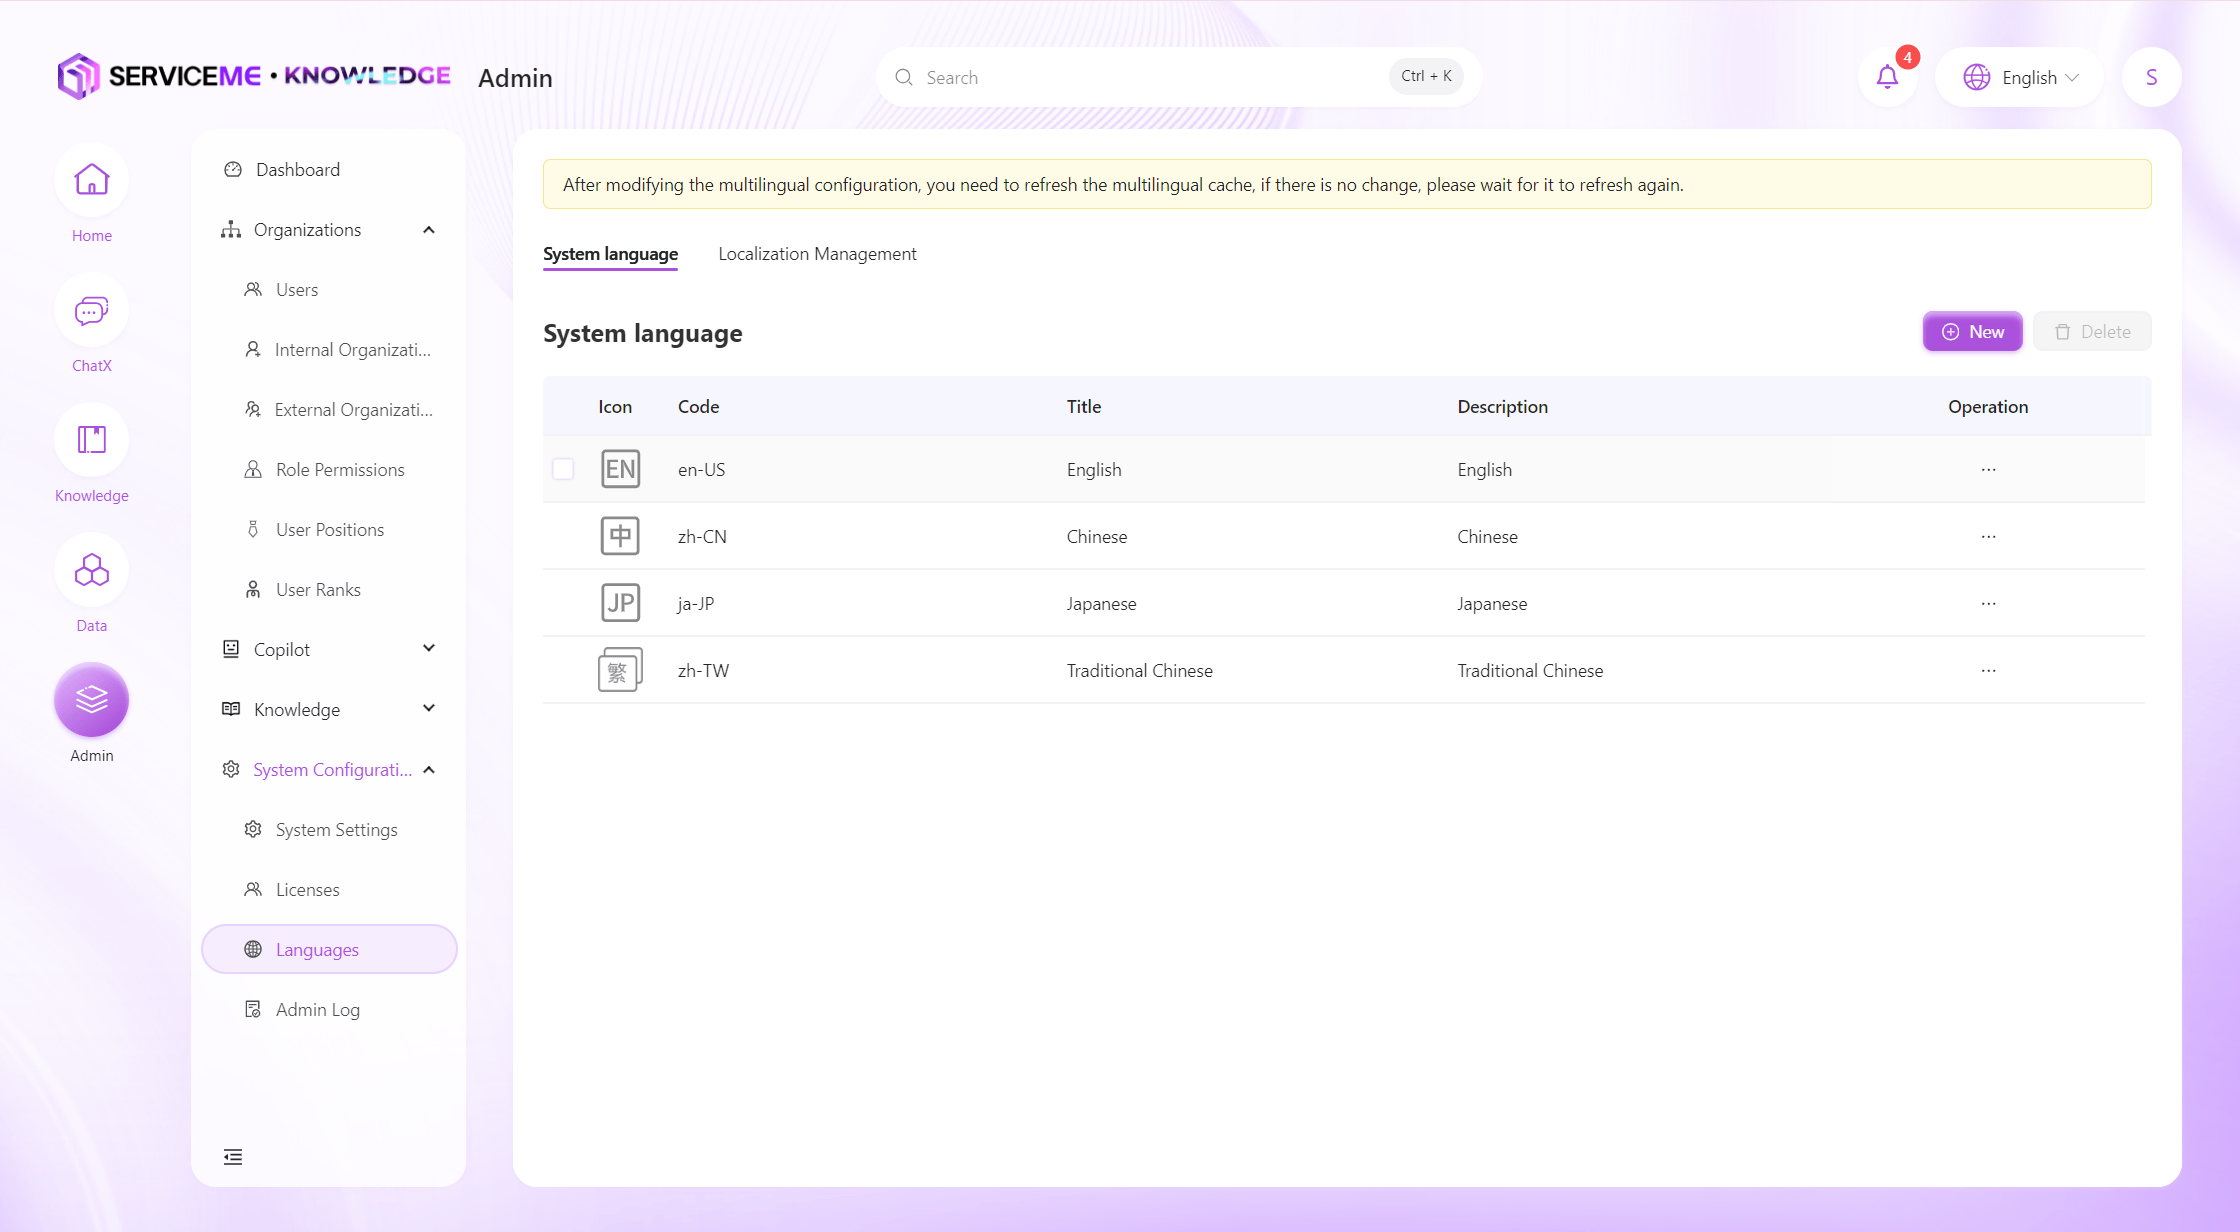
How to Add a Language?
- Log in to the SERVICEME platform;
- Switch to the "Administration" platform;
- Navigate to "System Configuration > Multilingual Management";
- The system provides Chinese, English, and Japanese by default.
- The newly added system language must be within the range of 46 language codes.
- In the "System Language" tab, click the "Add" button to open the Add System Language popup;
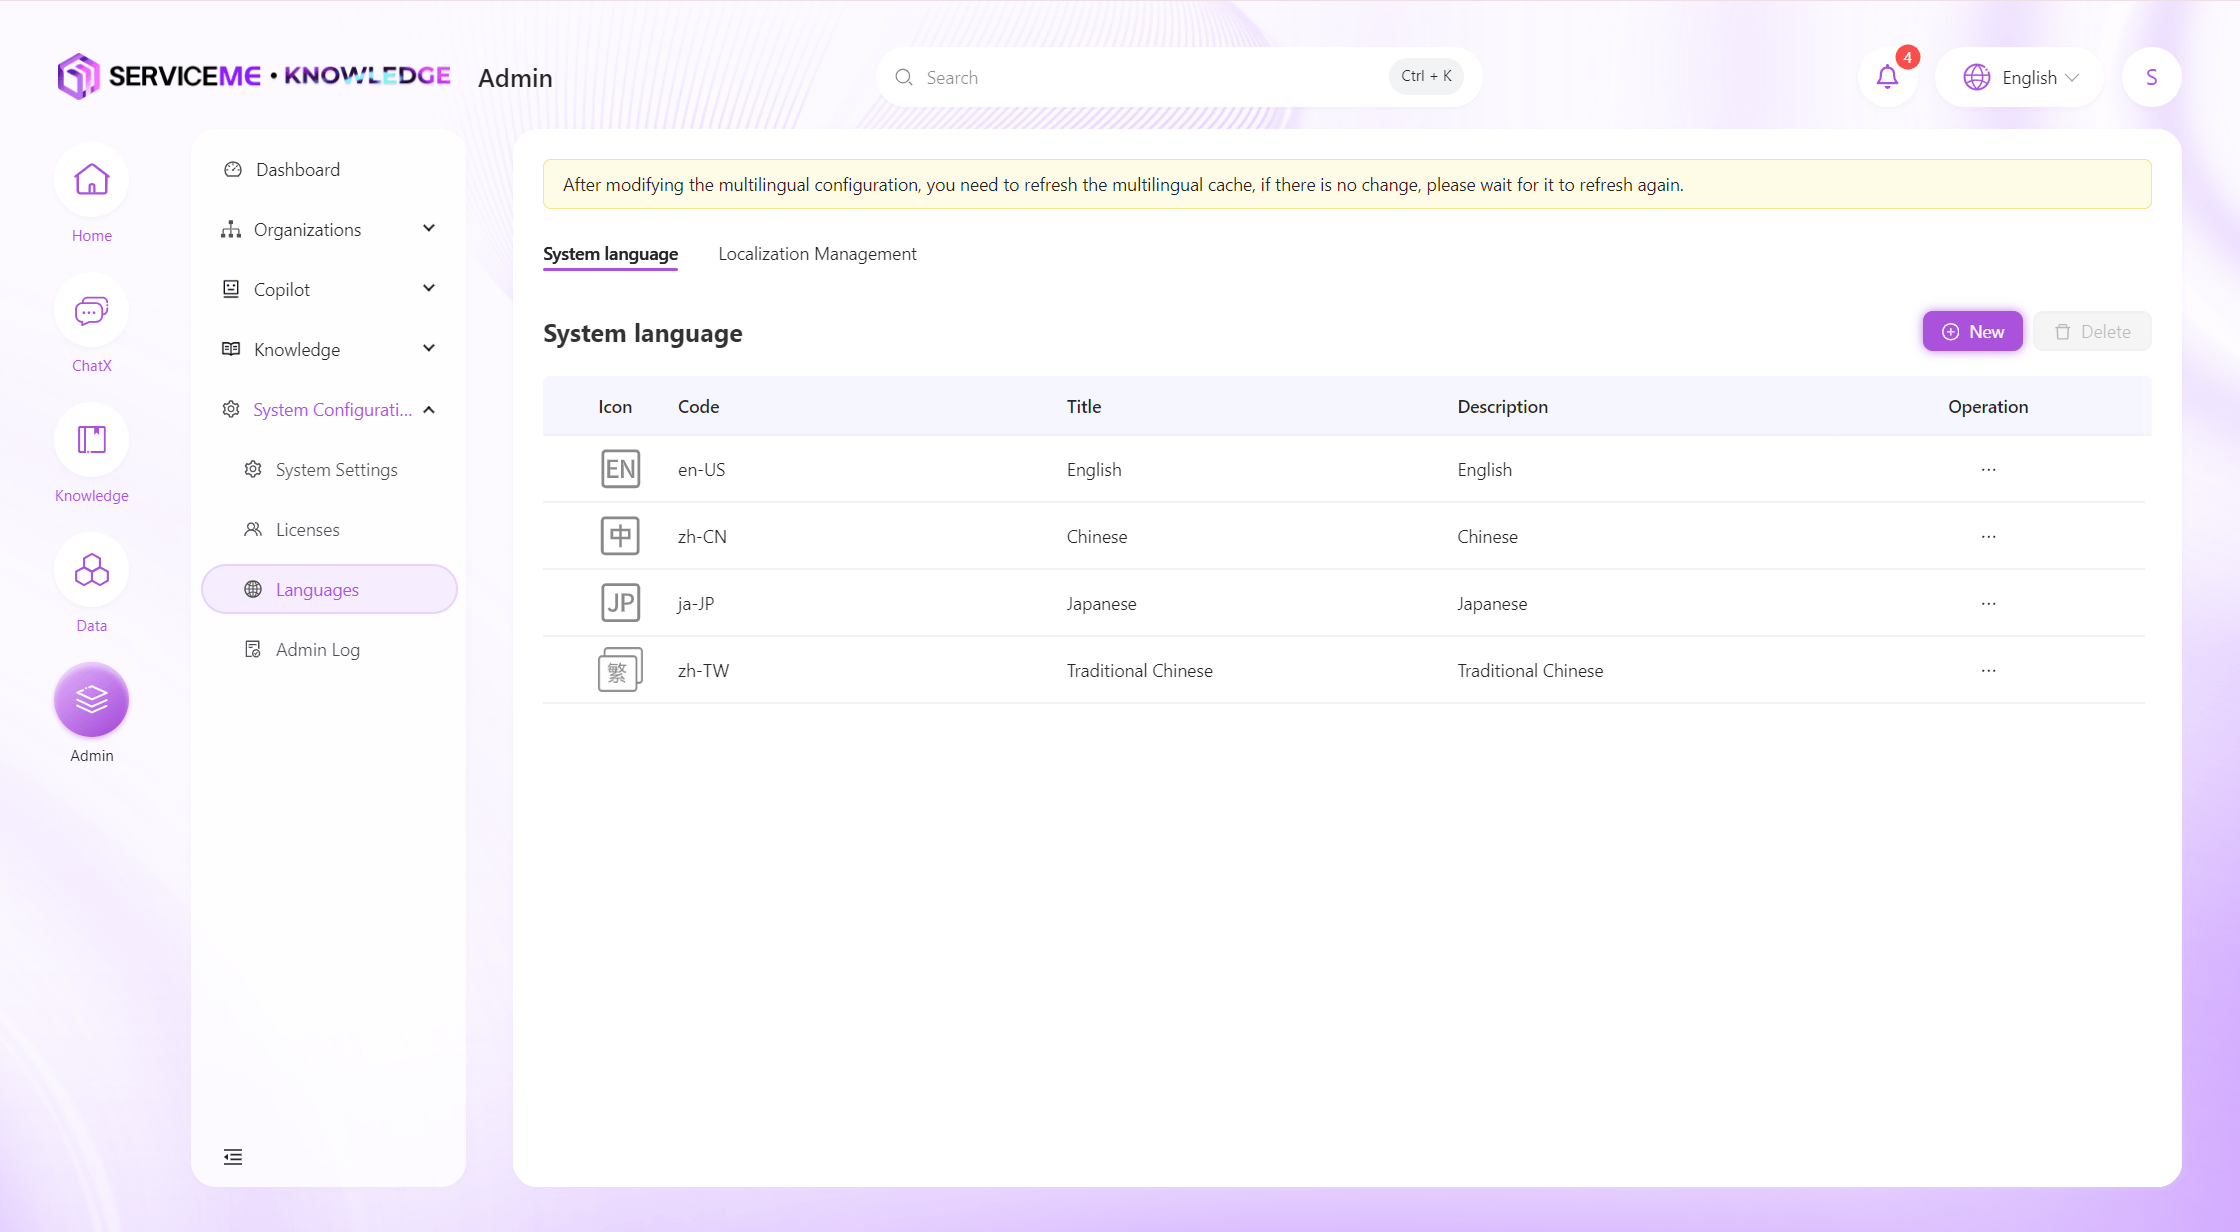
-
Enter the correct language code in "Code", for example
ja-JP;
Enter the multilingual display text for this language in "Title";
Upload the icon representing this language in "Icon";
Enter a custom number in "Sort" to control the order of the system language in the list, for example3;
Enter a custom description in "Description", for exampleJapanese; -
Click "Save", and the system language will be added successfully.

How to Modify the Application's Display Name, Logo, and Default Language?
- Log in to the SERVICEME platform;
- Switch to the "Administration" platform;
- Navigate to "System Configuration > System Settings";
- Enter a custom title in "Title", for example
ONE AIGC PLATFORM;
Upload a custom logo in "Icon"; - Click the "Submit" button to complete the system configuration.
![]()
- Currently, only "System Title" and "System Icon" can be modified.
How to Hide or Show System Functions?
- Log in to the SERVICEME platform;
- Switch to the "Administration" platform;
- Navigate to "System Configuration > Application Settings";
- Select the system functions you want to hide or show, and turn off/on the "Available Status" to complete the operation.
