Knowledge Base Management
In the Knowledge module, users can create knowledge bases in My Space or Enterprise Space for unified management of documents, folders, retrieval configurations, and access permissions.
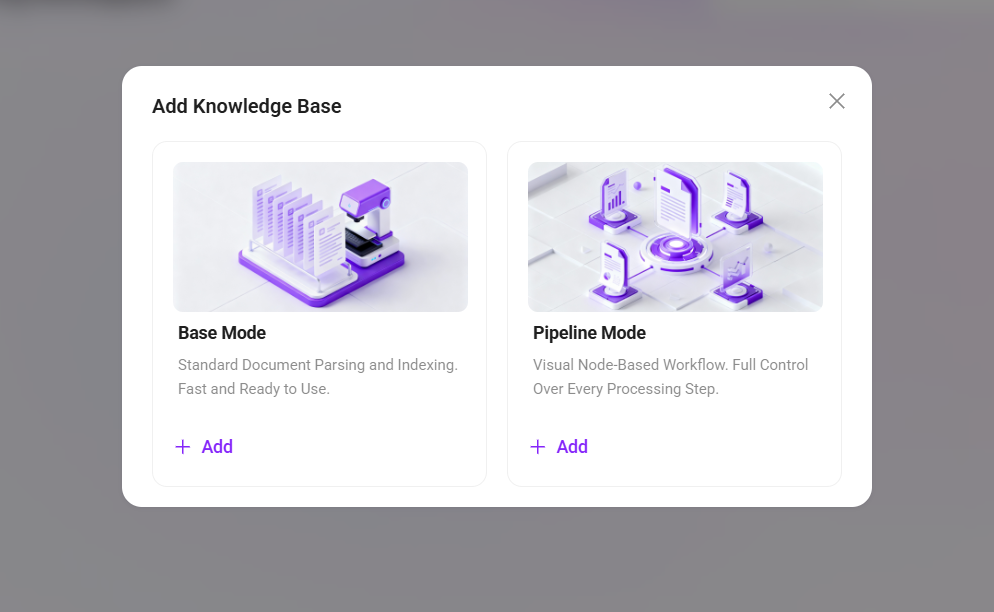
The entry point for creating a knowledge base is located in the upper-right corner of the My Space and Enterprise Space pages. When creating a knowledge base, you need to choose one of the following two modes:
- Basic Mode: Suitable for standard knowledge base integration scenarios, with simple configuration for quick deployment.
- Pipeline Mode: Suitable for scenarios that require customized processing chains, supporting finer-grained file processing and retrieval control through Pipeline rules.
The table below compares the main differences between My Space and Enterprise Space in knowledge base management:
| My Space | Enterprise Space | |
|---|---|---|
| Create knowledge base | ✅ | ✅ |
| Create sub-knowledge base | ❌ | ✅ |
| Folders | ✅ | ✅ |
Notes:
- My Space: Only supports creating first-level knowledge bases and does not support creating sub-knowledge bases. It initially includes two default system knowledge bases: Default Knowledge Base and Chat Files.
- Enterprise Space: Supports creating first-level knowledge bases and allows continued creation of sub-knowledge bases under them.
How to Create a New Knowledge Base?
Creation Steps
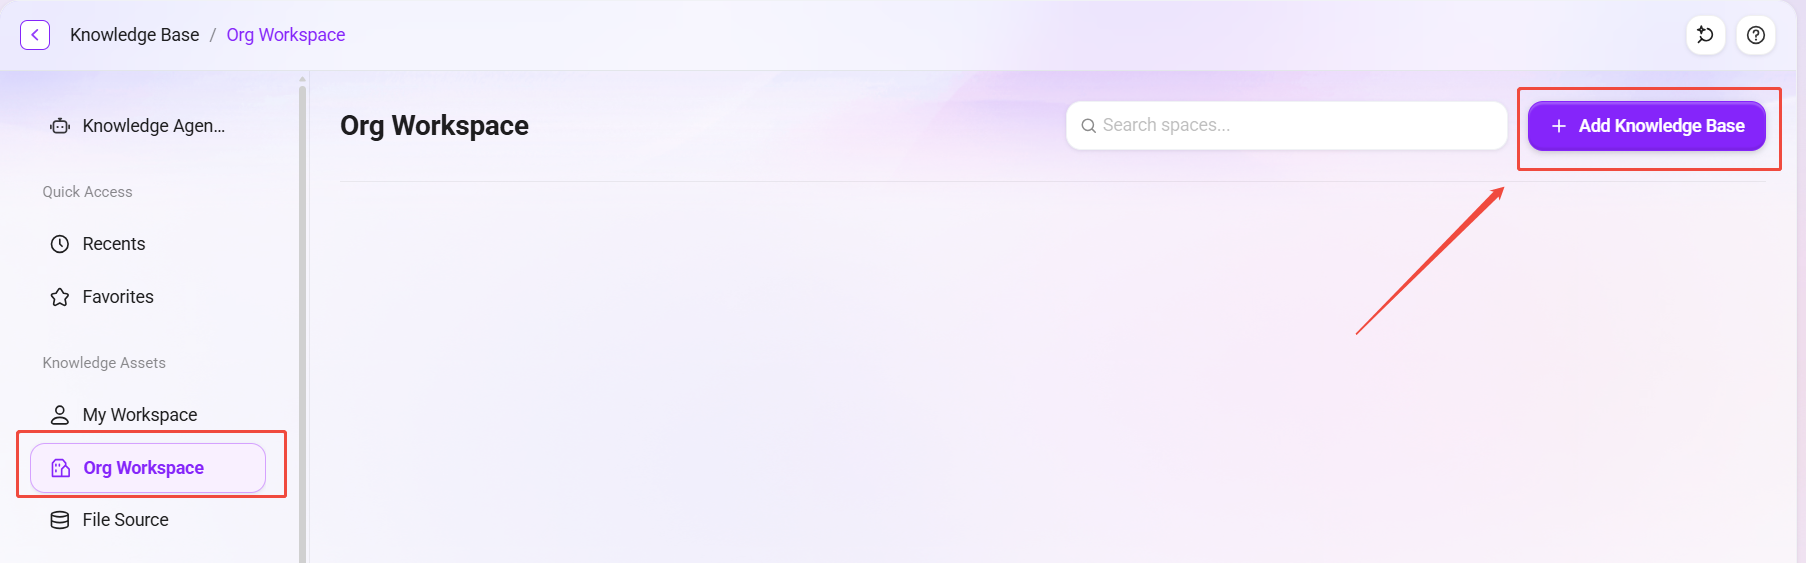
- Go to Knowledge Base → My Space or Enterprise Space.
- Click Create Knowledge Base in the upper-right corner of the page.
- Select the knowledge base mode: Basic Mode or Pipeline Mode.
- Fill in the relevant information and complete the configuration.
- Click Create to complete the knowledge base creation.
💡 Tip: Creating a knowledge base in Enterprise Space requires corresponding administrative permissions.
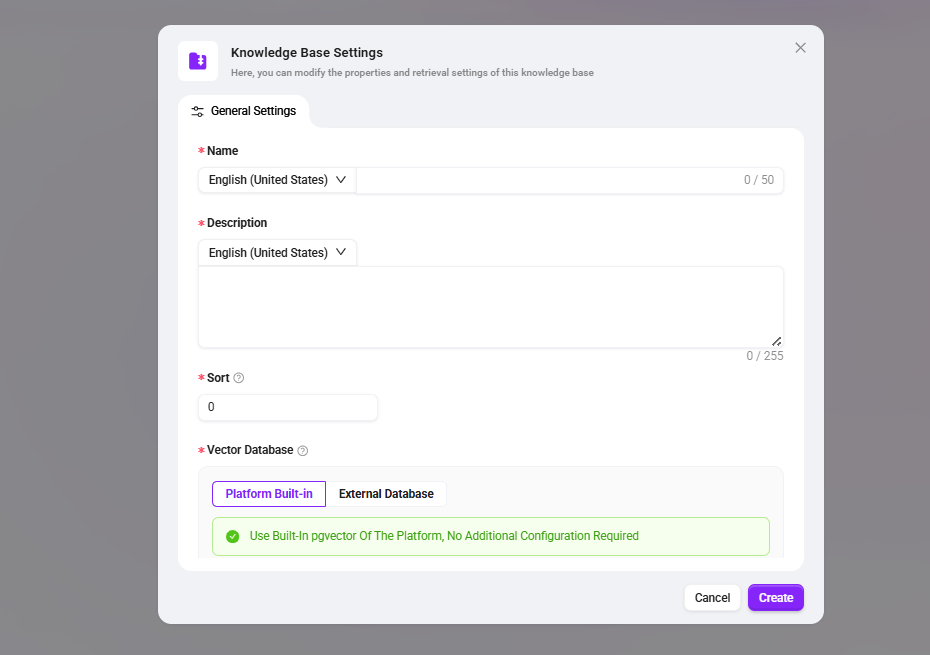
General Configuration
No matter which mode is selected, the following basic configurations must be completed:
- Name: The name of the knowledge base.
- Description: Descriptive information for the knowledge base.
- Sort Order: Used to control the display order of the knowledge base in the list.
- Supported File Formats: Select the allowed upload file types from the dropdown list.
- Vector Database
- Platform Built-in: Use the platform’s built-in vector database.
- External Database: Connect to an external vector database.
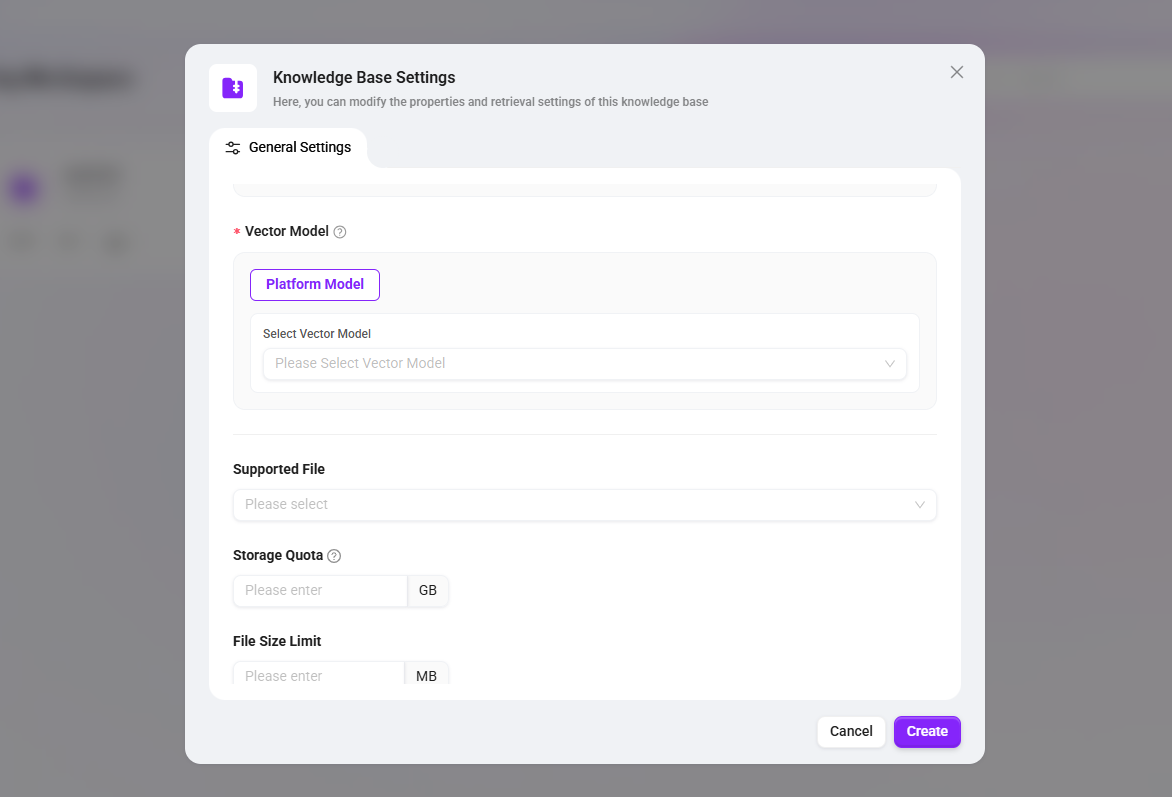
- Vector Model: Used for text vector embedding.
- If External Database is selected for the vector database, an additional Database Built-in Model option will appear under the vector model (using the database’s own vectorization capability to automatically generate vectors when data is stored); in this case, you need to fill in Model Name and Dimension.
- Storage Quota: Limits the total storage space of the knowledge base.
- File Size Limit: Limits the size of a single uploaded file.
💡 Tip: After customizing the upload file size and format restrictions, if an uploaded file does not meet the requirements, the system will provide a corresponding prompt.
Pipeline Mode Configuration
If you need to customize file processing workflows, retrieval strategies, or connect different processing chains, you can choose Pipeline Mode. In addition to the general configuration, the following settings are also required:
Retrieval Settings
- File Preview: Controls whether files in the knowledge base (documents, images, videos, audio) support online preview.
- File Indexing: Sets whether various resources are added to the global search index. If disabled, the corresponding resources cannot be retrieved through keyword search.
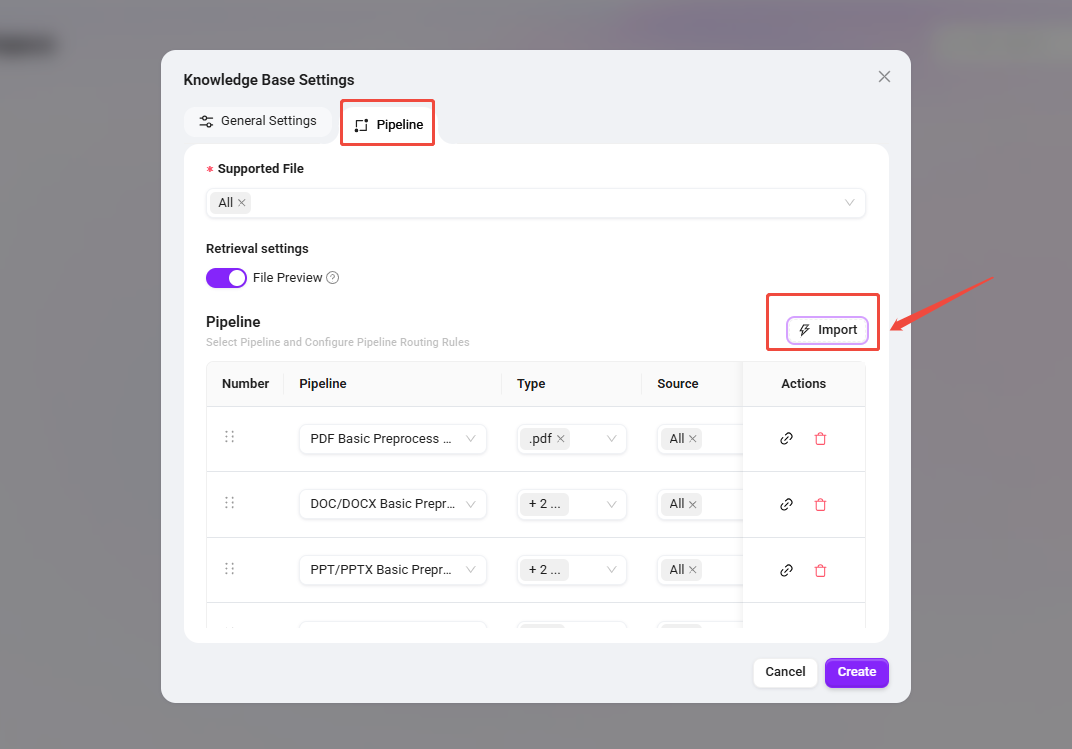
Pipeline Configuration Rules
Used to specify corresponding preprocessing Pipelines for different file types, sources, or paths to achieve differentiated processing.
- Import Default Rules: Click Import to load the system preset Pipeline assignment rules with one click and quickly complete the basic configuration.
- Rule List: Each rule displays the following information:
- Pipeline Name: The preprocessing Pipeline used.
- File Type: Applicable file formats.
- Source: The source of the file.
- File Name: The matching file name, supports wildcards, with the default value
*(matches all files). - File Path: The matching file path, supports wildcards, with the default value
*(matches all paths).
- Rule Operations:
- Details: Click to view the Pipeline workflow bound to this rule, allowing you to modify the process or keep the default.
- Delete: Remove this rule.
Note: Through wildcard configuration for file names and file paths, the processing scope can be precisely limited (for example, only processing
/reportdirectory). If not specified, all files will be matched.
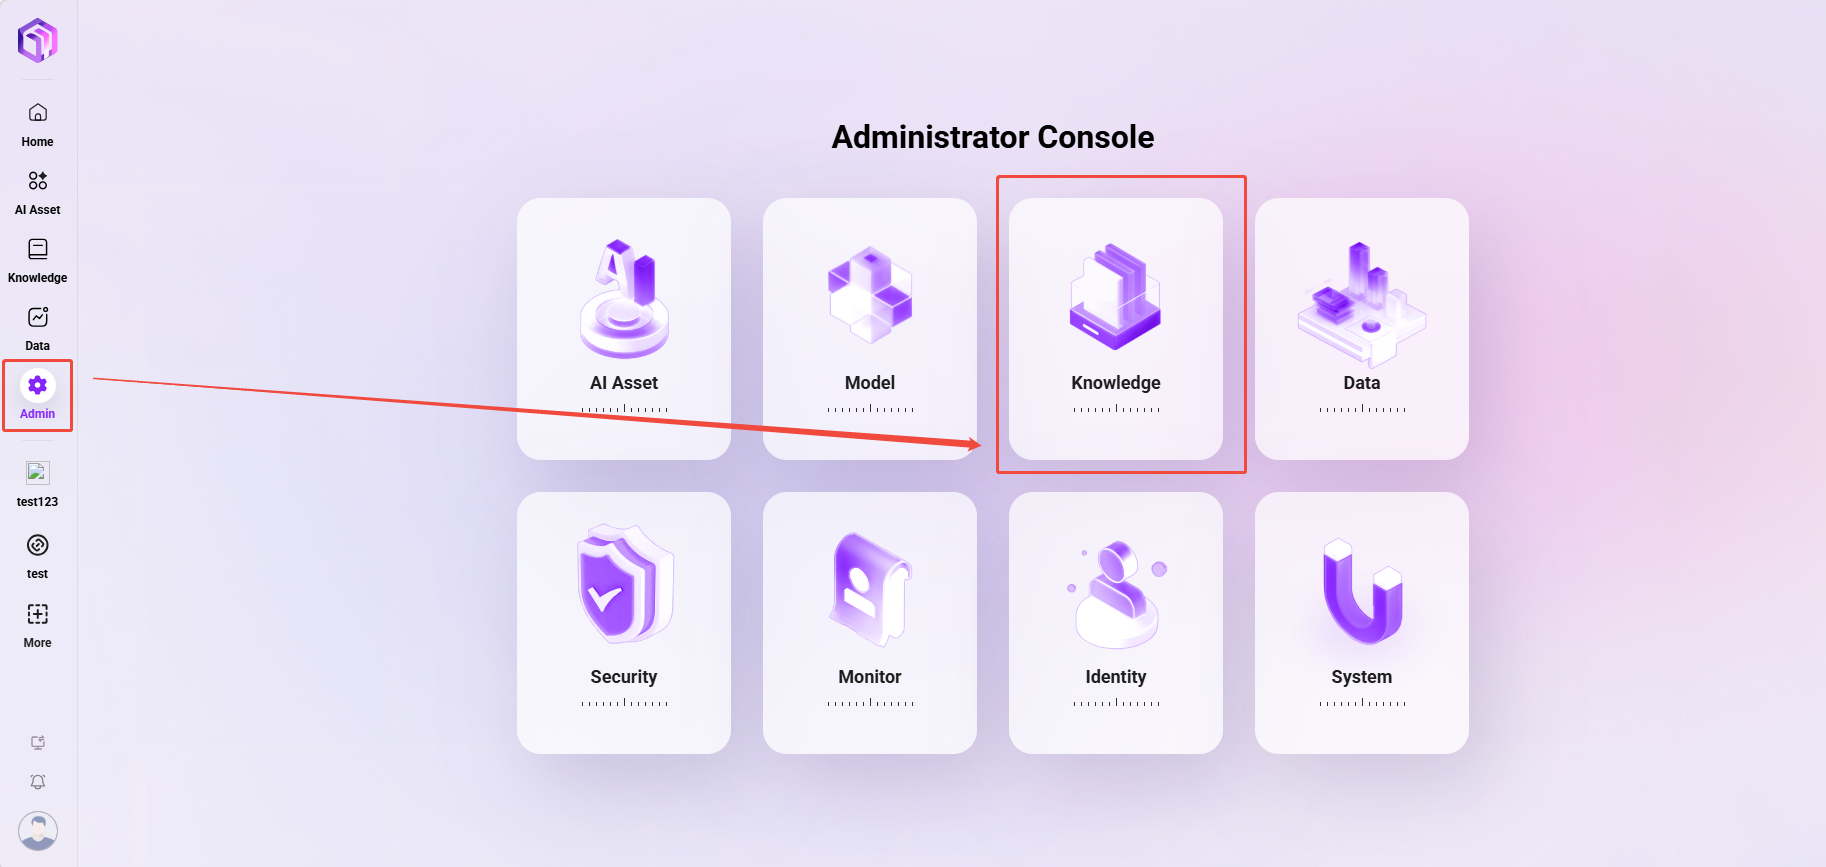
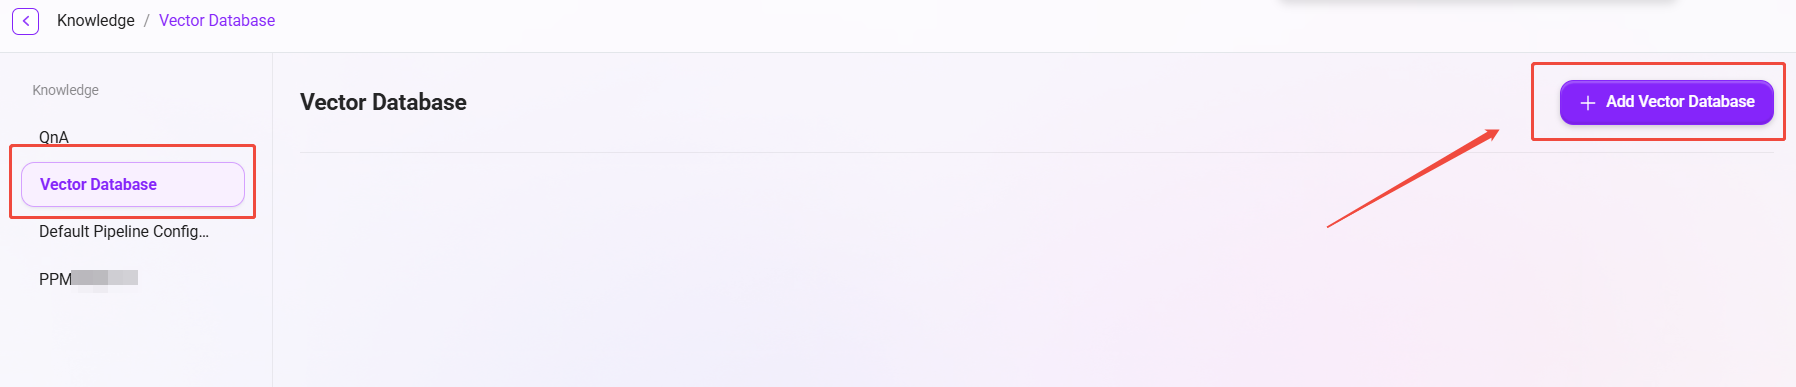
Add a Vector Database
- Navigate to Management → Knowledge Base Management → Vector Database.
- Click the "Add Vector Database" button in the upper-right corner of the page.
- Fill in the basic information:
- Vector Database Name: Used to identify this database connection.
- Vector Database Description: Supplementary description of the database purpose or environment information.
- Vector Database Type: Currently only Snowflake is supported.
- Configure the connection parameters:
- User: Database username.
- Role: Database role.
- Database: Target database name.
- Account: Snowflake account identifier.
- Warehouse: Compute warehouse name.
- Schema: Database schema name.
- Private Key Password: The decryption password for the private key file (leave blank if the private key is not encrypted).
- Private Key Data: Upload the private key file. Supported formats are
.p8,.pem,.key, and.txt. Click the upload area to select a local key file.
- Click "Test Connection" to verify whether the configuration is correct. After successful verification, click "Save" to complete the addition.

How to Add a Sub-Knowledge Base?
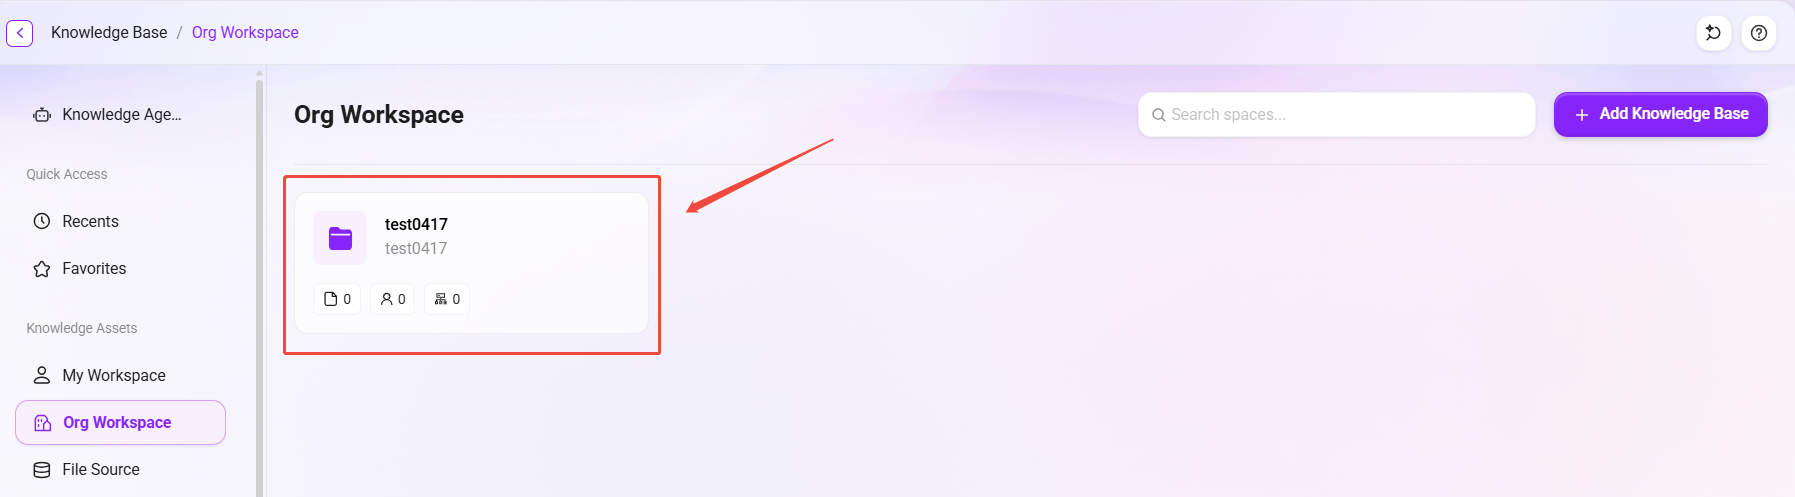
Only Enterprise Space supports adding sub-knowledge bases. The steps are as follows:
- On the Enterprise Space page, click the target knowledge base card to enter the details page.
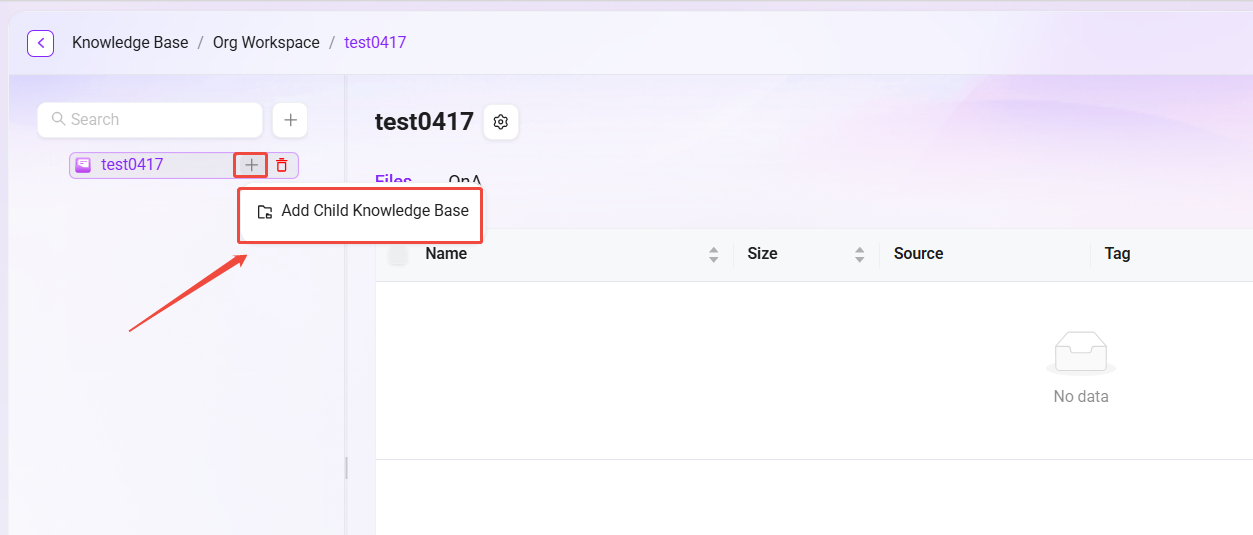
- In the knowledge base directory on the left side of the page, locate the knowledge base to be used as the parent.
- Click the “+” icon to the right of the knowledge base name and select “Add Sub-Knowledge Base”.
- In the pop-up creation window, select Basic Mode or Pipeline Mode, and fill in the relevant configuration items (the configuration method is the same as creating a knowledge base).
- Click "Create" to complete the addition.
After a sub-knowledge base is successfully created, you can continue adding the next-level sub-knowledge base under it by following the above steps. The maximum hierarchy limit is five levels.
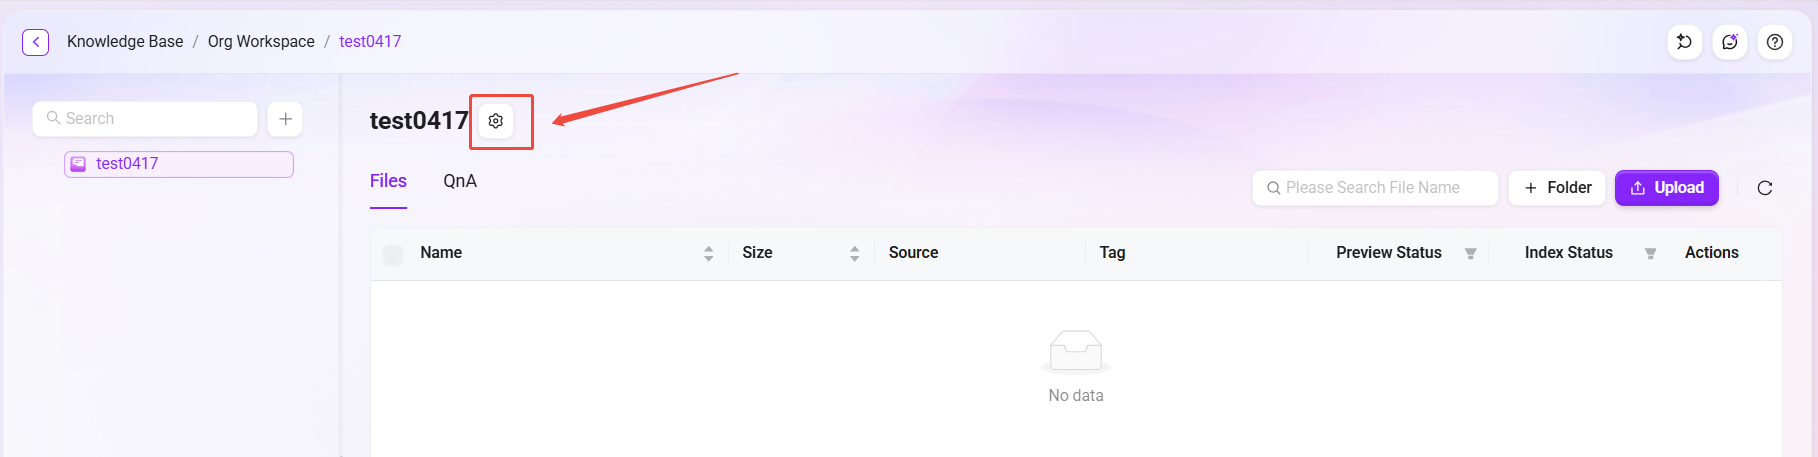
How to Configure a Knowledge Base?
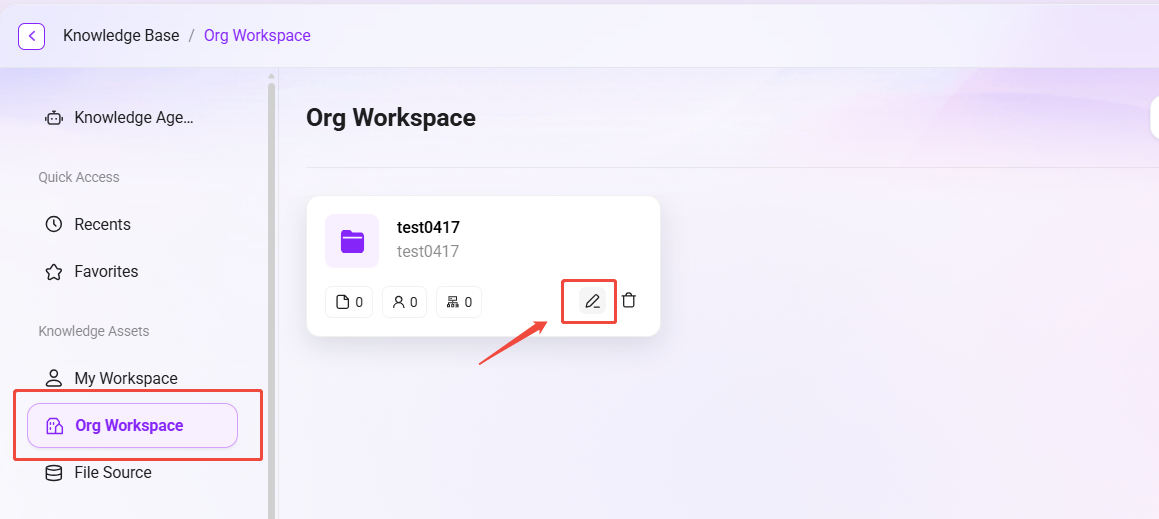
Knowledge Base Settings can be opened through the following two entry points:
- Click the ✏️ icon on the knowledge base card;
- After entering the knowledge base, click the gear icon next to the name.
The configurable items differ by mode:
- Basic Mode: Supports General Settings, File Settings, File Sources, Metadata Templates, User Settings.
- Pipeline Mode: Supports General Settings, Pipeline, File Sources, User Settings.
General Settings
The general settings of a knowledge base are the information filled in when creating the knowledge base, including the knowledge base name, type, description, vector database, vector model, storage quota, file size limit, and supported file formats.
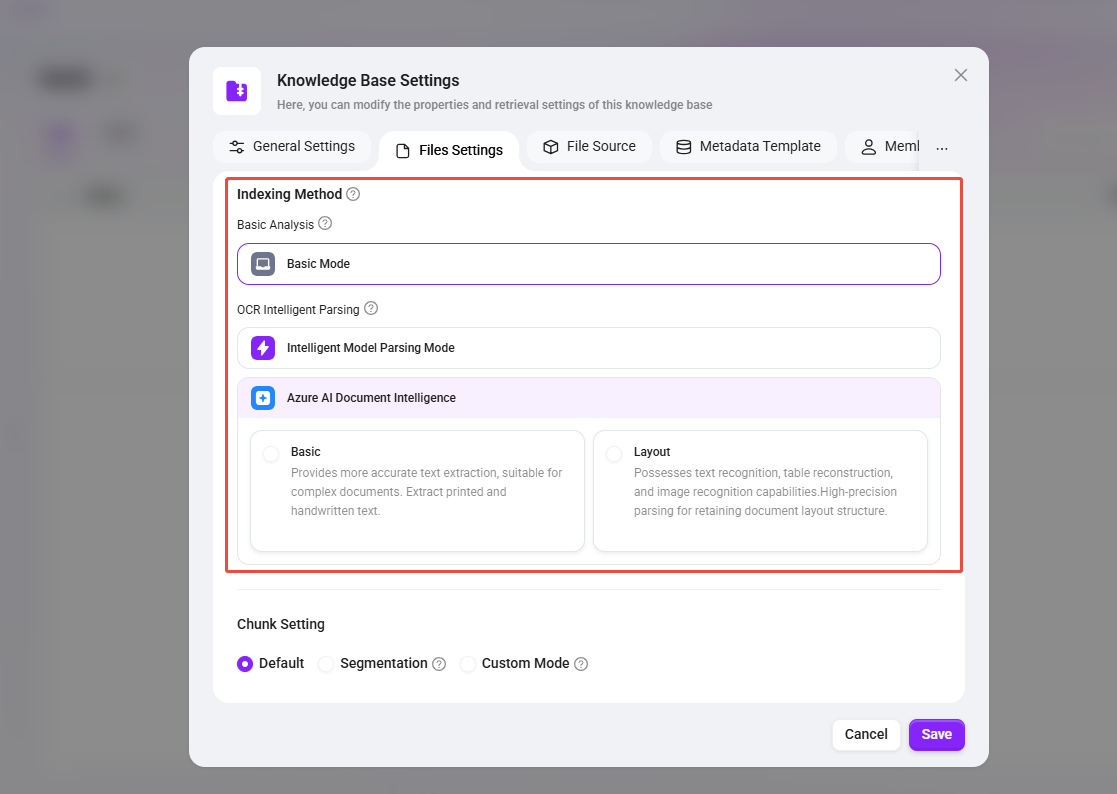
File Settings
File settings are used to control the parsing, segmentation, retrieval, and summarization behavior of files in the knowledge base.
Indexing Method:
- Basic Parsing: Suitable for general text recognition, supports only text extraction, and does not include table or image parsing.
- OCR Intelligent Parsing: Suitable for complex documents, scanned files, table documents, and similar scenarios.
- Intelligent Model Parsing: Performs semantic recognition and structured extraction through the system’s built-in model, suitable for documents containing tables or complex layouts.
- Azure AI Document Intelligence:
- Basic: Provides more accurate text extraction, suitable for complex documents, and supports printed and handwritten text recognition.
- Layout: Has text recognition, table reconstruction, and image recognition capabilities, and can better preserve the document layout structure.
OCR Capability Extension
The platform supports integration with multiple third-party OCR services to enhance recognition accuracy for complex documents, special layouts, and multilingual content.
- TextIn: Mainly for users outside the Microsoft ecosystem, providing a high-quality OCR alternative solution and excelling at handling special layouts and highly difficult documents.
- Alibaba Cloud OCR: Provides cloud-based document recognition capabilities and requires service configuration before use. It is suitable for high-accuracy recognition of images, scanned files, and multilingual text.
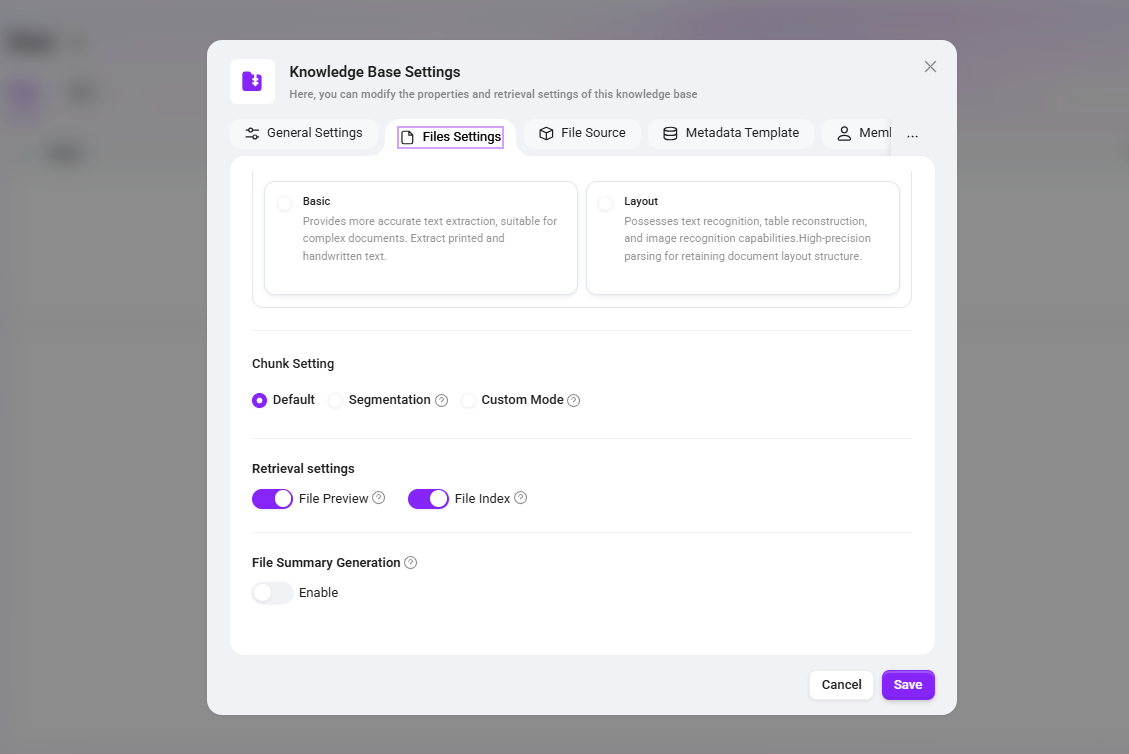
Segmentation Mode:
- Default Segmentation: Splits according to the system default method.
- Fine-Grained Mode: First splits by a maximum of 1024 characters, then further subdivides each segment by 200 characters.
- Custom Mode: Allows users to customize the maximum number of characters per segment.
Retrieval Settings:
- File Preview: Controls whether files support online preview.
- File Indexing: Controls whether files are added to the global search index.
File Summary Generation: Controls whether summaries are automatically generated for newly uploaded documents.
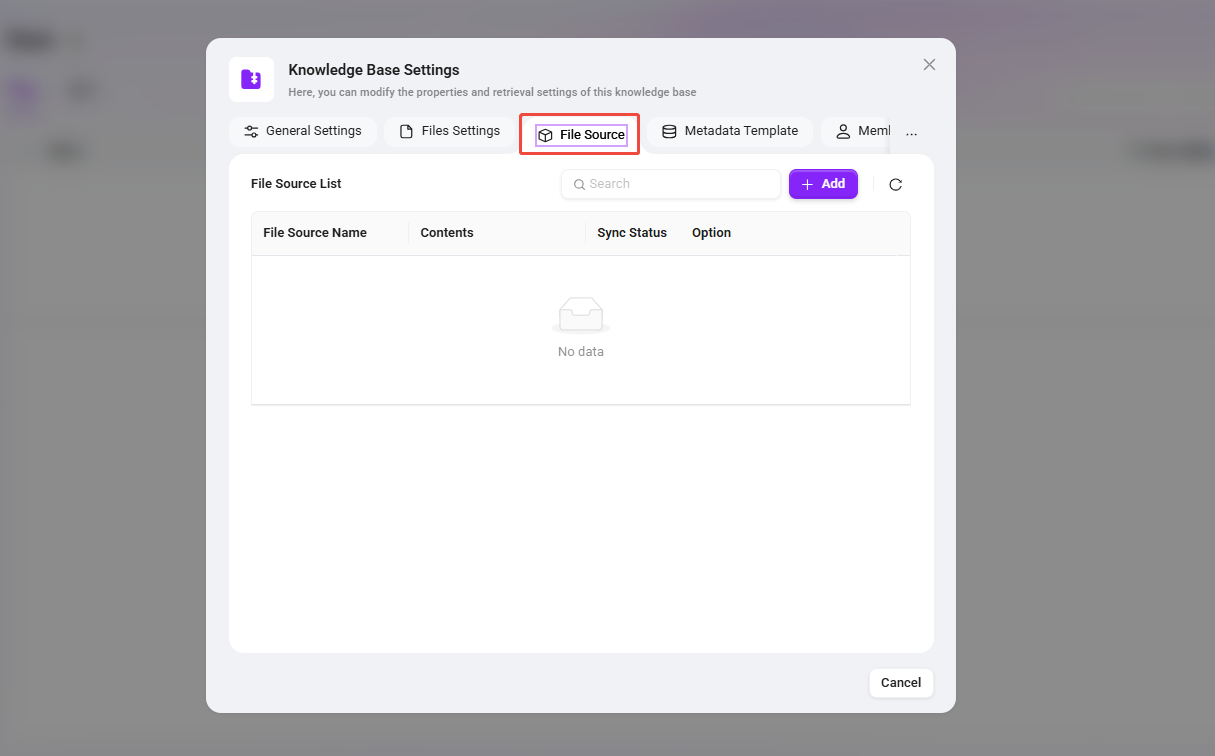
File Sources
The knowledge base supports connecting file sources for synchronizing content from the cloud or third-party storage.
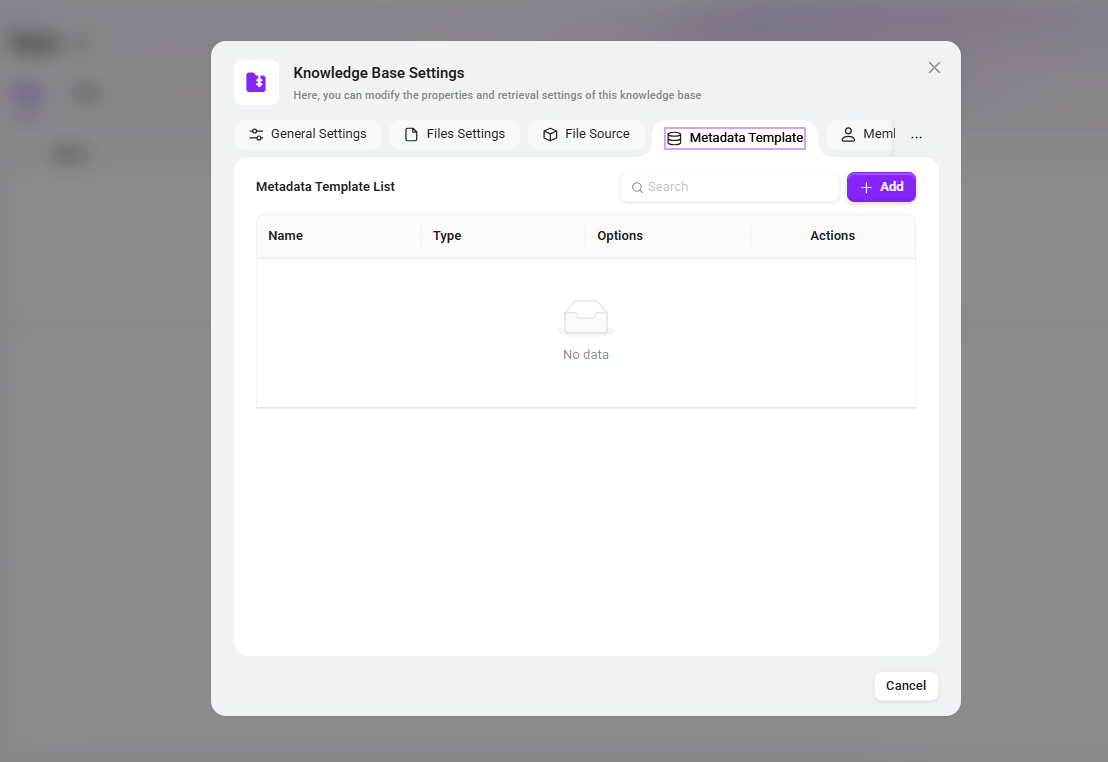
Metadata
Metadata is used to describe attribute information of files or the knowledge base itself, such as name, location, tags, category, etc.
The Role of Metadata in SERVICEME
File-Level Metadata:
- When uploading files, the system automatically saves basic metadata such as file size, name, storage location, etc.
- Users can also supplement custom metadata such as tags, category, uploader, etc.
- When retrieving knowledge base files, metadata filter conditions can be combined to improve search hit rates.
Knowledge Base-Level Metadata:
- The knowledge base itself can also be configured with metadata such as topic, industry category, permission information, etc.
- Through knowledge base-level metadata, the efficiency of knowledge management and classified retrieval can be improved.
Automatic Metadata Inheritance and Filling Mechanism
- If a folder is configured with a metadata template, newly uploaded or synchronized files under that folder will automatically inherit the corresponding metadata keys.
- If a file has the “Summarization” feature enabled, the system will automatically fill in relevant field information during processing by combining file content and metadata, thereby enhancing summarization and retrieval results.
User Management
Owner: Has all permissions for the knowledge base, including management, editing, and access.
Visitor: Can only view the content of the knowledge base and cannot modify it.
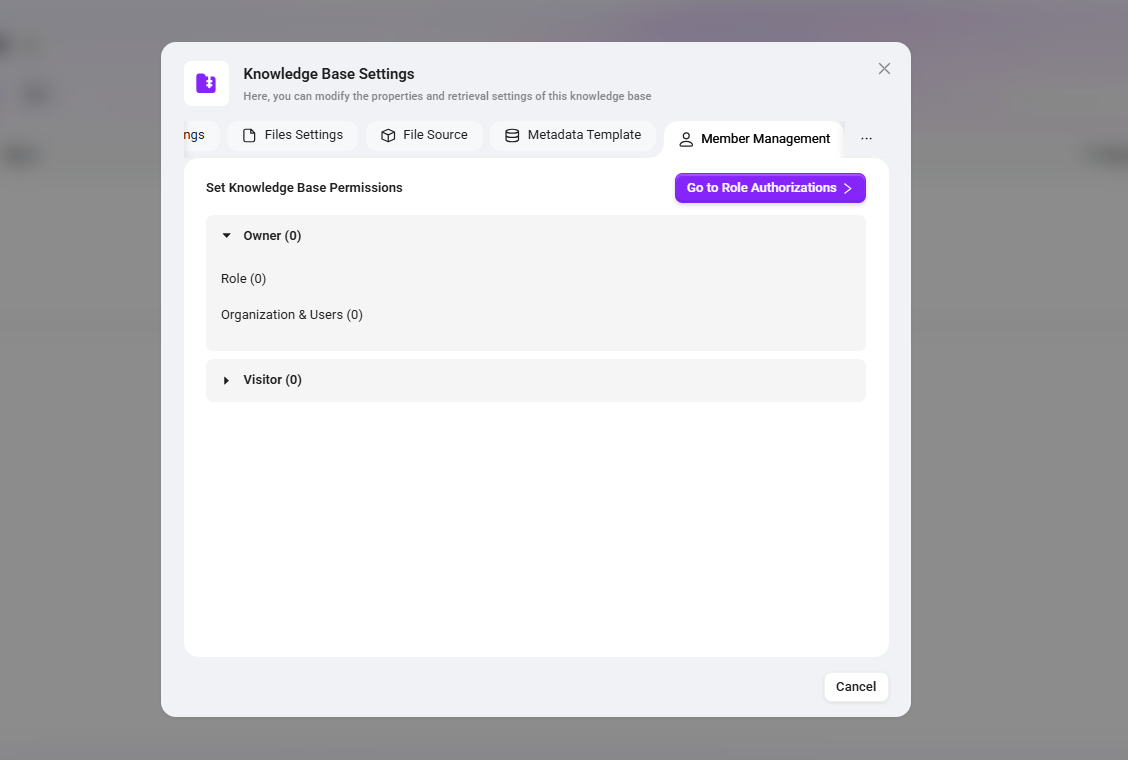
- Member permissions can be managed through role management, but only administrators can access the role permissions page.
- For specific configuration methods, see “Knowledge Base Member Permission Configuration” below.
Knowledge Base Member Permission Configuration
Before managing knowledge base member permissions through roles, you need to first understand three concepts: roles, user authorization, and function authorization.
- Role: Used to define a set of permissions.
- User Authorization: Binds a user to a role.
- Function Authorization: Assigns the available function scope to a role.
💡 Tip: It can be understood as: Function Authorization + User Authorization = Granting a certain permission to a certain user.
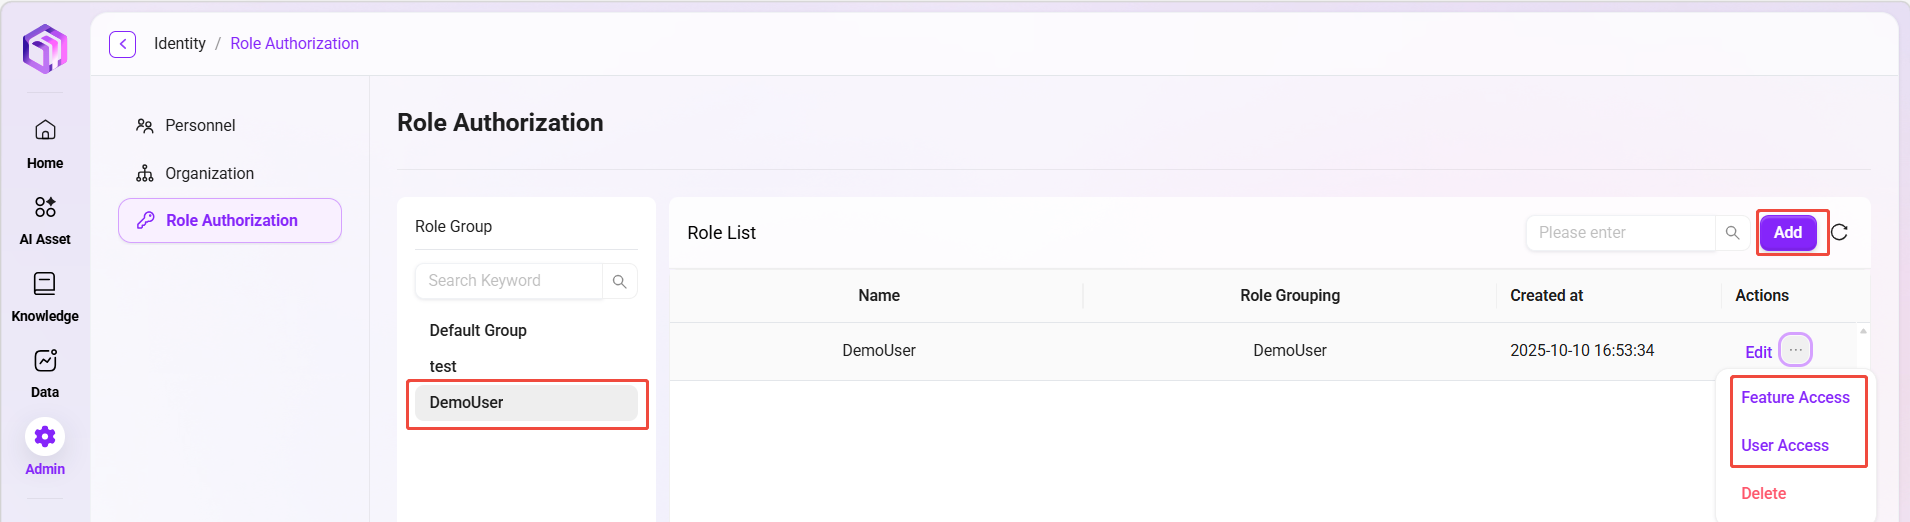
⏳ Example: Grant DemoUser the management permission for the Demo knowledge base.
- Click Add New on the right side of the role list to create a role named Knowledge Base Management;
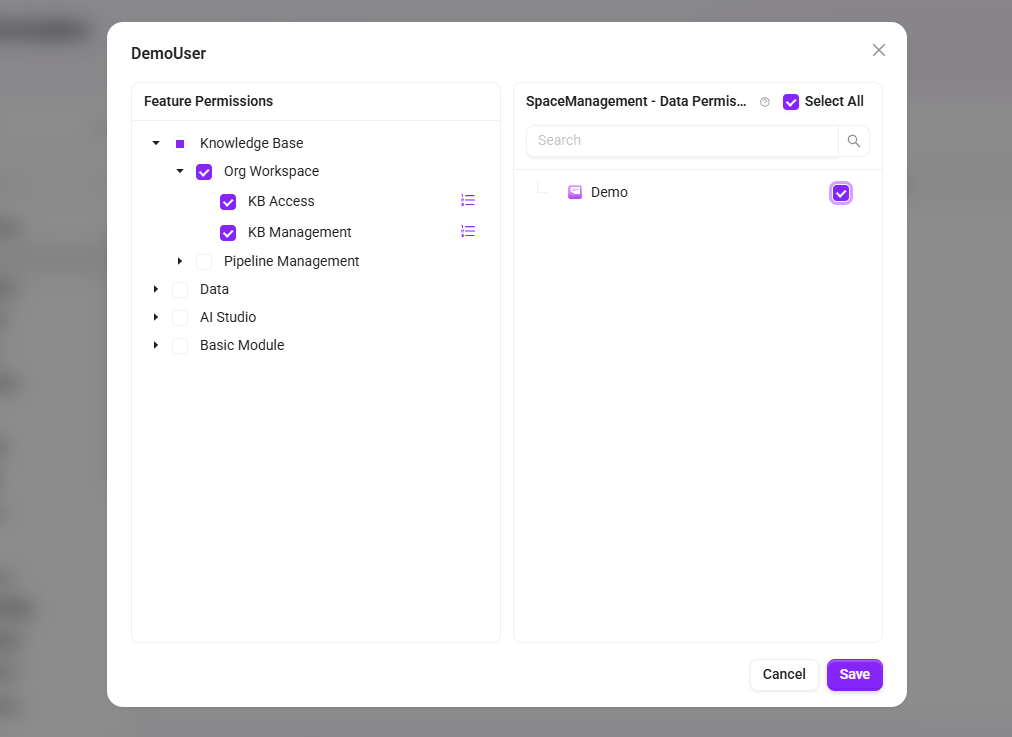
- After creating the role, click Function Authorization corresponding to that role, find and check the Demo knowledge base under space management;
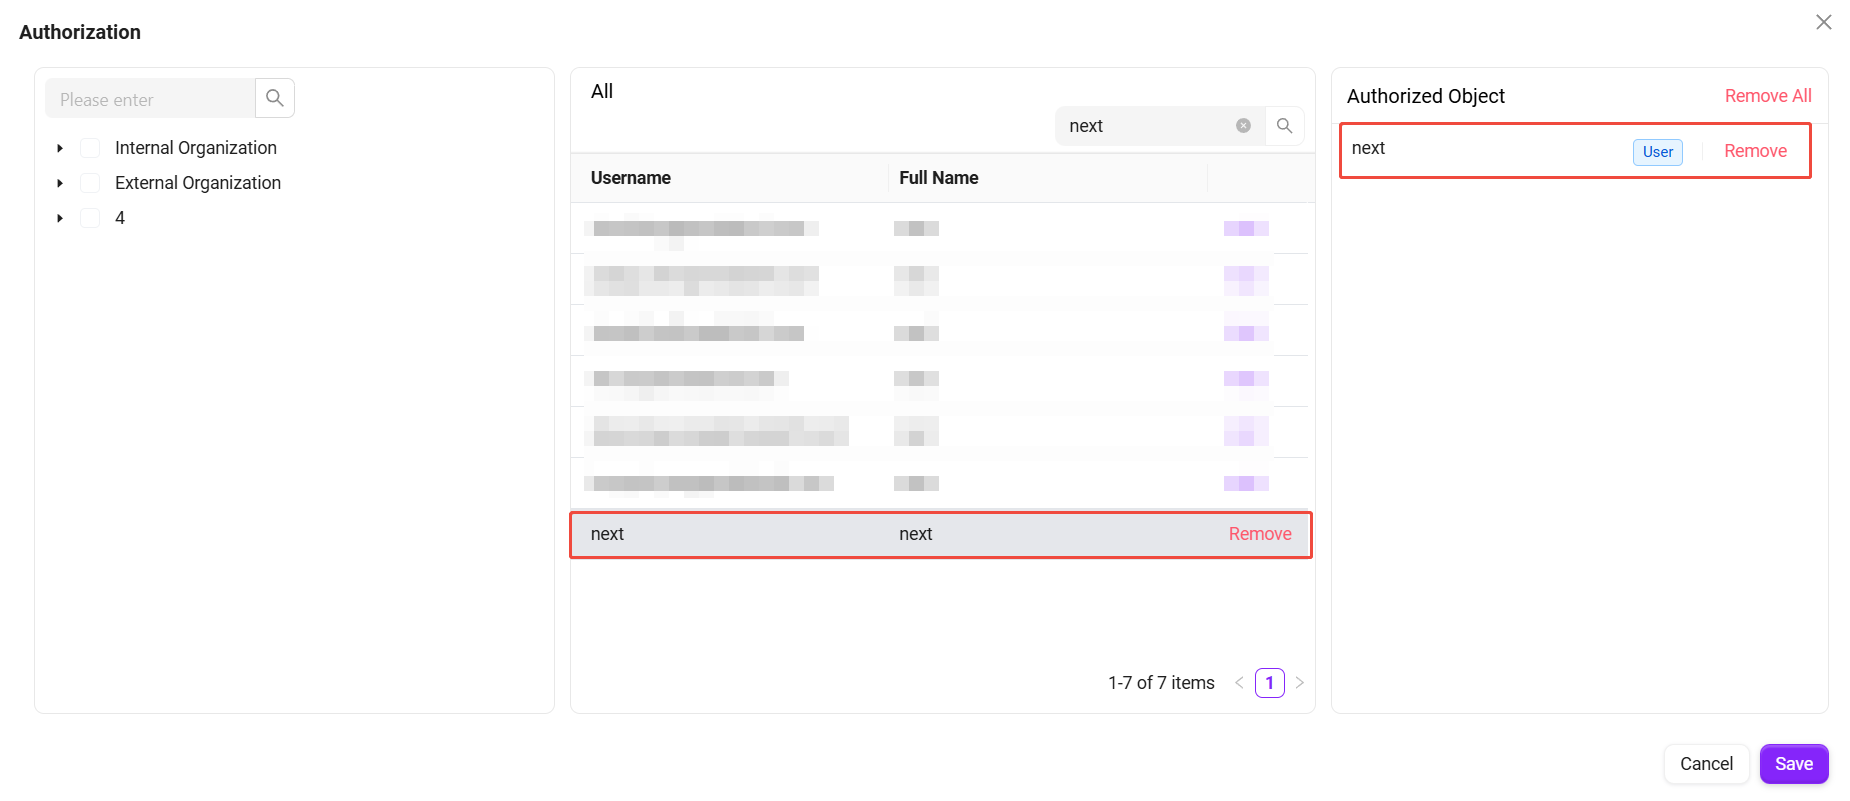
- Then click User Authorization corresponding to that role, select and check DemoUser;
- After completing the above operations, the corresponding permission will be successfully granted.
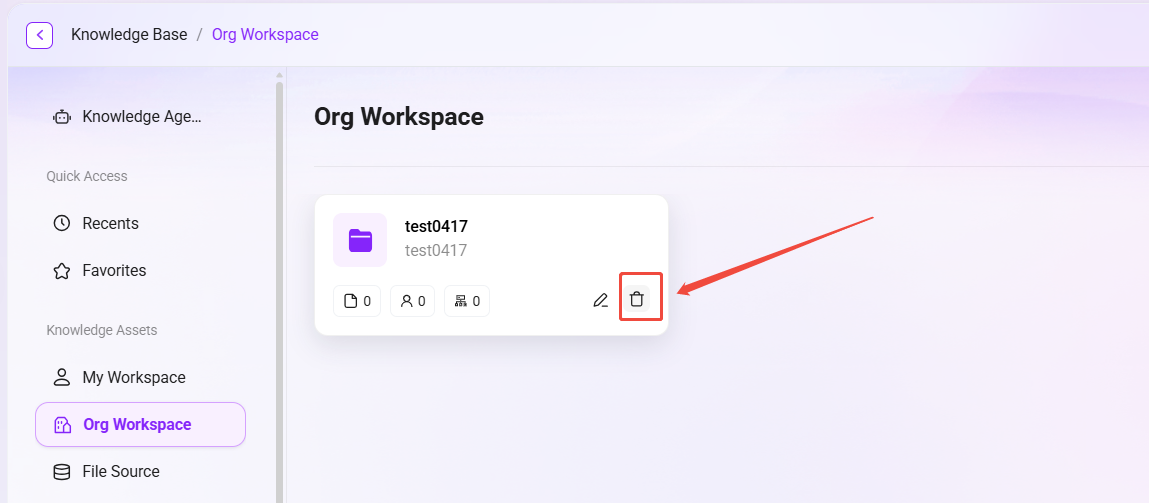
How to Delete a Knowledge Base?
A knowledge base can be deleted in the following ways:
- Via the knowledge base card: Find the corresponding knowledge base card on the knowledge base overview page, and click the 🗑 icon in the lower-right corner of the card to delete it.
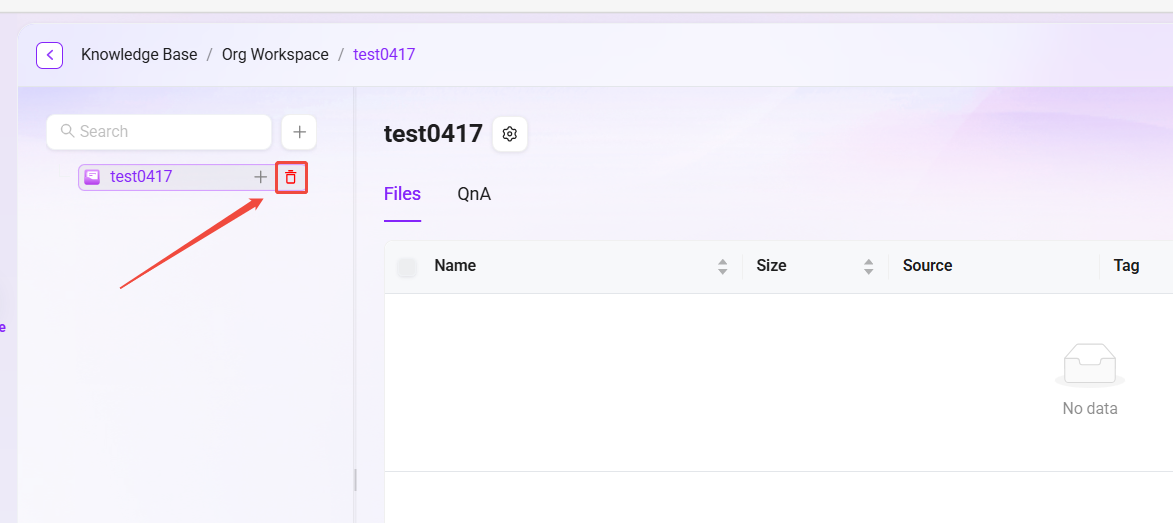
- Via the list inside the knowledge base: After entering the knowledge base, locate the target knowledge base in the knowledge base list on the left, and click the 🗑 icon after it to delete it. This method also applies to sub-knowledge bases.
⚠️ Note:
- If there are sub-knowledge bases under a knowledge base, all sub-knowledge bases must be deleted first before the parent knowledge base can be deleted.
- Deletion is usually irreversible. Please confirm the data impact and permission scope before proceeding.